In HTML5, if the mouse-based interface interaction is click, the basic interaction method of the touch interface is tap.
1. Tap and click are similar , but there are differences.
Even if the touch device (for example: mobile phone) does not have a mouse, their browser will still trigger mouse events, and click, mouseover, mousedown and mouseup will still be triggered. .
2. Mobile browsers have four types of touch events
| Event name | Description | Contains touches array |
| touchstart | Touch start | is |
| touchmove | touch point change | is |
| touchend | touch end | Yes |
| touchcancel | Touch canceled | No |
touches array is a set of touch objects generated by touch events. The touch objects represent the fingers that touch the screen.
3. Handle touch events
The first way is to use the standard touch events supported by the browser, see an example index.html:
<!DOCTYPE html>
<html>
<head>
<meta charset="utf-8">
<meta http-equiv="X-UA-Compatible" content="IE=edge,chrome=1">
<meta name="viewport" content="width=device-width">
<title>Touch</title>
<style type="text/css" media="screen">
body {
margin: 0;
padding: 0;
font-family: sans-serif;
text-align: center;
}
.button {
font-size: 16px;
padding: 10px;
font-weight: bold;
border: 0;
color: #fff;
border-radius: 10px;
box-shadow: inset 0px 1px 3px #fff, 0px 1px 2px #000;
background: #ff3019;
opacity: 1;
}
.active, .button:active {
box-shadow: inset 0px 1px 3px #000, 0px 1px 2px #fff;
}
.hidden {
display: none;
}
</style>
</head>
<body>
<p id="touchme">
<button class="button" id="toggle">切换图片</button>
<p class="hidden" style="display: none">
<p>Goldfinch by ibm4381 on Flickr</p>
<a href="http://www.flickr.com/photos/j_benson/3504443844/"
title="Goldfinch by ibm4381, on Flickr">
<img src="http://www.php.cn/"
width="320" height="256" alt="Goldfinch">
</a>
</p>
</p>
</body>
<script type="text/javascript" charset="utf-8">
var node = document.getElementById('toggle');
function togglePicture(){
var h = document.querySelector(".hidden");
if(h.style.display == "none") {
h.style.display = "block";
} else {
h.style.display = "none";
}
}
node.addEventListener('touchstart', function(e){
alert("touchstart");
//阻止事件的默认行为导致按钮不会出现活跃状态(active)
// e.preventDefault();
e.target.className = "active button";
togglePicture();
});
node.addEventListener('touchend', function(e){
//e.preventDefault();
e.target.className = "button";
});
node.addEventListener("click", function(e){
alert("click");
});
</script>
</html>
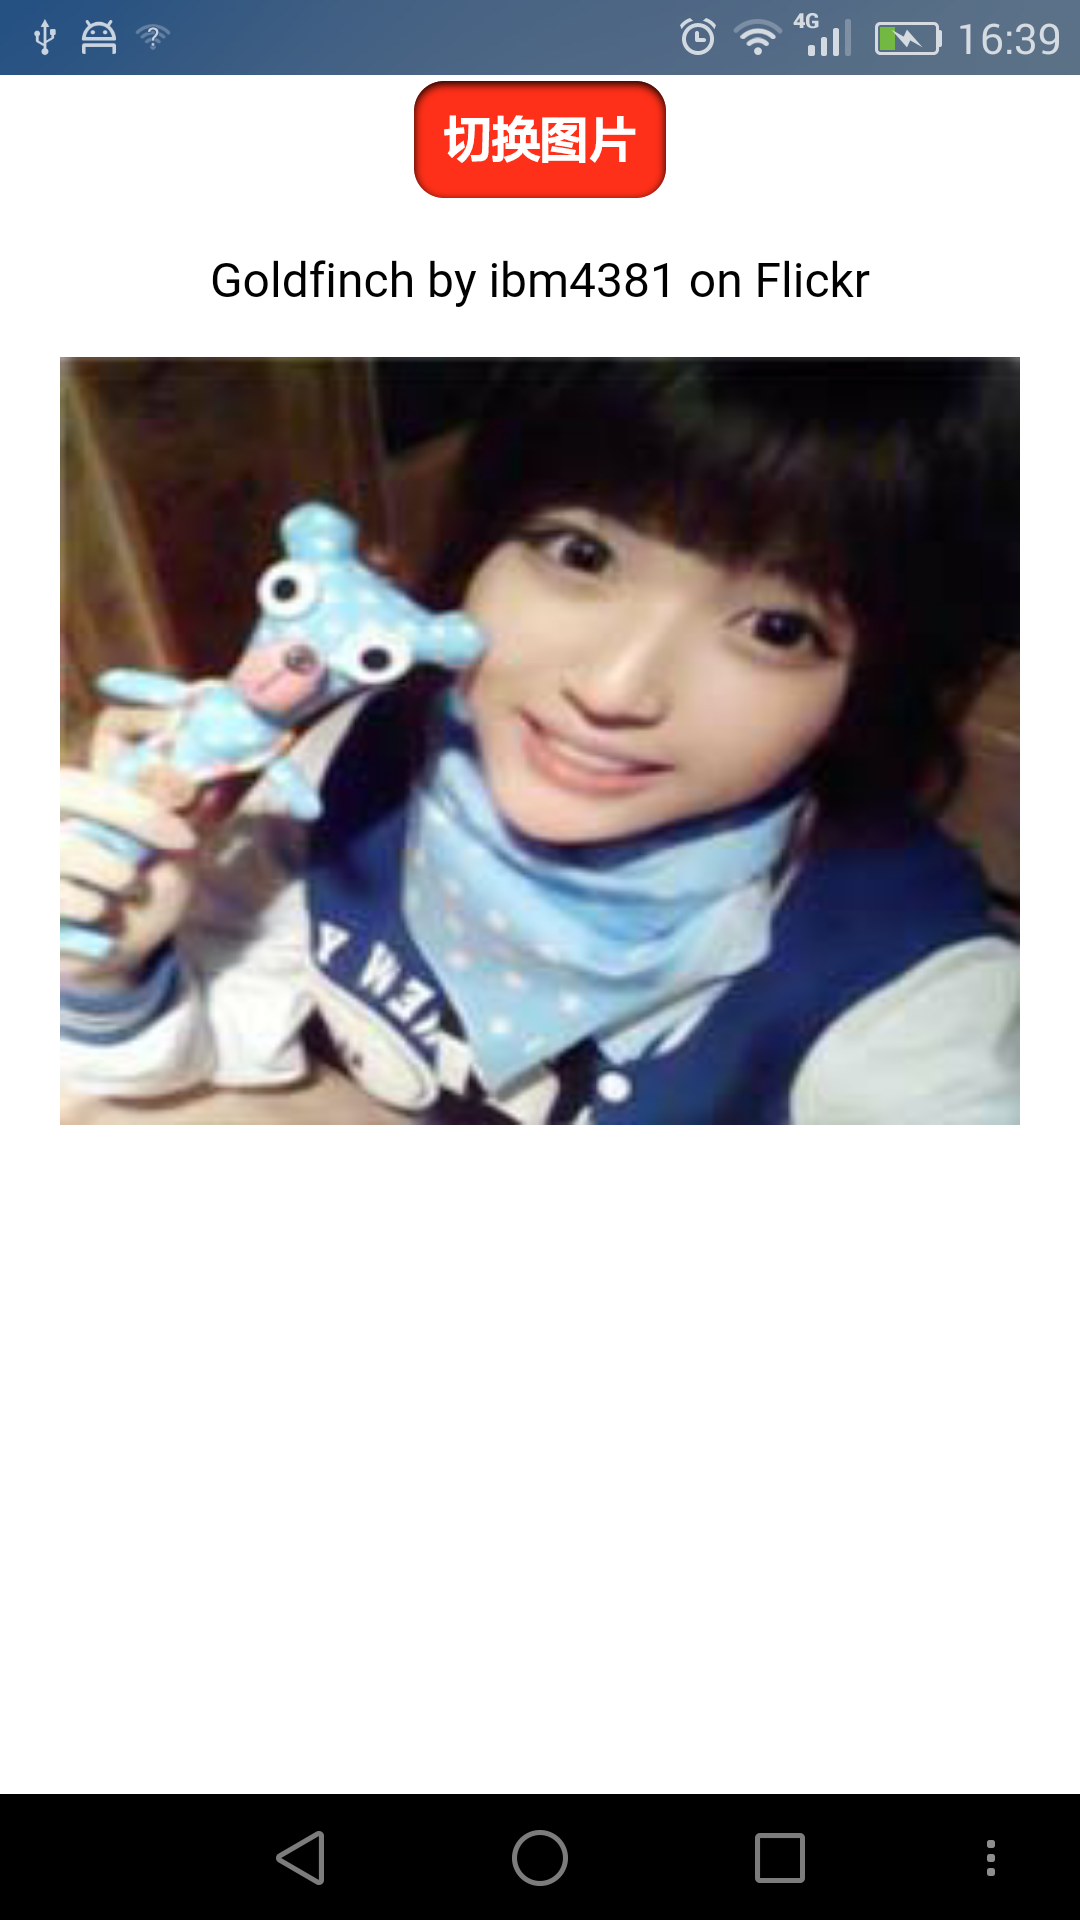
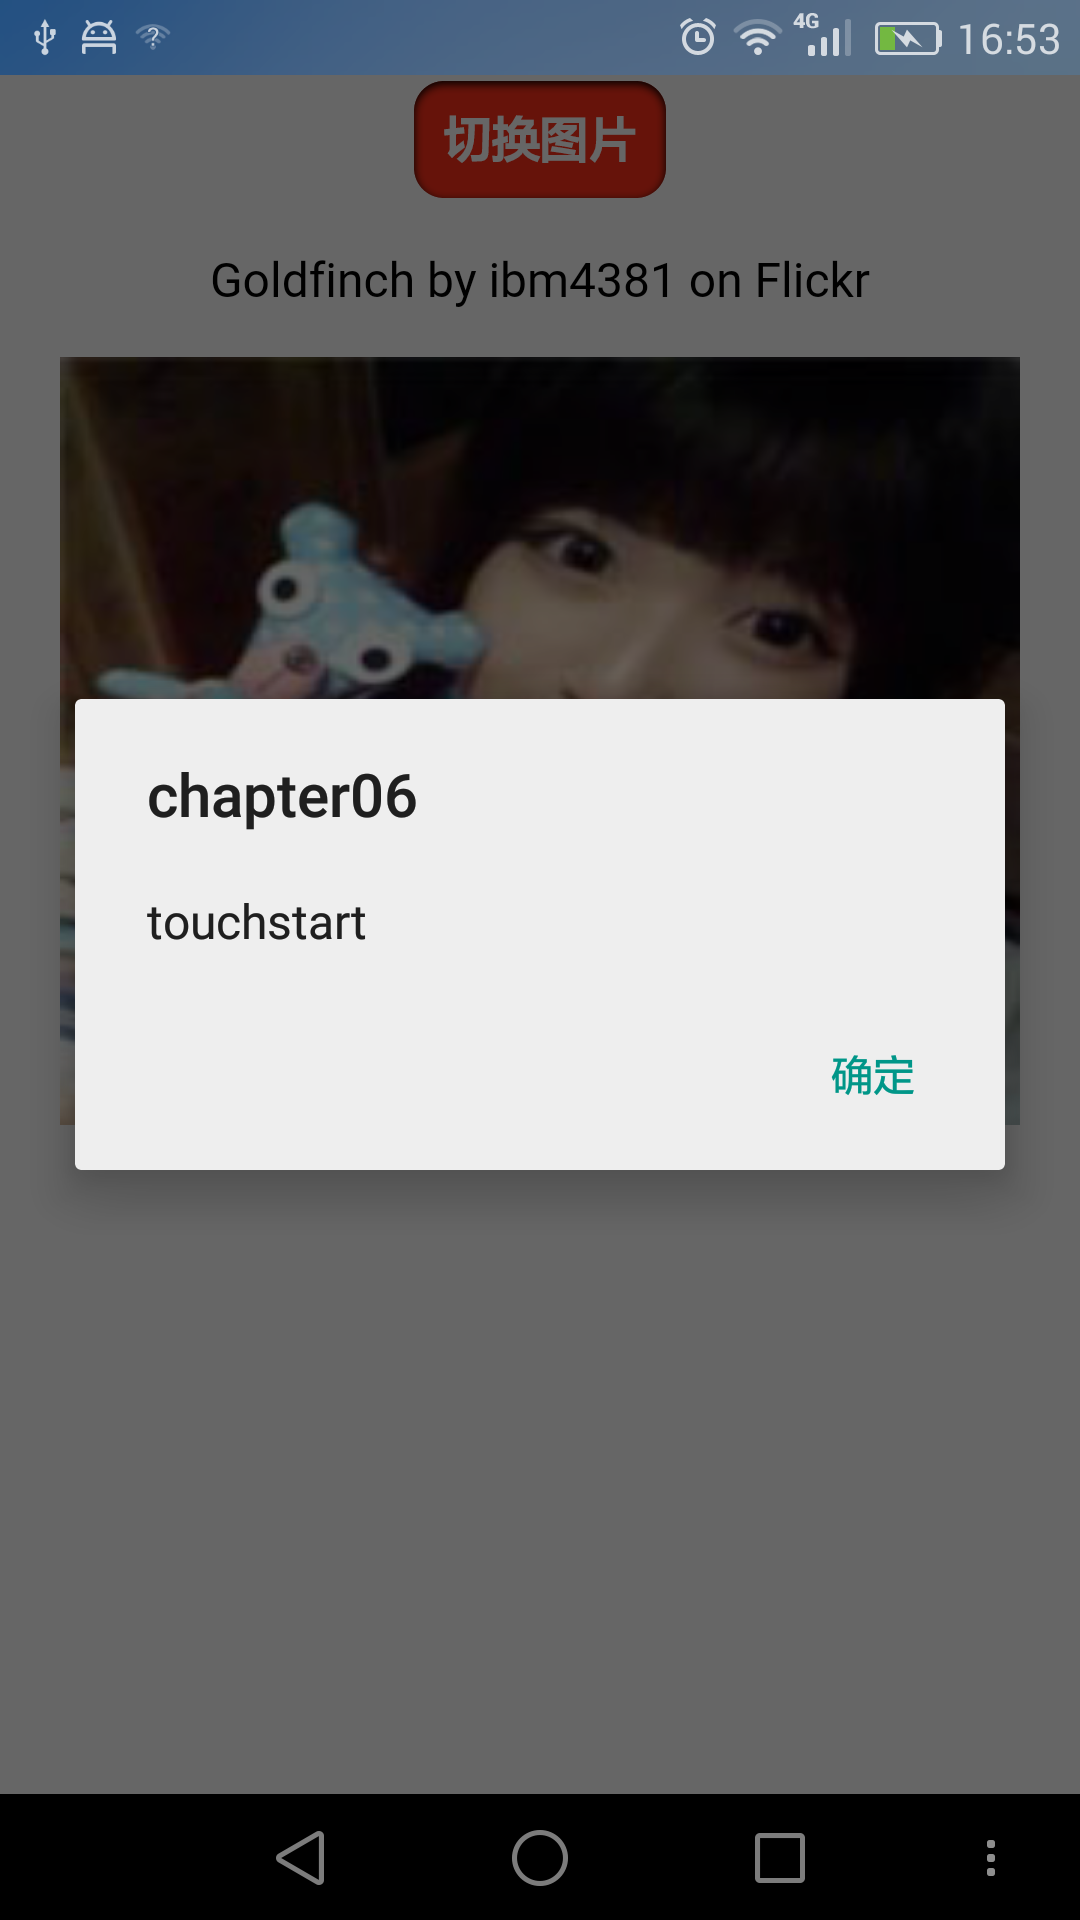
The rendering is as shown below, Note: It will respond to touch events on mobile phones but not click events. On PC browsers on the contrary


The second way, custom event
Use addEventListener to subscribe to the event. Use it to define when the event is triggered and the behavior of the event.
Still follow the previous example and make some modifications , the steps are as follows:
1. Use custom events
node.addEventListener("tap",  function(e){
    togglePictrue();
});
node.addEventListener("touchstart",  function(e){
     var tap = document.createEvent("CustomEvent");
    tap.initCustomEvent("tap",  true,  true,  null);
    node.dispatchEvent(tap);
});The initCustomEvent method here requires four parameters,
● The name of the event
● Whether the event bubbles
● Whether this event can be canceled
● Detailed data, an arbitrary data, will be passed when initializing the event
2. A touchstart listener needs to be added, and click (click) is still unavailable. Therefore, it is necessary to detect whether touch events are supported, otherwise it will be reduced to compatibility with mouse events.
function addTapListener(node, callback) {

		node.addEventListener('tap', callback);

		//一开始 定义为鼠标 按下,抬起事件,这是为PC浏览器考虑的
		var startEvent = 'mousedown', endEvent = 'mouseup';

		//if touch events are available use them instead
		if (typeof(window.ontouchstart) != 'undefined') {

			//如果判断为触摸设备,改变为触摸开始、触摸结束事件
			startEvent = 'touchstart';
			endEvent   = 'touchend';
		}

		//开始事件
		node.addEventListener(startEvent, function(e) {
			var tap = document.createEvent('CustomEvent');
			tap.initCustomEvent('tap', true, true, null);
			node.dispatchEvent(tap);
		});

		//结束事件
		node.addEventListener(endEvent, function(e) {
			var tapend = document.createEvent('CustomEvent');
			tapend.initCustomEvent('tapend', true, true, null);
			node.dispatchEvent(tapend);
		});
} addTapListener(node, function(e){
e.preventDefault();
e.target.className = 'active button';
togglePicture();
});
##Through these two steps, the requirements are basically completed.
The complete code is as follows, tap.html:
<!DOCTYPE html>
<html>
<head>
<meta charset="utf-8">
<meta http-equiv="X-UA-Compatible" content="IE=edge,chrome=1">
<meta name="viewport" content="width=device-width">
<title>Touch</title>
<style type="text/css" media="screen">
body {
margin: 0;
padding: 0;
font-family: sans-serif;
text-align: center;
}
.button {
font-size: 16px;
padding: 10px;
font-weight: bold;
border: 0;
color: #fff;
border-radius: 10px;
box-shadow: inset 0px 1px 3px #fff, 0px 1px 2px #000;
background: #ff3019;
opacity: 1;
}
.active, .button:active {
box-shadow: inset 0px 1px 3px #000, 0px 1px 2px #fff;
}
.hidden {
display: none;
}
</style>
</head>
<body>
<p id="touchme">
<button class="button" id="toggle">切换图片</button>
<p class="hidden" style="display: none">
<p>Goldfinch by ibm4381 on Flickr</p>
<a href="http://www.flickr.com/photos/j_benson/3504443844/" title="Goldfinch by ibm4381, on Flickr">
<img src="http://pic116.nipic.com/file/20161118/11902156_130258137000_2.jpg"
width="320" height="256" alt="Goldfinch">
</a>
</p>
</p>
</body>
<script type="text/javascript" charset="utf-8">
var node = document.getElementById('toggle');
function togglePicture(){
var h = document.querySelector(".hidden");
if(h.style.display == "none") {
h.style.display = "block";
} else {
h.style.display = "none";
}
}
addTapListener(node, function(e){
		e.preventDefault();
		e.target.className = 'active button';
		togglePicture();
});
function addTapListener(node, callback) {
node.addEventListener('tap', callback);
//一开始 定义为鼠标 按下,抬起事件,这是为PC浏览器考虑的
var startEvent = 'mousedown', endEvent = 'mouseup';
//if touch events are available use them instead
if (typeof(window.ontouchstart) != 'undefined') {
//如果判断为触摸设备,改变为触摸开始、触摸结束事件
startEvent = 'touchstart';
endEvent = 'touchend';
}
//开始事件
node.addEventListener(startEvent, function(e) {
var tap = document.createEvent('CustomEvent');
tap.initCustomEvent('tap', true, true, null);
node.dispatchEvent(tap);
});
//结束事件
node.addEventListener(endEvent, function(e) {
var tapend = document.createEvent('CustomEvent');
tapend.initCustomEvent('tapend', true, true, null);
node.dispatchEvent(tapend);
})
}
node.addEventListener('tapend', function(e){
e.preventDefault();
e.target.className = "button";
});
</script>
</html>
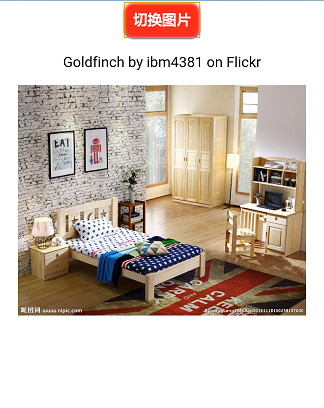
The rendering is as follows:
#


The above is the content of H5 12__ Touch and Click: Basic Event Handling. For more related content, please pay attention to the PHP Chinese website (www .php.cn)!


