phpcms replaces homepage
To use phpcms to create a corporate website, you must first replace the static corporate homepage with a dynamic homepage that can be edited in the background.
First make a static corporate website homepage:
<!DOCTYPE html>
<html>
	<head>
		<meta charset="UTF-8">
		<title></title>
	</head>
	<style type="text/css">
		ul li{
			list-style: none;
			display: block;
			position: relative;
			float: left;
			width: 100px;


		}
		ul{
			height: 50px;
		}
		.base{
			color: #000000;
		}
		.col{
			color: #0000FF;
		}

		ul li a{
			text-decoration: none;

		}
		#header{
			width: 1200px;
			height: 50px;
			border: solid 2px #000000;
		}

		#footer{
			width: 1200px;
			height: 50px;
			border: solid 2px #000000;
		}
		.list{
			position: relative;
			width: 500px;
			height: 250px;
			margin-left: 50px;
			border: solid 2px #000000;
			margin-top: 10px;
			float: left;
		}
		#content{
			width: 1200px;
			height: 550px;
		}
	</style>
	<body>
		 <p id="header">
    	<ul>
    		<li ><a class="col" href="">首页</a></li>
    		<li ><a class="base" href="">新闻</a></li>
    		<li ><a class="base" href="">公告</a></li>
    		<li ><a class="base" href="">关于我们</a></li>
    		<li ><a class="base" href="">加入我们</a></li>
    	</ul>

    </p>

    <p id="content">
		<p class="list">新闻<span style="padding-left: 430px;"><a href="#">更多</a></span> <p>腐败发布啊</p></p>
		<p class="list">公告<span style="padding-left: 430px;"><a href="#">更多</a></span><p>大牛坊三年级</p></p>
		<p class="list">关于<span style="padding-left: 430px;"><a href="#">更多</a></span><p>打你叫你</p></p>
		<p class="list">招聘<span style="padding-left: 430px;"><a href="#">更多</a></span><p>的毛囊烦恼</p></p>
	</p>

	<p id="footer">
		<ul>
    		<li ><a class="base" href="">友情链接</a></li>
    		<li ><a class="base" href="">链接1</a></li>
    		<li ><a class="base" href="">链接2</a></li>
    		<li ><a class="base" href="">链接3</a></li>
    		<li ><a class="base" href="">链接4</a></li>
    	</ul>
	</p>
	</body>
</html>
Operation effect:
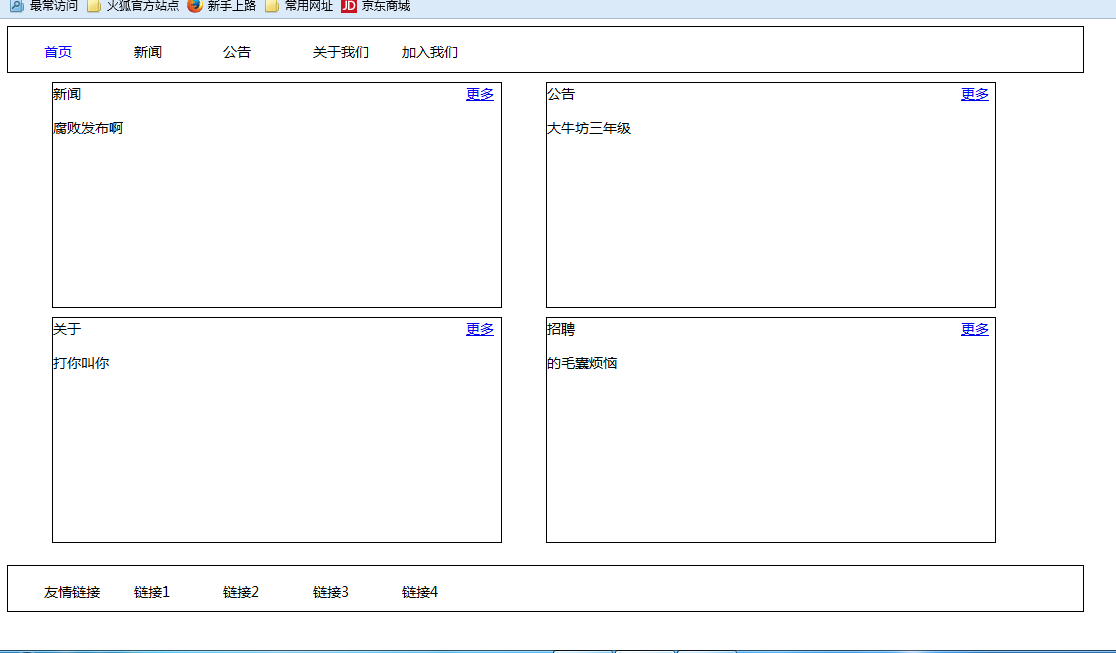
Import all the JS and CSS in the web page into JS and CSS files and put them into the corresponding locations under the statics folder.
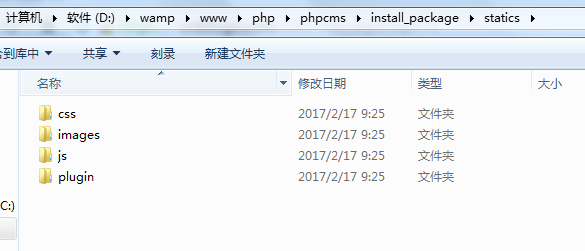
And modify the file address according to the following format:
Replacement method:
{CSS_PATH} represents the CSS storage path defined by CMS
{JS_PATH} represents the JS storage path defined by CMS
{IMG_PATH} represents the image storage path defined by CMS

1. Set the template to be used
Change the default template in phpcms to your own template.
Create a new English folder in phpcms/install_package/phpcms/templates

Create a content folder under this folder

Change the created .html web page file name to index.html and put it into the content folder

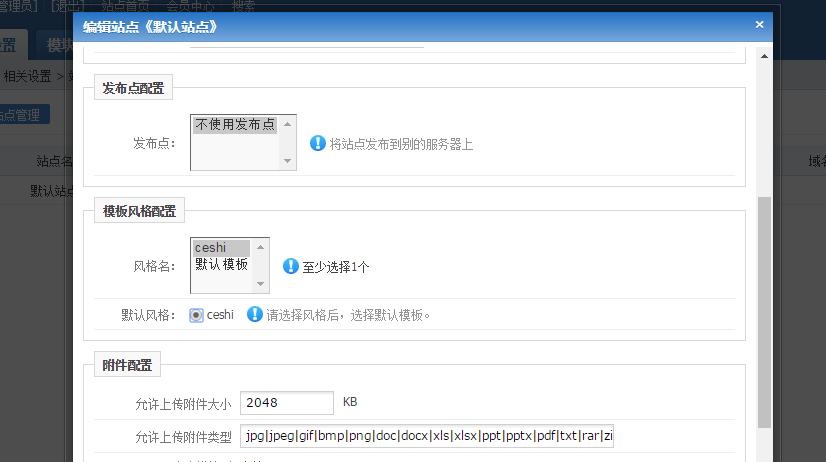
Log in to the phpcms backend, you can see the newly added template will be displayed in the interface - "Template style"

Settings -"Select the template style in site management, click OK.
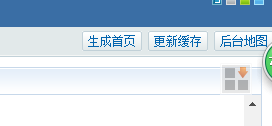
Update the cache and generate the home page
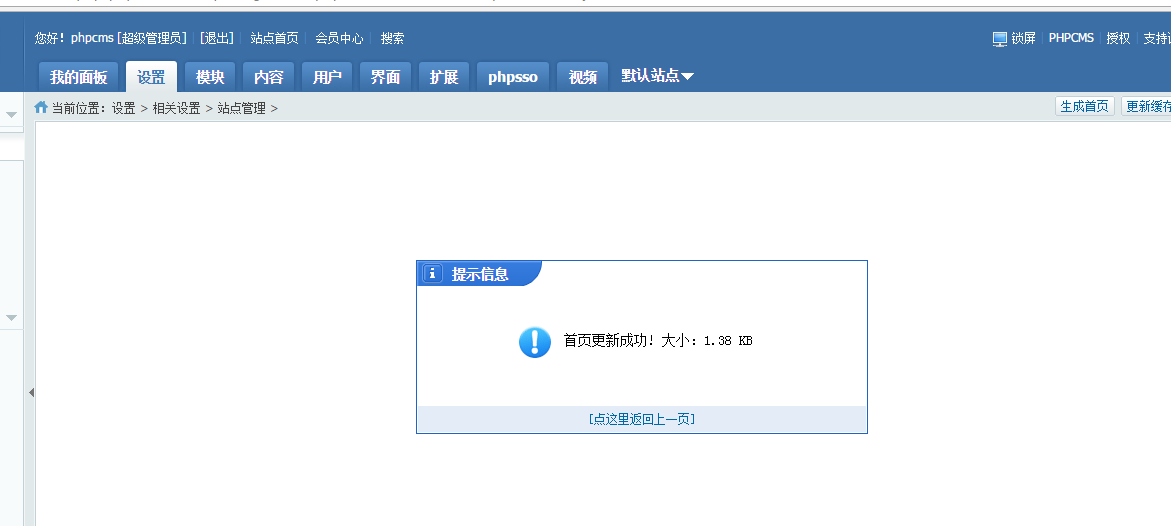
At this time, click on the homepage of the site and you will see that the template has been changed successfully:
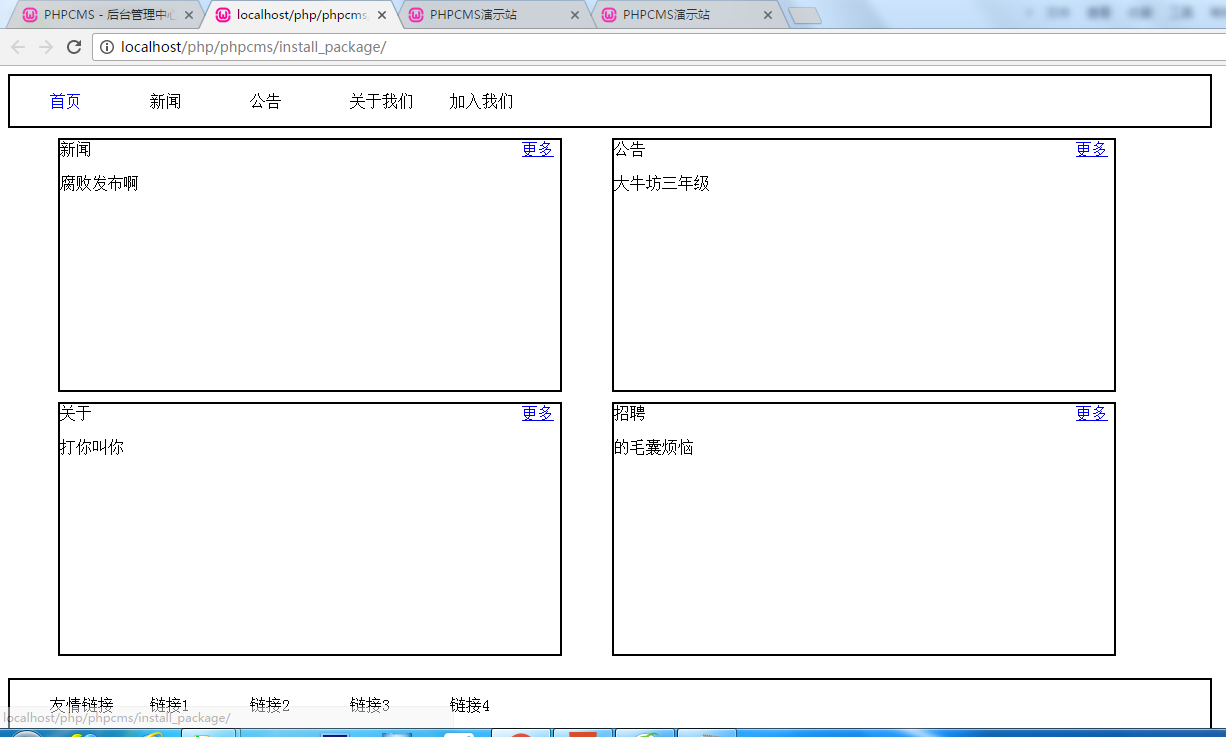
2. Split the template
Split the template into headers Header code, content code, and tail code
are newly created as header.html footer.html. The content part is still retained in index.html
Add the code {template "content" to the head of index.html ","header"} to import header.html
Add code {template "content","footer"} at the end of index.html to import footer.html
3. Add a column
In header.html
First add a link to the navigation bar:
Place
<ul>
    		<li ><a class="col" href="">首页</a></li>
    		<li ><a class="base" href="">新闻</a></li>
    		<li ><a class="base" href="">公告</a></li>
    		<li ><a class="base" href="">关于我们</a></li>
    		<li ><a class="base" href="">加入我们</a></li>
    	</ul>
Modified to:
{pc:content action="category" catid="0" num="5" siteid="$siteid" order="listorder ASC"}
        	<ul >
			<li><a class="base" href="{siteurl($siteid)}"><span>首页</span></a></li>
			{loop $data $r}
			<li><a class="base" href="{$r[url]}"><span>{$r[catname]}</span></a></li>
			{/loop}
            </ul>
        {/pc}
num is the maximum number of columns
If you want to increase the navigation monitoring effect, add the code:
<p id="header">
		 <ul>
		 	{if $top_parentid==0}<!--判断首页显示的是不是首页-->
    		<li><a href="{siteurl($siteid)}" class="col">首页</a></li> <!--如果是首页,给首页加属性字体显示白色。-->
			{else}
    		<li><a href="{siteurl($siteid)}">首页</a></li><!--如果不是首页,内容正常显示。-->
			{/if}
		 	{pc:content action="category" catid="0" num="5" siteid="$siteid" order="listorder ASC"}
        	{if $catid==$r[catid] || $top_parentid==$r[catid]}<!--判断显示的catid,如果是显示的catid-->
            <li><a href="{$r[url]}" class="col">{$r[catname]}</a></li><!--加属性,字体显示白色-->
        	{else}
            <li><a href="{$r[url]}" class="base">{$r[catname]}</a></li><!--如果显示的不是,内容正常显示-->
        	{/if}
        	{/pc}

    	 </ul>


    </p>
Display effect:

Only display the homepage
Add column:
In the phpcms background, Content-》Add Column in Management Column
Just add the columns that need to be added. Note that the template in the template settings must be modified to the current template.
Display:

4. Add content to the column
Achieved in the following four p's Dynamic content

#Modify the code of index.html
首先给更多添加内部链接:
代码:
<a href="{$CATEGORYS[10][url]}">更多</a>中间的数字代表phpcms后台中栏目代号
给p的内容设置动态:
新闻<a href="{$CATEGORYS[10][url]}">更多</a> {pc:content action="lists" catid="10" num="1" siteid="$siteid" order="id DESC"} {loop $data $r $val}
{$val[description]}
{/loop} {/pc}
其余三个都是同样的方法
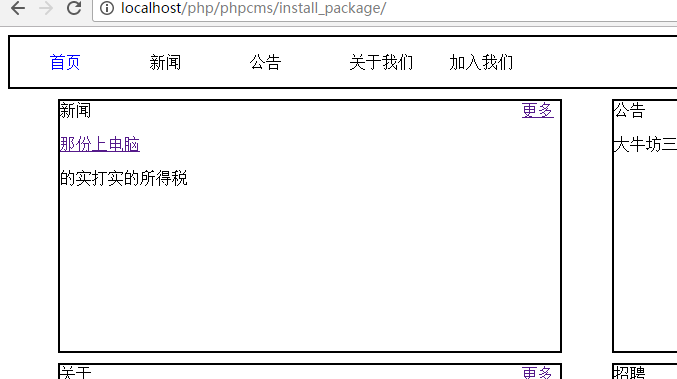
尾部 footer.html也是与头部同样的方法遍历
更多phpcms 替换首页 相关文章请关注PHP中文网!

Hot AI Tools

Undresser.AI Undress
AI-powered app for creating realistic nude photos

AI Clothes Remover
Online AI tool for removing clothes from photos.

Undress AI Tool
Undress images for free

Clothoff.io
AI clothes remover

Video Face Swap
Swap faces in any video effortlessly with our completely free AI face swap tool!

Hot Article

Hot Tools

Notepad++7.3.1
Easy-to-use and free code editor

SublimeText3 Chinese version
Chinese version, very easy to use

Zend Studio 13.0.1
Powerful PHP integrated development environment

Dreamweaver CS6
Visual web development tools

SublimeText3 Mac version
God-level code editing software (SublimeText3)

Hot Topics
 1386
1386
 52
52
 How to jump to the details page in phpcms
Jul 27, 2023 pm 05:23 PM
How to jump to the details page in phpcms: 1. Use the header function to generate a jump link; 2. Loop through the content list; 3. Get the title and details page link of the content; 4. Generate a jump link.
 What framework is phpcms?
Apr 20, 2024 pm 10:51 PM
PHP CMS is a PHP-based open source content management system for managing website content. Its features include ease of use, powerful functionality, scalability, high security, and free open source. It can save time, improve website quality, enhance collaboration and reduce development costs, and is widely used in various websites such as news websites, blogs, corporate websites, e-commerce websites and community forums.
 WeChat Login Integration Guide: PHPCMS Practical Combat
Mar 29, 2024 am 09:18 AM
Title: WeChat Login Integration Guide: PHPCMS in Action In today’s Internet era, social login has become one of the essential functions of a website. As one of the most popular social platforms in China, WeChat’s login function is also used by more and more websites. This article will introduce how to integrate the WeChat login function in the PHPCMS website and provide specific code examples. Step 1: Register a WeChat Open Platform Account First, we need to register a developer account on the WeChat Open Platform and apply for the corresponding development permissions. Log in [WeChat open platform]
 Isn't phpcms free?
Mar 01, 2023 am 10:24 AM
phpcms is not completely free. phpcms is an open source cms system, but open source does not mean free. It has two versions: free version and commercial version. The free version is limited to personal non-commercial use, while the commercial version requires purchasing a license; individuals can use it for research, and if it is commercial application , you need to pay a certain fee.
 What does phpcms mean?
Apr 20, 2024 pm 10:39 PM
PHPCMS is a free and open source content management system (CMS) that features: open source, modularity, flexibility, user-friendliness and community support. It can be used to create various types of websites, including corporate websites, e-commerce websites, blogs, and community forums. Technical requirements include: PHP 5.6 or higher, MySQL, MariaDB or PostgreSQL database, and Apache or Nginx web server.
 PHPCMS username security setting strategy revealed
Mar 14, 2024 pm 12:06 PM
PHPCMS user name security setting strategy revealed In website development, user account security has always been an aspect that developers attach great importance to. The security settings of the username are also crucial, because the username is not only the user's login credentials, but may also expose the user's personal information and even cause security risks. This article will reveal the username security setting strategy in PHPCMS and give specific code examples for developers to refer to. 1. Prevent common usernames. In order to improve the security of usernames, developers should prevent users from using excessive
 What versions of phpcms are there?
Jun 14, 2023 pm 01:13 PM
There are two well-known versions of phpcms, namely: 1. phpCMS4, which supports custom URL rules. The website management background is beautiful and easy to use, and has many front-end plug-ins, which can freely expand functions; 2. phpCMS2008R1, which supports multi-language, multi-site management, and page The manager is convenient, flexible, very lightweight, and runs fast.
 What database does phpcms use?
Feb 21, 2023 pm 06:57 PM
phpcms uses mysql database. phpcms is a PHP open source website management system, developed using PHP+MYSQL as the technical basis. PHPCMS V9 adopts OOP method to build the basic operating framework. The supported PHP version is PHP5 and above, and the supported MYSQL version is MySql 4.1 and above.


