1. When the layer changes to a grid format (Figure 1), the text cannot be edited at this time and the text must be rewritten. Because the text has been cut or redrawn with a tool, the font and size of the text cannot be changed. Just change it to the format shown in Figure 2.
 Picture 1
  Picture 2
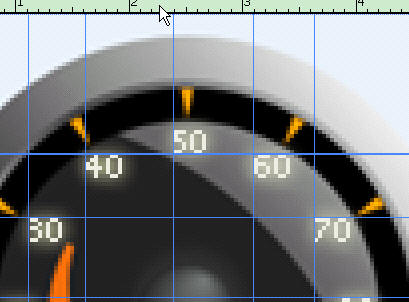
2. There is a box in the left half of Figure 3, which seems to outline The sides are the same. This is because shape 1 in the right half of Figure 3 was selected. Click it to remove the left half of the box, as shown in Figure 4.
 Picture 3
 Picture 4
3. This function was clicked randomly by myself, hold down the Ctrl+Shift+R keys Bring out the ruler, and then drag the ruler on the arrow as needed to measure whether the design is on a horizontal or vertical line.

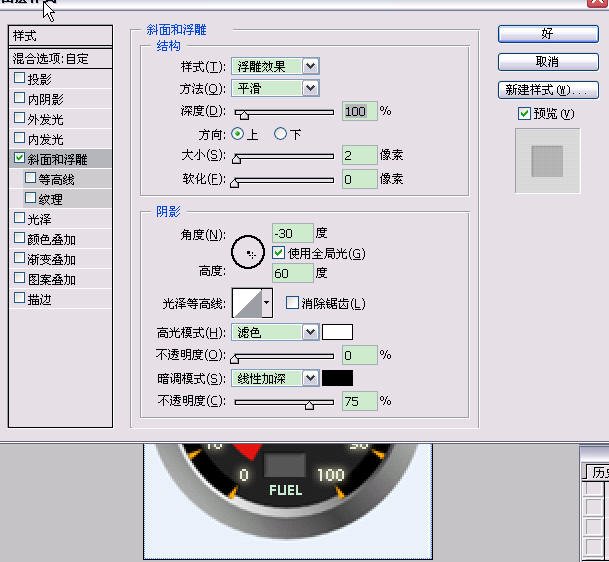
4. Make the small box in the picture below recessed

5. This was taught by a classmate . Pictured below. What you can see in PS is an ellipse. If you want to draw a circle, hold down the shift key and draw, and what you draw will be a perfect circle.
If you want to change the size of the circle, press the ctrl+t keys when you finish drawing the circle, and a frame will appear to change the size.


6. If the pencil becomes a circle, if you want a square shape, then insert the rectangular brush and then select Hardened pen.
7. Also set the font to glow internally and externally, making it look shiny. There is also a rectangular frame drawn with  , or the top
  , but remember that when using the latter, you need to create a layer before using it, and then select feathering, fill color, etc., if you use the former If you want to draw, just draw directly. Then just refer to the second and fourth items above to get the desired effect.
For more photoshop related articles, please pay attention to the PHP Chinese website!


