 Backend Development
 PHP Tutorial
 Detailed introduction to PHP environment setup (php+Apache+mysql)
Detailed introduction to PHP environment setup (php+Apache+mysql)
1. Software and system version
System download address:
Software package download address: http://xiazai .jb51.net/201611/yuanma/php+apache+mysql(jb51.net).rar
2. Download the software package/change the source
(1) Download and installation requires software package software tools
yum install -y wget vim unzip zip
(2) Change source
1. First uninstall the previously installed epel to avoid affecting
rpm -e epel-release
2. Clear the yum cache
yum clean all
yum makecache
3. rm -rf /etc/yum.repos.d/* (remember to install wget in advance when performing this operation Otherwise, you have to mount the CD and use rpm to install wget) 
##4. Download the Alibaba source
wget -P /etc/yum. .repos.d/ http://mirrors.aliyun.com/repo/epel-6.repohttp://mirrors.aliyun.com/repo/Centos-6.repo
yum repolist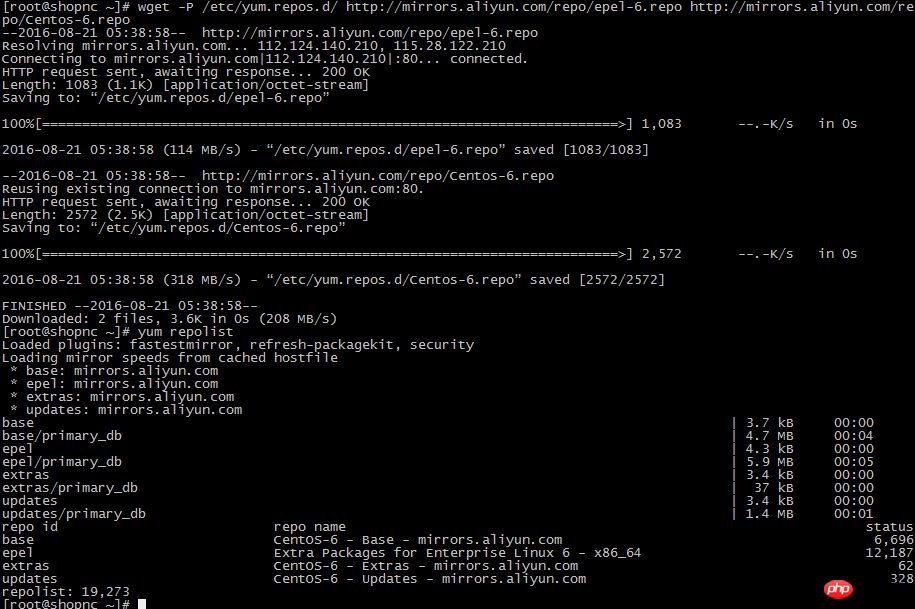
3. Install mysql
(1) Unzip
tar -zxvf mysql-5.1.72-linux-x86_64-glibc23.tar.gz
(2) Configure mysql
mv mysql-5.1.72-linux-x86_64-glibc23 /usr/local/mysql
cd /usr/local/mysql
useradd -s /sbin/nologin mysql
mkdir -p /data/mysql
chown -R mysql:mysql /data/mysql
./scripts/mysql_install_db --user=mysql --datadir=/data/mysql
Check whether the compilation is successful
echo $?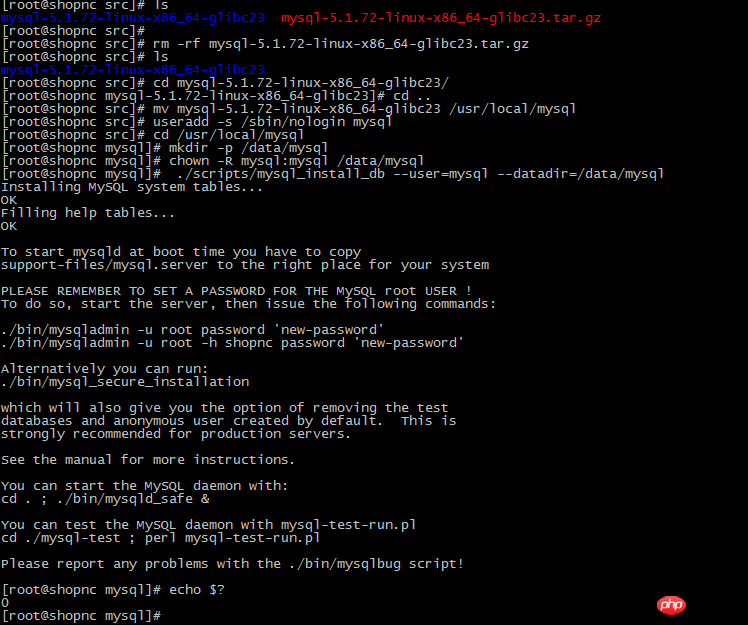
(3) Make mysql into a service
cp support-files/my-large.cnf /etc/my.cnf
cp support-files/mysql.server /etc/init.d/mysqld
chmod 755 /etc/init.d/mysqld
vim /etc/init.d/mysqld
Modify the file content
basedir=/usr /local/mysql (mysql installation directory)
datadir=/data/mysqlmysql database directory)
chkconfig --add mysqld
chkconfig mysqld on
4. Install Apache
(1) Install the software running environment gcc
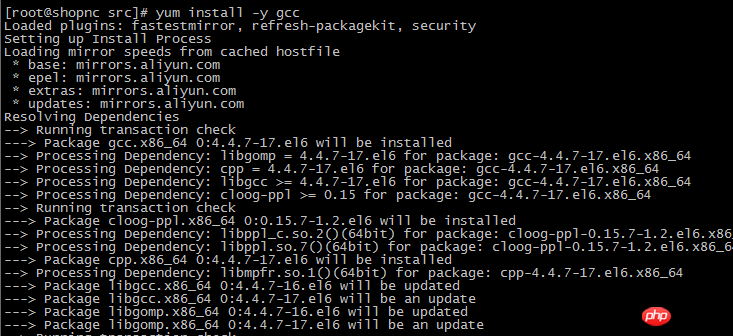
yum install -y gcc
(2) Unzip
tar -jxvf httpd-2.2.27.tar.bz2
(3) Compile
./configure --prefix=/usr/local/apache2 --enable-mods-shared=most --enable-so
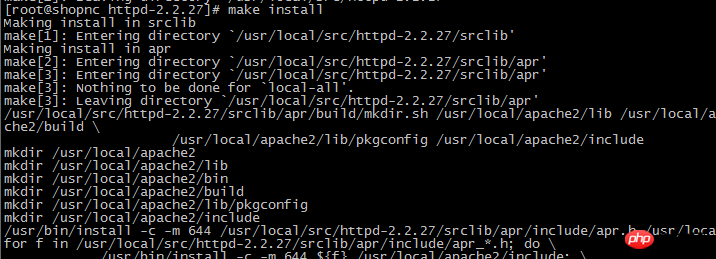
(4) Install
make #make install
5. Install PHP
(1) Unzip
tar -zxvf php-5.3.28.tar.gz 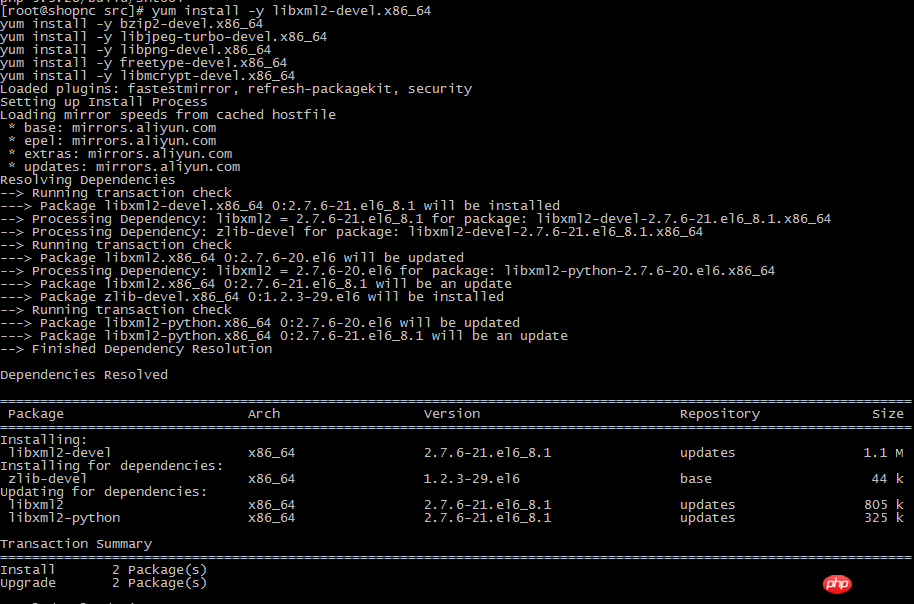
(2) Install the software plug-ins required for php
yum install -y libxml2-devel.x86_64
yum install -y openssl-devel.x86_64
yum install -y bzip2-devel.x86_64
yum install -y libjpeg-turbo-devel.x86_64
yum install -y libpng-devel.x86_64
yum install -y freetype-devel.x86_64
yum install -y libmcrypt-devel.x86_64
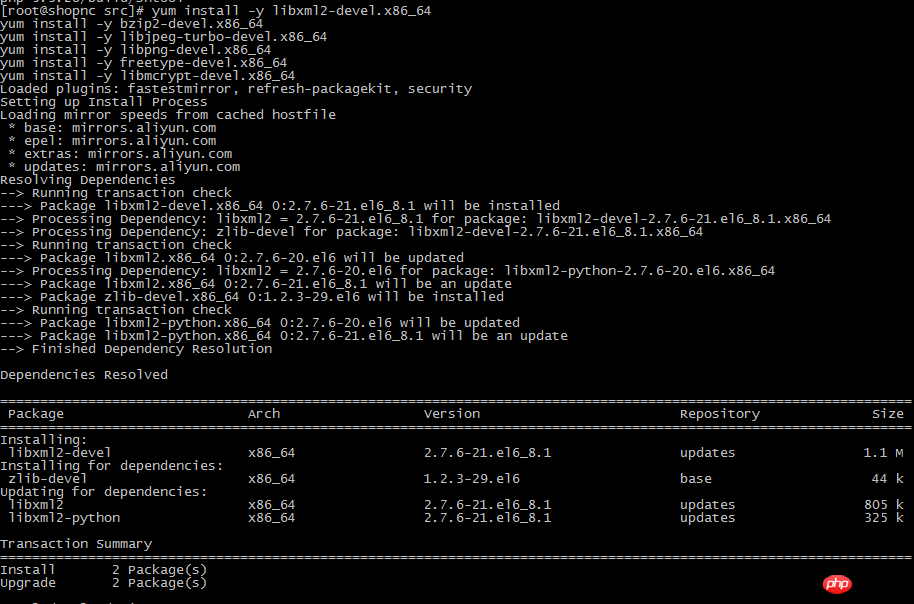 ##(3) Compile
./configure --prefix=/usr/local/php --with-apxs2=/usr/local/apache2/bin/apxs
--with-config-file-path=/usr/local/php/etc --with-mysql=/usr/local/mysql
--with-libxml-dir --with-gd --with-jpeg-dir --with-png-dir --with-freetype-dir --with-iconv-dir
--with-zlib-dir --with-bz2 --with-openssl --with-mcrypt --enable-soap --enable-gd-native-ttf
--enable-mbstring --enable-sockets --enable-exif --disable-ipv6
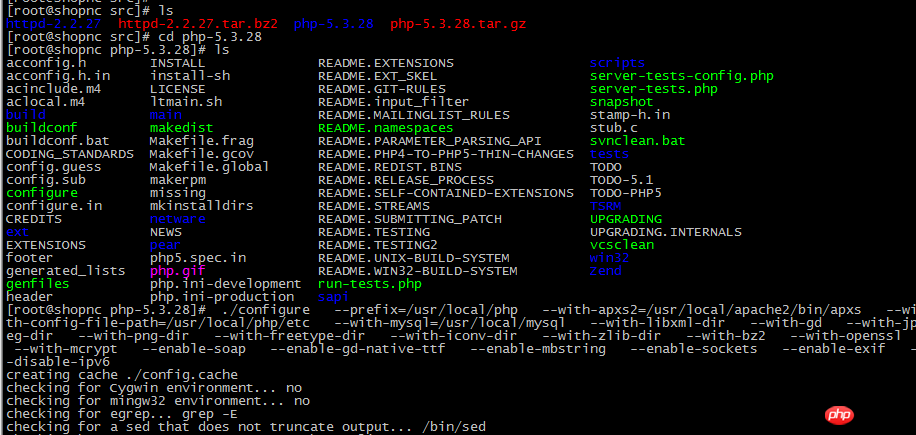
#(4) Install
make
##make install
##6. Edit the configuration file 
(1) vim /usr/local/apache2/conf/httpd.conf found: <Directory />
Options FollowSymLinks
AllowOverride None
Order deny,allow
Deny from all
</Directory>
Changed to:
<Directory />
 Options FollowSymLinks
 AllowOverride None
 Order deny,allow
 Allow from all
</Directory>
Found:
AddType application/x-gzip .gz .tgz
Add below this line:
AddType application/x-httpd-php .php
Found:
<IfModule dir_module>
 DirectoryIndex index.html
</IfModule>
Change the line to:
<IfModule dir_module>
 DirectoryIndex index.html index.htm index.php
</IfModule>
Found:
#ServerName www.example.com:80
Modify to:
ServerName localhost:80
2 Test parsing php
vim /usr/local/apache2/htdocs/1.php
Write:
<?php
phpinfo();
?>
浏览器打开:地址/1.php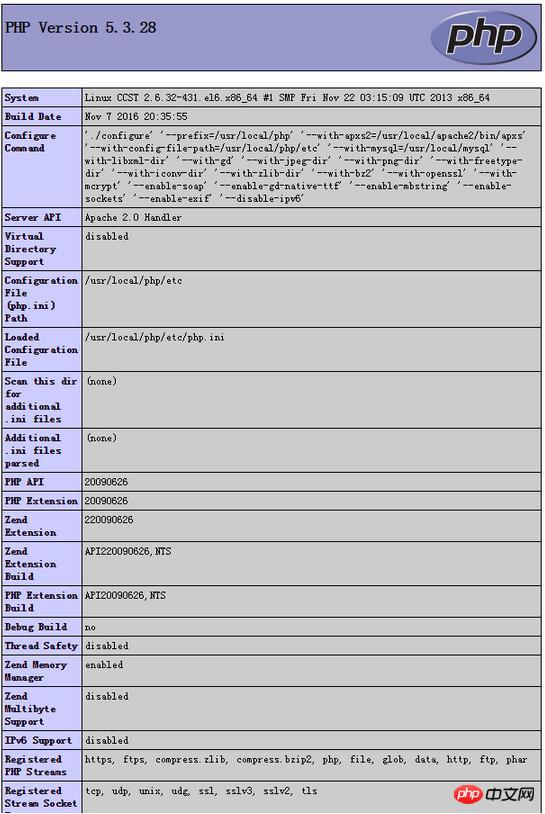
自此php环境安装完成
注:1.安装期间需要系统联网,若无法联网,可下载相关rpm包进行安装。(我自己都是通过虚拟机做成模板直接导入的,若不是虚拟环境可选之前的方法)
2.apache没有做成服务,Apache做服务会在下一篇介绍,另外mysql安装完成后是没有密码的,可自行设置。
以上就是PHP环境搭建(php+Apache+mysql) 的详细介绍的内容,更多相关内容请关注PHP中文网(www.php.cn)!

Hot AI Tools

Undresser.AI Undress
AI-powered app for creating realistic nude photos

AI Clothes Remover
Online AI tool for removing clothes from photos.

Undress AI Tool
Undress images for free

Clothoff.io
AI clothes remover

AI Hentai Generator
Generate AI Hentai for free.

Hot Article

Hot Tools

Notepad++7.3.1
Easy-to-use and free code editor

SublimeText3 Chinese version
Chinese version, very easy to use

Zend Studio 13.0.1
Powerful PHP integrated development environment

Dreamweaver CS6
Visual web development tools

SublimeText3 Mac version
God-level code editing software (SublimeText3)

Hot Topics
 1377
1377
 52
52
 PHP 8.4 Installation and Upgrade guide for Ubuntu and Debian
Dec 24, 2024 pm 04:42 PM
PHP 8.4 brings several new features, security improvements, and performance improvements with healthy amounts of feature deprecations and removals. This guide explains how to install PHP 8.4 or upgrade to PHP 8.4 on Ubuntu, Debian, or their derivati
 Discuss CakePHP
Sep 10, 2024 pm 05:28 PM
CakePHP is an open-source framework for PHP. It is intended to make developing, deploying and maintaining applications much easier. CakePHP is based on a MVC-like architecture that is both powerful and easy to grasp. Models, Views, and Controllers gu
 CakePHP File upload
Sep 10, 2024 pm 05:27 PM
To work on file upload we are going to use the form helper. Here, is an example for file upload.
 How To Set Up Visual Studio Code (VS Code) for PHP Development
Dec 20, 2024 am 11:31 AM
Visual Studio Code, also known as VS Code, is a free source code editor — or integrated development environment (IDE) — available for all major operating systems. With a large collection of extensions for many programming languages, VS Code can be c
 How do you parse and process HTML/XML in PHP?
Feb 07, 2025 am 11:57 AM
This tutorial demonstrates how to efficiently process XML documents using PHP. XML (eXtensible Markup Language) is a versatile text-based markup language designed for both human readability and machine parsing. It's commonly used for data storage an
 CakePHP Quick Guide
Sep 10, 2024 pm 05:27 PM
CakePHP is an open source MVC framework. It makes developing, deploying and maintaining applications much easier. CakePHP has a number of libraries to reduce the overload of most common tasks.
 PHP Program to Count Vowels in a String
Feb 07, 2025 pm 12:12 PM
A string is a sequence of characters, including letters, numbers, and symbols. This tutorial will learn how to calculate the number of vowels in a given string in PHP using different methods. The vowels in English are a, e, i, o, u, and they can be uppercase or lowercase. What is a vowel? Vowels are alphabetic characters that represent a specific pronunciation. There are five vowels in English, including uppercase and lowercase: a, e, i, o, u Example 1 Input: String = "Tutorialspoint" Output: 6 explain The vowels in the string "Tutorialspoint" are u, o, i, a, o, i. There are 6 yuan in total
 Explain JSON Web Tokens (JWT) and their use case in PHP APIs.
Apr 05, 2025 am 12:04 AM
JWT is an open standard based on JSON, used to securely transmit information between parties, mainly for identity authentication and information exchange. 1. JWT consists of three parts: Header, Payload and Signature. 2. The working principle of JWT includes three steps: generating JWT, verifying JWT and parsing Payload. 3. When using JWT for authentication in PHP, JWT can be generated and verified, and user role and permission information can be included in advanced usage. 4. Common errors include signature verification failure, token expiration, and payload oversized. Debugging skills include using debugging tools and logging. 5. Performance optimization and best practices include using appropriate signature algorithms, setting validity periods reasonably,


