
one. Software and environment
(1)Installation date2016/12/23;
(2)raw materialsVS2013, cuda-8.0 (It is best to download cuda7.5, currently theano-0.8.2 The support for cuda-8 is not very good), Anaconda3-4.2.0(64 bit);
(3)The environment is win10.
II. Installation steps
(1)InstallVS2013. There is nothing to say about this. After downloading the 64 version, just take the next step and confirm. Just remember the installation location. My installation directory here is D:\software\VS2013:
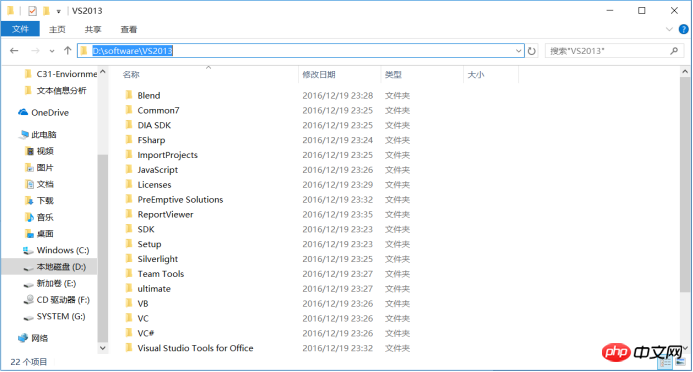
##Then right click on me Computer-》Properties-》Advanced System Settings-》EnvironmentVariables , then edit system variables Path and add two paths D:\software\VS2013\VC\bin and D:\software\VS2013\Common7\IDE, separated by semicolons, as shown in the figure:

Install cuda. There is nothing to say about this. Go to the official website and download cuda, and then go to the next step + to confirm. Please note that if you install During the process win10 is prompted to prevent an operation. You must choose to allow this operation or allow all operations of the program, otherwise cuda will installation failed. CudaThe official website address is
http://docs.nvidia.com/cuda/cuda-installation-guide-microsoft-windows/ #axzz46v2MC6l8,
The download address is https://developer.nvidia.com/cuda-downloads,
Pictured: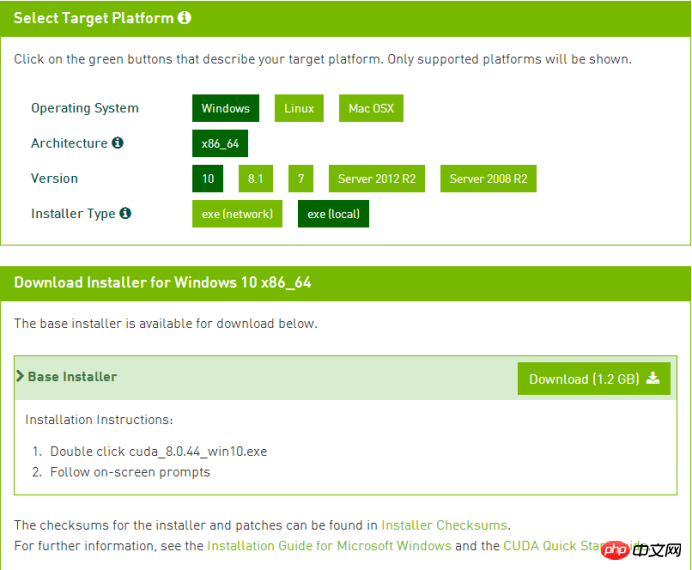
(Note: This is the cuda-8 version. The support for the current version of theano is not very good, but it does not affect the use. Best It’s better to download cuda7.5. I’m too lazy to reinstall it, so I just use cuda-8)
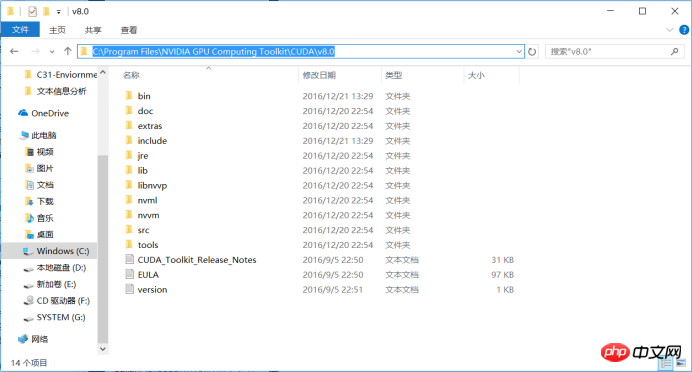
Also be sure to remember the installation path of cuda. My path is C:\Program Files\NVIDIA GPU Computing Toolkit\CUDA\v8.0, as shown in the picture:
(3) Right-click My Computer-》Properties-》Advanced system settings-》Environment variables, you can see that two variables have been added to the system variables CUDA_PATH and CUDA_PATH_V8_0, as shown in the figure:
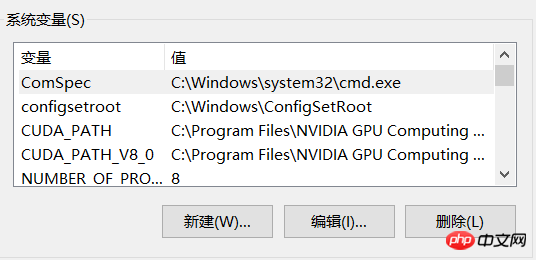
Then edit the system variable Path and add two paths %CUDA_PATH%\lib\x64 and %CUDA_PATH%\bin, separated by semicolons, as shown in the figure:

Click OK.
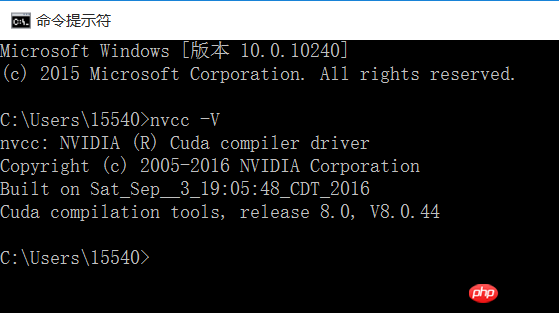
Open the command line and enter nvcc -V. If the following picture appears, the installation is successful:
And go to the directory C:\ProgramData\NVIDIA Corporation\CUDA Samples\v8.0\1_Utilities\deviceQuery Use VS2013 to open and run the test sample deviceQuery_vs2013.vcxproj file, as shown in the figure: (Note C: \ProgramData is a hidden folder, you need to click C Disk-》View- 》Options-》View, select Show hidden files, folders and drives, click OK (as shown in the figure)
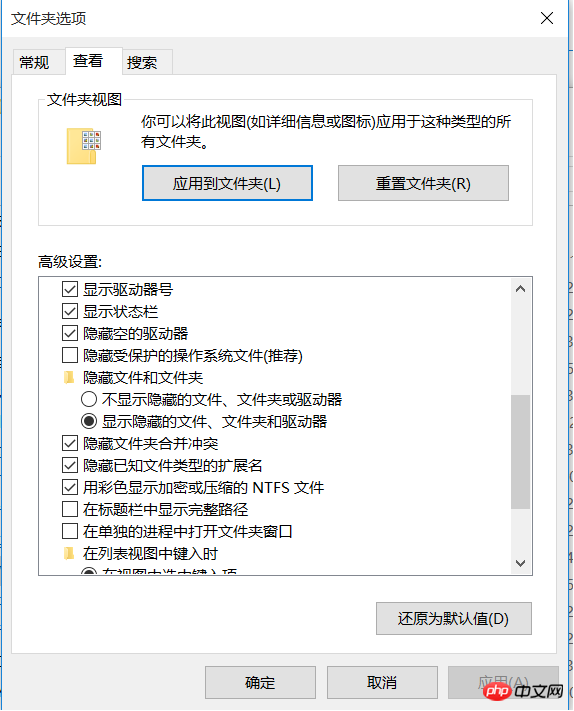
The picture shows the viewing options of the C:\ProgramData folder
The position of j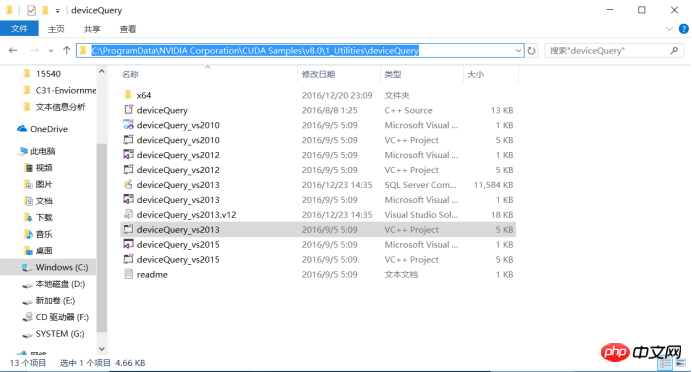
The picture shows the running result in
VS2013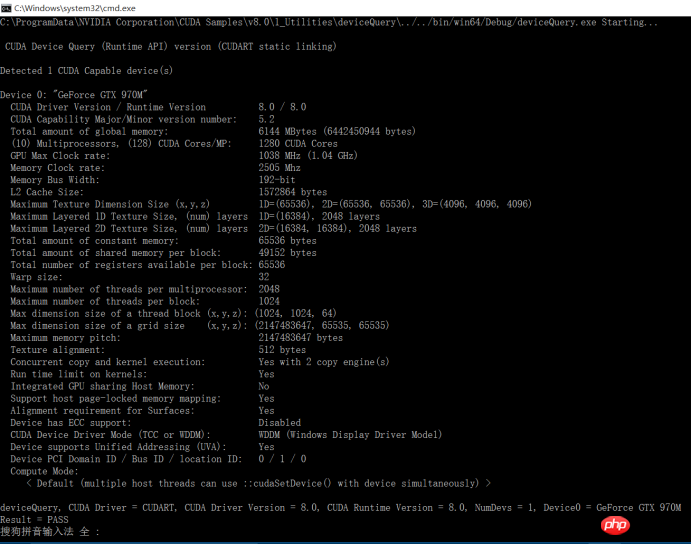
The last line of Result = Pass means the installation and configuration is successful.
(4) Installation
, this is very simple, just confirm all the way Just remember the installation location. For example, I installed it in
D:\software\Anaconda3, as shown in the picture:
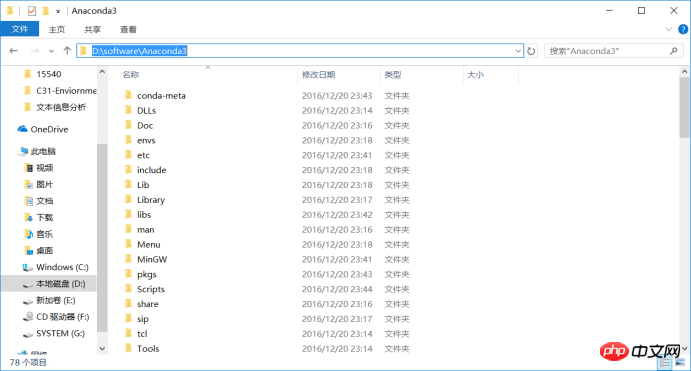
Then right-click My Computer-》Properties
-》Advanced System Settings-》Environment variables, add PATH to the user variables, and add the path D:\software\Anaconda3 , D:\software\Anaconda3\Scripts and D:\software\Anaconda3\Library\bin , click OK. As shown in the picture:
 then enter the command line and enter
python
, if If the message shown in the figure appears, the installation is successful: Close the command line.

(5)Install mingw and libpython. Open the command line and enter conda install mingw libpython. Currently libpython already supports python3.5, there is no need to configure the python3.4 environment. Note that if the installation mingw is very slow, you can ctl+c and exit the command line, and then enter the command line to modify Anaconda mirror, Tsinghua mirror is recommended here, enter in the command line:
conda config --add channels https://mirrors. tuna.tsinghua.edu.cn/anaconda/pkgs/free/
conda config --set show_channel_urls yes
, thenconda install mingw libpython is enough.
After that, go to the installation directory of Anaconda3 and you can see the folder of MinGW, as shown in the figure:
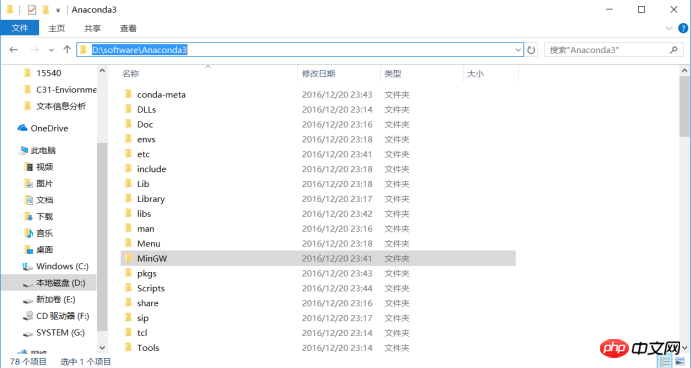
(Note: It is said online that you need to add the path of MinGW to the environment variable. In fact, you don’t need to. We will do it later Just mark the location of MinGW in the configuration file of theano)
(6)Installtheano. First open the command line, enter conda install scipy, and then enter pip install theano. (I don’t understand why you need to enter conda install scipy, but there are suggestions online). Then create a new document ".theanorc.txt" under your personal home folder. The personal home folder is the folder path displayed after opening the command line. For example, mine is C:\Users\15540:
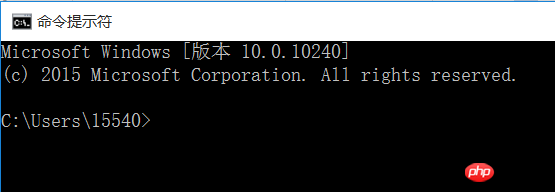
Note that the configuration file of theano is .theanorc.txt, pay attention to the previous point Yes, and the file name is .theanorc, .txt is the file type, don’t make a mistake. Open .theanorc.txt and write the following information:
[global]
openmp=False
device = gpu
optimizer_including=cudnn
floatX = float32
allow_input_downcast=True
[lib]
cnmem = 0.8
[blas]
ldflags=
[gcc]
cxxflags=-ID:\software\Anaconda3\MinGW
[nvcc]
flags = -LD:\software\Anaconda3\libs
compiler_bindir = D:\software\VS2013\VC\bin
fastmath = True
Note that cxxflags=-ID:\software\Anaconda3 \MinGW is replaced by the position of MinGW in your Anaconda3, flags = -LD: \software\Anaconda3\libsReplace the location of libs in your Anaconda3, compiler_bindir = D:\software\VS2013\VC\binReplace with your VS2013中VC\bin The position of ; and cnmem = 0.8 is said online to be set to 1, but there seems to be a problem. It is recommended to set it to A value less than 1, for example, I set it to 0.8 , which can avoid the subsequent display of CNMEM is disabled.
(7) Update the cudnn file, search the Internet for cudnn and download it ( You can download it after registering on the official website. The official website address is https://developer.nvidia.com/cudnn). Unzip the downloaded file and extract the cuda folder, which contains 3 folders, as shown in the figure. Replace the corresponding files in the system with the three folders and overwrite them. For example, my file directory is C:\Program Files\NVIDIA GPU Computing Toolkit\CUDA\v8.0. When overwriting the later import theano, the CuDNN not available prompt will not appear.

(8)Testtheano. Open the command line, enter python, then enter import theano, if UnicodeDecodeError: 'utf-8 appears ' codec can't decode byte 0xd5 in position 11: invalid continuation byteThis encoding problem is due to misuse of nvcc The returned string is the default encoding used by cwindows. Directly find the corresponding error report in theano file, just change the source code error to *.decode("GBK"). For example, my encoding problem occurred in init.py under theano, then modify it to:

(If the above error occurs, close the command line to correct the error and re-enter the command) The following screen appears, indicating success.
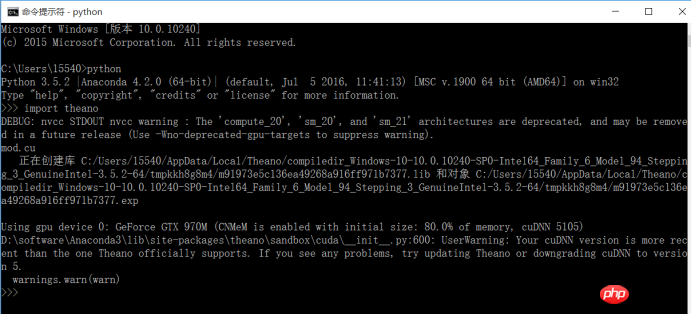
(Note: You can see that there are still warning, but it does not affect the use. warning appears The main reason for is that cuda-8 does not support the current version of theano very well, but I believe it will be updated in the future. theano will solve this problem. If you really can’t accept this warning, just install cuda7.5 , the steps are the same)
3. Other questions
(1)Do not add the PYTHONPATH variable to the environment variable, otherwise it will be easy to import After theano, the problem of configparsercannot be found or does not exist (this is the case in my case);
(2)It is recommended to restart the computer after installing cuda;
(3) If any problem occurs after entering the command on the command line, it is recommended to restart the command line after correcting the problem;
(4) If there are other problems, Try restarting the computer and going to import theano. If there are still problems, it is usually a problem with the configuration file .theanorc.txt (I This configuration method may not be 100% suitable for you), here are some of my references
The above is the detailed content of Graphical introduction to the steps to install theano and configure GPU in Win10 environment. For more information, please follow other related articles on the PHP Chinese website!


