

This article mainly introduces how to create Maven Project in Eclipse. This article is the beginning and foundation of JavaEE development. The following content mainly includes the installation of JDK1.8, the installation of the JavaEE version of Eclipse, the installation of Maven, the configuration of Tomcat 9.0, the installation of the M2Eclipse plug-in on Eclipse and the STS plug-in.
This blog will completely talk about how to create a Maven Project in Eclipse. This blog is the beginning and foundation of JavaEE development. The content of this blog is quite informative and practical, and the environment is configured using the latest version of tools. The following content mainly includes the installation of JDK1.8, the installation of the JavaEE version of Eclipse, the installation of Maven, the configuration of Tomcat 9.0, the installation of the M2Eclipse plug-in on Eclipse and the STS plug-in. Of course, this blog was written under Mac OS X. Of course, the tools involved in this article all have Windows versions, and there is not much difference between the Mac version of Eclipse and the Windows version, so today's blog is still applicable to Windows systems. Although this blog is based on the Eclipse environment, IntelliJ IDEA is also relatively fun to use. You can download and install it from Google.
Of course, after the environment and plug-ins were installed and configured, we also created a Web App based on the prototype provided by Maven. Of course, Eclipse will report an error after the Web App project is created. The solution to the error is provided below. After solving the problem, the project was completed. In the next blog, we will use Maven to introduce SpringMVC based on this WebApp.
I learned some Spring framework in college before, and I have been looking at the latest version of Spring these days, and the changes are still quite big. It's quite exciting in that there are no xml files for various configurations. Dependency injection is implemented through Java configuration or annotations, which is much easier to use than before. In the previous blogs, we used the reflection mechanism of Objective-C language to implement "dependency injection" and "aspect-oriented programming". Of course, dependency injection in Java is also implemented using Java's reflection mechanism. In this blog, we will take a look at SpringMVC.
1. Development environment construction and installation of required tools
1. JDK installation
Of course, Java development lacks JDK. We can download the corresponding version of JDK for the corresponding platform from Oracle's official website (please click here for the official JDK download address). After opening the link, find the area below and download the corresponding JDK. Of course, I am using a Mac OS X system, so I downloaded the one with the largest File Size below.

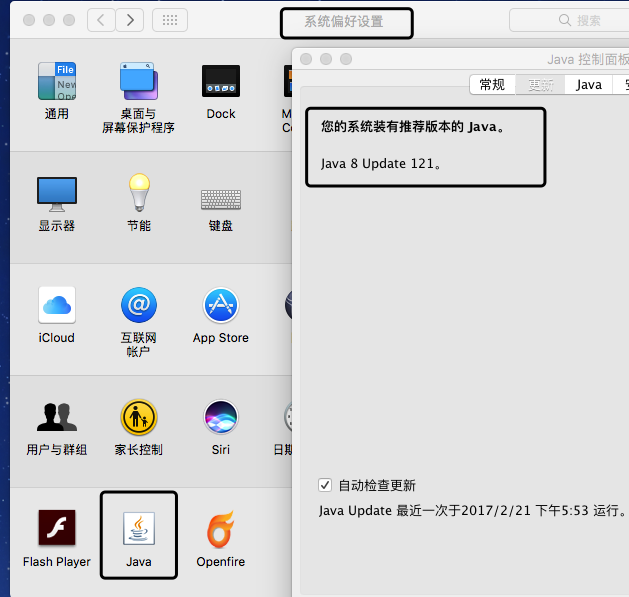
After installing the above dmg file according to the guide, you can open the system preferences to view the installation status, as shown below:
Of course, you can also check the java version through the command line to test whether the installation is successful, as shown below:

2. Eclipse installation
Eclipse Needless to say, the power and flexibility of Eclipse, the key is that Eclipse is free. It's pretty good to use, and most importantly, it's free, so we chose Eclipse as our IDE. Of course, there are many other IDEs for JavaEE development, and of course they are not bad to use, so I won’t go into details here. Because installing the JavaEE version of Eclipse requires JDK support, we must install the JDK first.
1. Install Eclipse Installer
We first download the Eclipse Installer from the Eclipse official website, and then use the Eclipse Installer Install the corresponding Eclipse (please click here for the download address of Eclipse Installer). After opening, click the button below to download.

2. Install the corresponding version of Eclipse
The following is the one installed by the above stepsEclipse InstallerThe result of opening. Various versions of IDE can be installed through the Eclipse installation tool, as shown below. Because we want to use Eclipse for Java EE development, we can choose Eclipse IDE for Java EE Developers.

3. MavenInstallation and configuration
The function of Maven will not be described in detail here. Simply put, it is a tool to manage some dependent libraries. Maven can be used to add and manage some dependent libraries very conveniently. And you can easily manage the version update of dependent libraries. Of course, the role of Cocoapods, which we used when talking about iOS development before, is similar to that of Maven in our engineering development, and is used to manage third-party dependent libraries. Next let's take a look at the installation and configuration of Maven.
1. Download Maven
First of all, we download the corresponding version of Maven from the official website (please click on me for the official download address of Maven). Because mine is OS X system, so I downloaded the one below. Click to download and unzip for later use.

2. Configure Maven
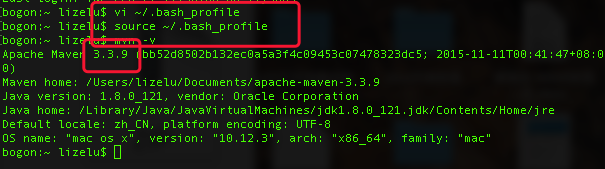
Open the terminal and enter the following command in the terminal, that is, use vi to edit .bash_profile file.
vi ~/.bash_profile
After opening, enter i, switch to vi editing state, and then enter the following three lines to configure the corresponding Environment Variables. The first two configure Maven environment variables, and the latter one configures Java environment variables. M2_HOME is configured with the corresponding directory where the Maven compressed file we just downloaded is decompressed , as shown below:
export M2_HOME=/Users/lizelu/Documents/apache-maven-3.3.9
export PATH=$PATH:$M2_HOME/bin
export JAVA_HOME=/Library/Java/JavaVirtualMachines/jdk1.8.0_121.jdk/Contents/Home
Then click esc to switch to the command line state of vi, and then enter: wq to save and exit vi. Then enter the following command on the command line to make the file we edited take effect.
source ~/.bash_profile
Then check the Maven version through mvn -v, and then see if Maven is installed successfully. The specific results are as follows.
3. Eclipse installs the Maven plug-in-M2Eclipse
(1) Obtain the online installation address from the official website
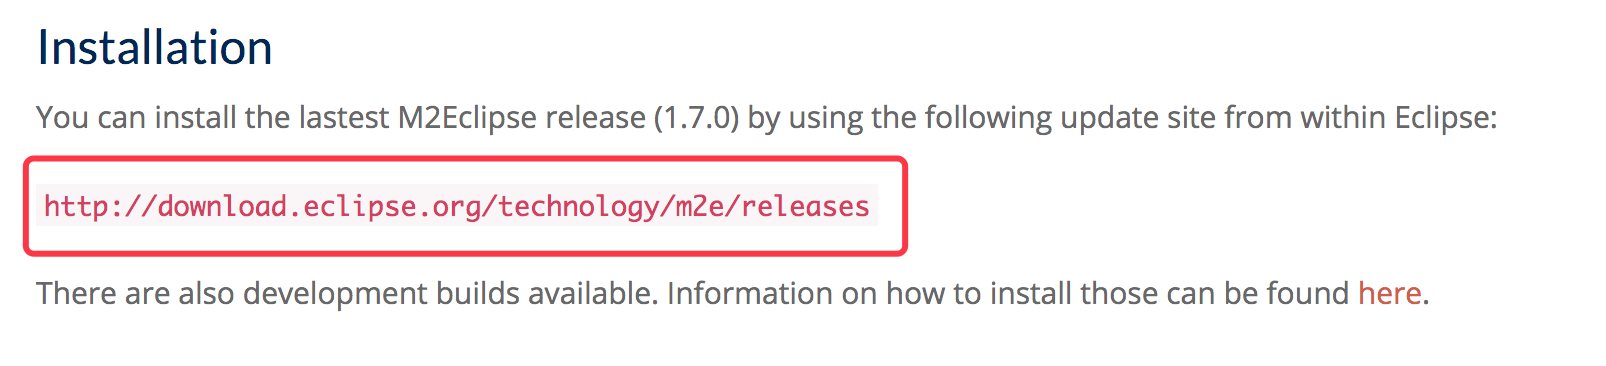
After Maven is installed, in order to facilitate development, we also need to install the Maven plug-in for Eclipse - M2Eclipse (please click here for the official address of M2Eclipse introduction and installation). The installation address of the M2Eclipse plug-in is given on the Eclipse official website. Below is the home page of M2Eclipse.

The address provided at the bottom of the official website is the online installation address of M2Eclipse. Copy the changed address and save it for later use.
(2). Install the plug-in in Eclipse
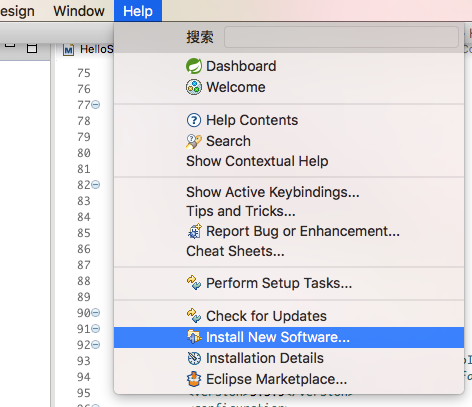
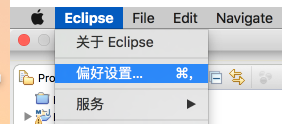
First openHelp->Install New Software…As shown below:
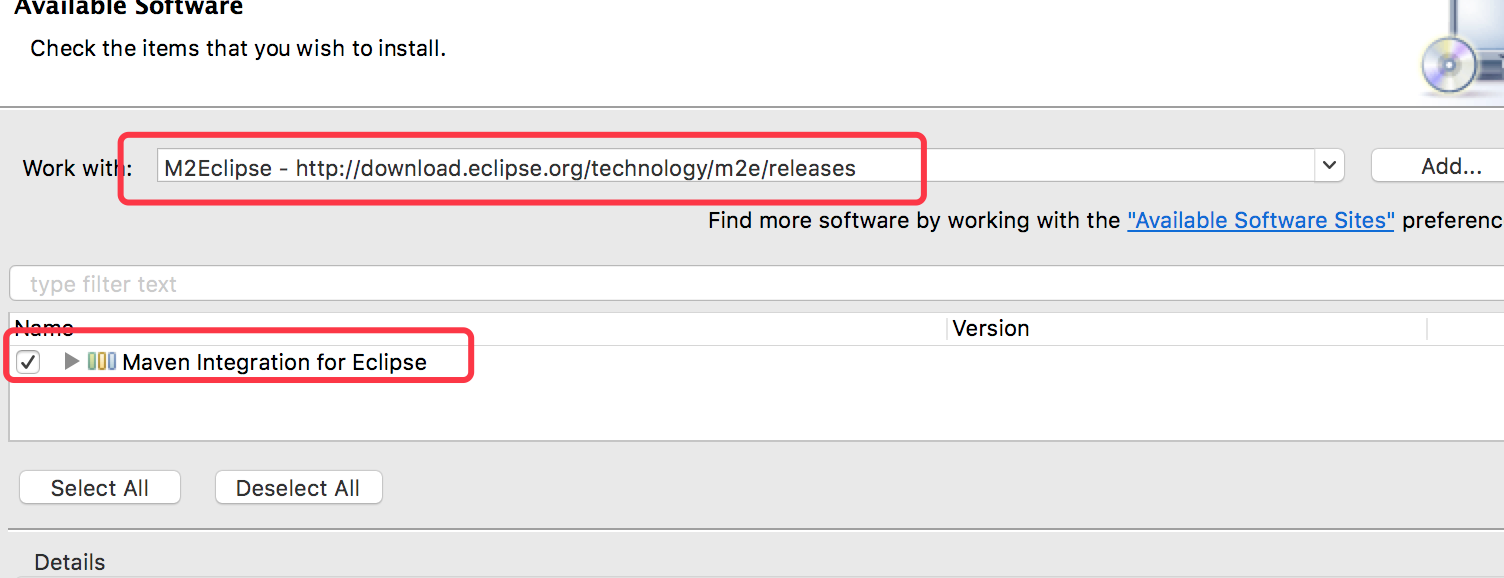
Then the page below will appear, click Add to add the plug-in. When adding, just enter the name and the address of the online installation, as shown below.

After clicking OK in the above steps, wait for a while, the page below will appear, then select it to install.
4. Install STS--Spring Tools Suite
This plug-in is a suite provided by the official Spring website for developers. The introduction is as follows:


In fact, STS inherits the Maven plug-in, but above we still installed M2Eclipse separately. Just find the corresponding plug-in version and install it. What we installed here is the latest version of STS. The installation process is similar to the above-mentioned M2Eclipse installation process, so I won’t go into details here.

5. Installation and configuration of Apache Tomcat
1. Download Tomcat
Of course, first we have to download it from the Apache Tomcat official website A copy of Tomcat. This blog uses the latest version of Tomcat 9.0. You can download the corresponding version of Tomcat from Download. As follows.

After clicking on the corresponding version, we can download the corresponding version of Tomcat according to the corresponding platform, because this blog is based on Mac OS X The system is , so what is downloaded here is the zip package, as shown below.

2. Eclipse configures Tomcat
Unzip the Tomcat downloaded above, next we To configure our Tomcat9.0 in Eclipse. Open Eclipse's Preferences->Server->Runtime Environment->Add, The details are as follows:
Below is the preference setting after opening. Of course, we have configured Tomcat9.0 before. If you want to add a new server, just click Add.

After clicking Add, you will be asked to select the corresponding version. Because we downloaded Tomcat9.0, we will choose Apache Tomcat v9.0 , as shown below:

Then type the name of Tomcat Server and select the location of Tomcat Path, then select the corresponding version of JRE, then click Finish and our Tomcat will be associated with Eclipse.

6. Create a Maven-managed Web project
After the above five steps, our environment and required plug-ins have been installed complete. Next, it’s time to use it. As the saying goes, if you want to do your job well, you must first sharpen your tools. Now it’s time for us to put the above tools to work. This part is to create a Maven-managed Web project through Eclipse, and then introduce and configure SpringMVC in the next step.
1. Create a Maven Web project
New Maven project: File -> New -> Maven Project, the details are as follows:

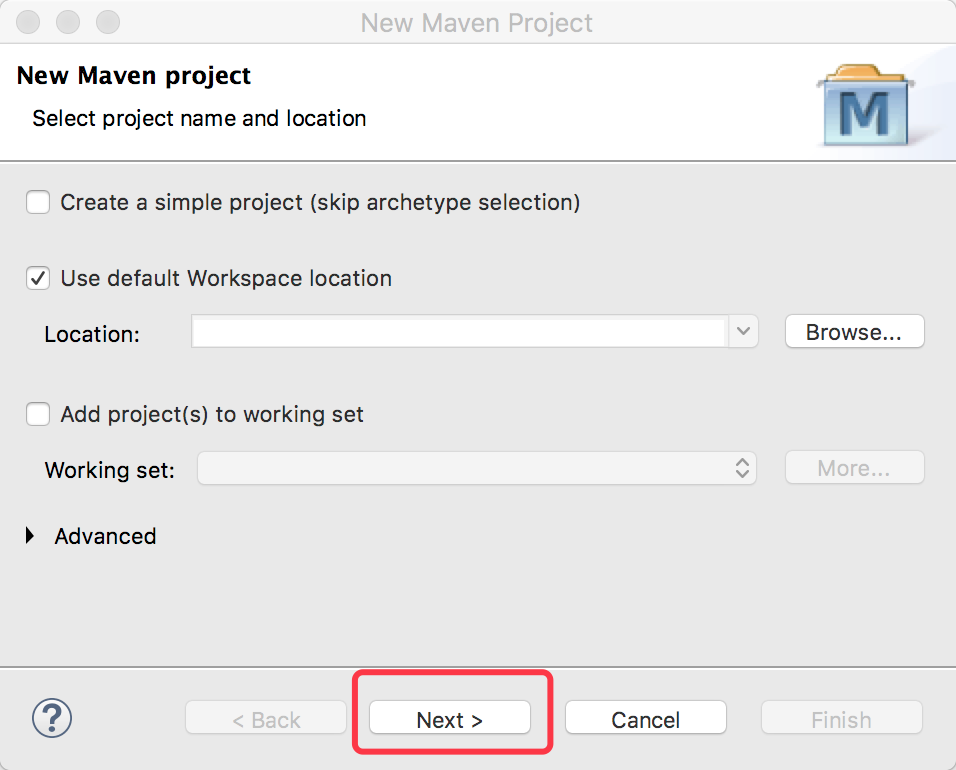
Next to enter the following page, The window below is the prototype of the Maven Project we choose to create. Because we want to create a Web project, we choose maven-archetype-webapp, and then click next.

organization name and the name of the project, and then click Finish. The details are as shown in the figure below:

2. Solve the error
Select the project created by the above prototype , the default is wrong, as shown below. The next thing we need to do is resolve this error.
Properties option, as shown below:

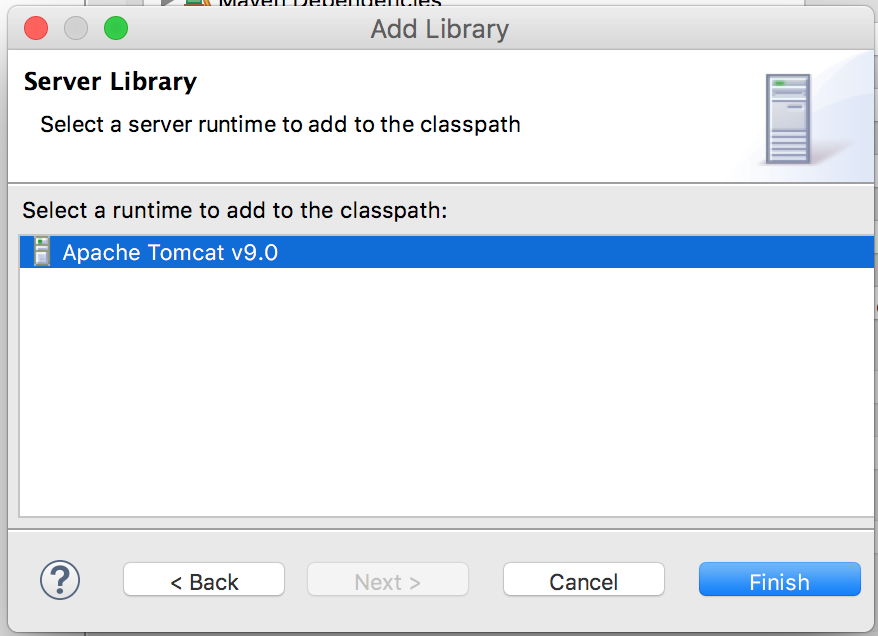
Below is the dialog box after clicking Properties. Then we findJava Build Path -> Libraries ->Add Library… -> Server Runtime ->Next. The details are as follows:

Click Next and select the Apache Tomcat v9.0 we configured previously, and then click Finish. Can. After adding Libraries, don’t forget toclick the Apply button and the OK button.
After these steps, our error will be solved. At this time, when you look at the project we created, the error no longer exists, and there are some more directories, as shown below:

Then enter Order and ExprotJust select the libraries below, as shown below:

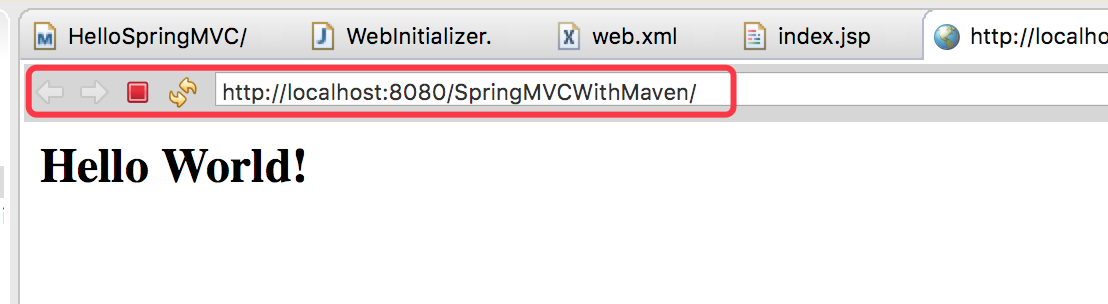
At this moment, The web project we managed using Maven has been created. You can now run your project on Tomcat. Below is the running result.
I won’t go into too much detail about the log configuration here. The Demo involved in this blog will still be shared on github.
The above is the detailed content of JavaEE development environment construction based on Eclipse and creation of Maven Web App (picture and text). For more information, please follow other related articles on the PHP Chinese website!
 eclipse tutorial
 How to set Chinese in eclipse
 What are the C language programming software?
 The difference between java and javaee
 What are the differences between Eclipse version numbers?
 What is the difference between eclipse and idea?
 How to open html files on mobile phone
 Is c language the same as c++?


![[Web front-end] Node.js quick start](https://img.php.cn/upload/course/000/000/067/662b5d34ba7c0227.png)


