
How to install WeChat applet development? I have been obsessed with the development of WeChat mini programs these days. I just want to say what the hell, I don’t want to be a melon-eater, I want to be a little white shark, but only people who are invited can play (so sad), but this is in China , the power of the masses is great, the editor below will bring you a tutorial on WeChat applet development and installation, let’s take a look
Steps
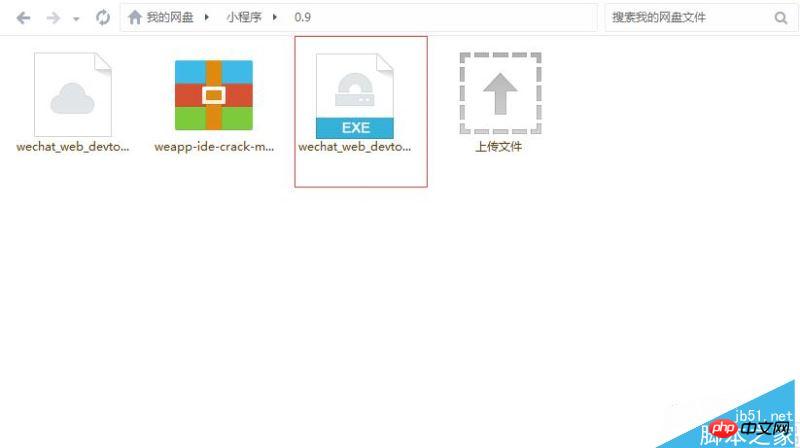
Download the resources first
Software Name: WeChat Mini Program Developer Tool 0.9.092300 Official Installation Version 64-bit
Software Size: 19.7MB
Updated time: 2016-09-24
As shown in the picture:
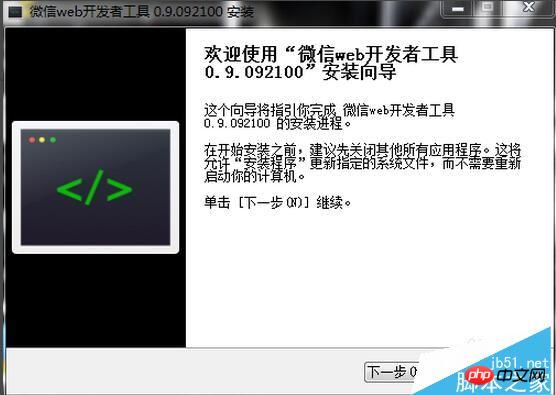
After the download is completed, it is installed. , this is the installation interface. As shown in the picture:
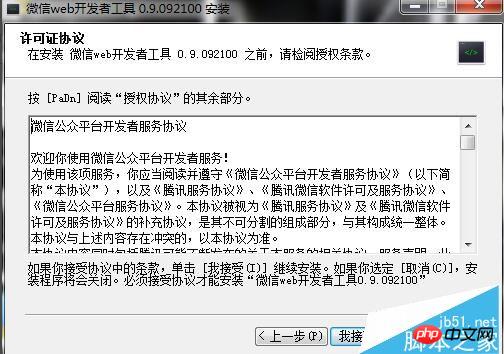
Click I accept, as shown in the picture:
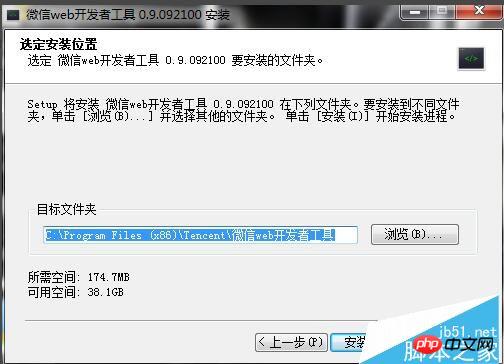
Select the installation path, Here I choose the default one. It will be useful for a while. Click to install, as shown in the picture:
During the installation process, as shown in the picture:
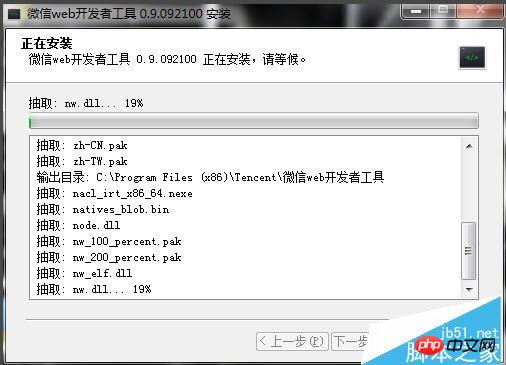
In the installation completion interface, don’t rush to run it, just close it, as shown in the picture:

Then download this zip The package, weapp-ide-crack compressed package, has two js files, as shown in the figure:
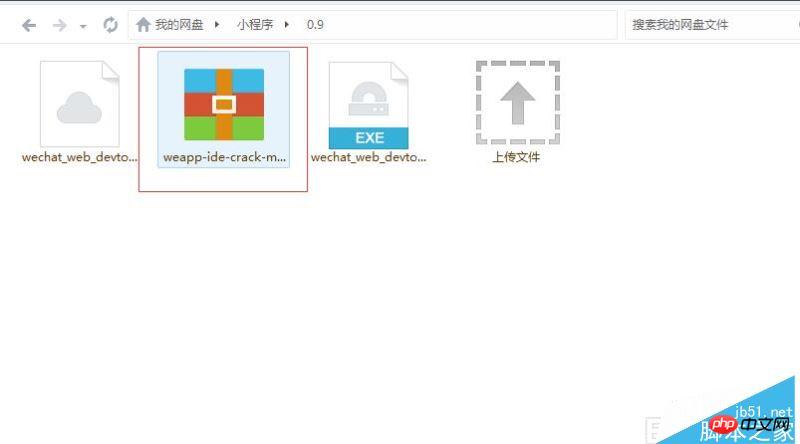
Find the path to the installation program just now, and find and replace it in the path The file \package.nw\app\dist\components\create\createstep.js;\package.nw\app\dist\stroes\projectStores.js
Open it again at this time, and the icon of the desktop applet will pop up the login interface. , scan it with WeChat to enter the project creation interface, as shown in the figure:

After clicking the create project button, you will be asked to fill in the AppID and project name. At this time, the AppID Fill in whatever you want, fill in whatever you want, haha, then enter the project name and project path, click the Add Project button, as shown in the picture:

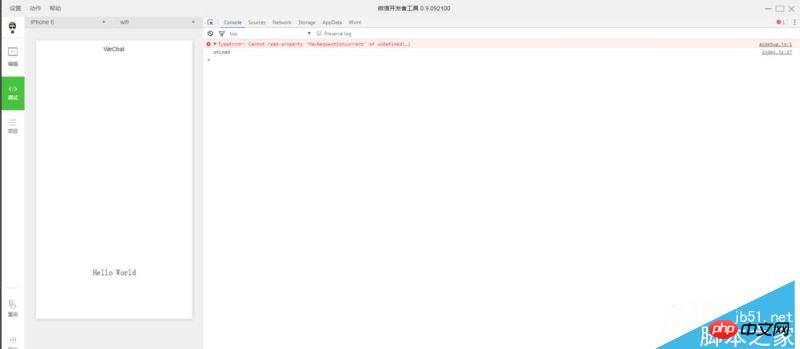
Enter the programming interface, 6 is not 6, The next step is to be a melon-eating crowd or a guinea pig, it’s up to you
The above is the detailed content of WeChat applet development and installation tutorial. For more information, please follow other related articles on the PHP Chinese website!


