
When we use C# to do projects, we basically need to create a login interface, so today we will take a look step by step. If we simply implement the login interface, this article gives 2 examples, starting from simple to difficult. Hope everyone likes it.
First let’s look at a simple production process
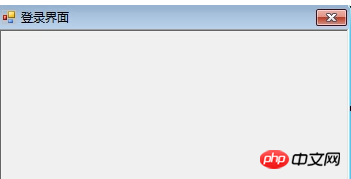
Open visual 2010 and create a new form. Since it is a login window, do not let it have the maximize, minimize and drag and drop functions ( We have already mentioned how to set the size in the previous section), as shown in the figure, even the Text property value of the form is "Login Window", and the size is arbitrary.
After creating the form, we start the detailed component layout of the interface, mainly by dragging the controls on the left, then placing them in the form and defining property values. These are relatively simple.
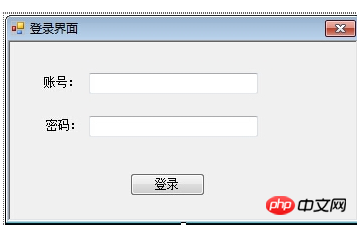
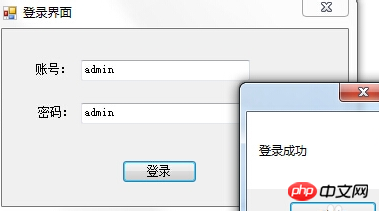
At the code response stage, double-click the login button to enter the code view:
private void button1_Click(object sender, EventArgs e)

  {
    String name = this.textBox1.Text; // 获取里面的值
    String password = this.textBox1.Text;
    if (name.Equals("admin") && password.Equals("admin")) // 判断账号密码是否等于admin
    {
      MessageBox.Show("登录成功");
    }
    else {
      MessageBox.Show("登录失败!");
    }
  }
//限定用户名必须为字母
private void txtName_KeyPress(object sender, KeyPressEventArgs e)
{
if ((e.KeyChar >= 'a' && e.KeyChar <= 'z') || (e.KeyChar >= 'A' && e.KeyChar <= 'Z'))
{
e.Handled = false;
}
else {
MessageBox.Show("用户名只能为字母!");
e.Handled = true;
}
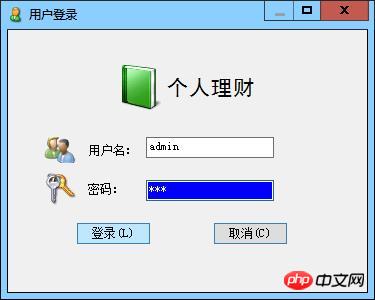
}Interface:
  //光标进入文本框时,背景为蓝色,字体为白色;
     //光标离开文本框时,背景为白色,字体为黑色。
     private void txtName_Enter(object sender, EventArgs e)
     {
       txtName.ForeColor = Color.White;
       txtName.BackColor = Color.Blue;
     }

     private void txtName_Leave(object sender, EventArgs e)
     {
       txtName.BackColor = Color.White;
       txtName.ForeColor = Color.Black;
}private void btnLogin_Click(object sender, EventArgs e)
{
string userName = txtName.Text;
string password = txtPwd.Text;
if (userName == "admin" && password == "123")
{
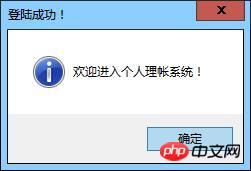
MessageBox.Show("欢迎进入个人理帐系统!", "登陆成功!", MessageBoxButtons.OK, MessageBoxIcon.Information);
}
else
{
MessageBox.Show("您输入的用户名或密码错误!", "登录失败!", MessageBoxButtons.OK, MessageBoxIcon.Exclamation);
}
} private void btnCancel_Click(object sender, EventArgs e)
{
txtName.Text = "";
txtPwd.Text = "";
txtName.Focus();
}
Notice:
(1) ico: It is a Windows icon file format that can store a single pattern, multiple sizes, and multiple color plates. icon file. (2) MessageBox: Message box displays a modal dialog box that contains a system icon, a set of buttons, and a brief application-specific message, such as status or error information.
(3) Button’s shortcut key is implemented by setting the Text property to “Cancel (&C)”.
(4) The software used in this exercise is Visual Studio 2012. The graphics resources are provided by VS. It is said that they can be found in the VS installation folder Common7\ImageLibrary. If not, you can download it from the official website.
The above is the detailed content of Teach you how to create the simplest login interface using C#. For more information, please follow other related articles on the PHP Chinese website!


