

Basics of Mini Program Development: Data Binding (8)

Tutorial continues from WeChat Mini Program Development Tutorial (Basics) 7-Data Binding. When you need to display a set of data, you can use wx:for
//.wxml
<view wx:for="{{array}}">
{{index}}: {{item.message}}
</view>
//.js
age({
data: {
array: [{
message: 'foo',
}, {
message: 'bar'
}]
}
})whereindex is the default variable name of the current data index, item is the default variable name of the current data item.
You can also use wx:for-item and wx:for-index to specify the alias
<view wx:for="{{array}}" wx:for-index="idx" wx:for-item="itemName">
  {{idx}}: {{itemName.message}}
</view>can also be used in nested form, as shown below. Nine multiplication table
<view wx:for="{{[1, 2, 3, 4, 5, 6, 7, 8, 9]}}" wx:for-item="i">
  <view wx:for="{{[1, 2, 3, 4, 5, 6, 7, 8, 9]}}" wx:for-item="j">
    <view wx:if="{{i <= j}}">
      {{i}} * {{j}} = {{i * j}}
    </view>
  </view>
</view>Similar to block wx:if, you can also use wx:for on the
<block wx:for="{{[1, 2, 3]}}">
  <view> {{index}}: </view>
  <view> {{item}} </view>
</block>wx:key
To understand why wx:key is needed, first look at an example:
//.wxml
<checkbox wx:for="{{objectArray}}" value="{{item.name}}" style="display: block;"> {{item.name}} </checkbox>
<button bindtap="addToFront">在上方添加一个新的check组件</button>
//.js
Page({
data: {
objectArray: [
{id: 1, name: '我没有被选中'},
{id: 2, name: '我没有被选中'},
],
},
addToFront: function(e) {
const length = this.data.objectArray.length
this.data.objectArray = [{id: length, name: '我没有被选中'}].concat(this.data.objectArray)
this.setData({
objectArray: this.data.objectArray
})
},
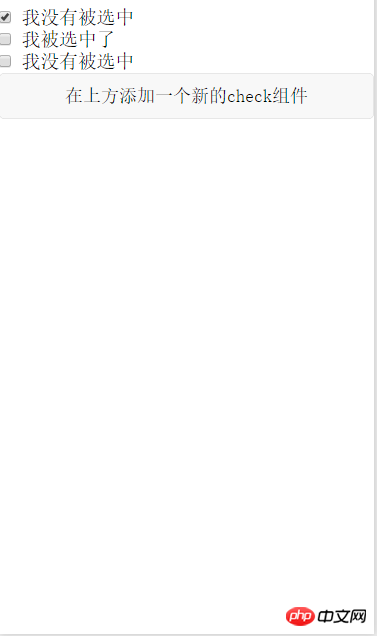
})The above code Two checkbox components and a button are created. When the button is clicked, a checkbox component will be added at the top.
Compile the code and the following interface will be displayed:
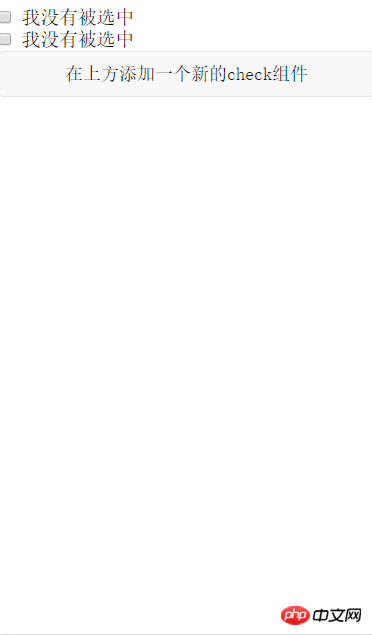
Write the picture description here
Click the button and the interface will be as follows:
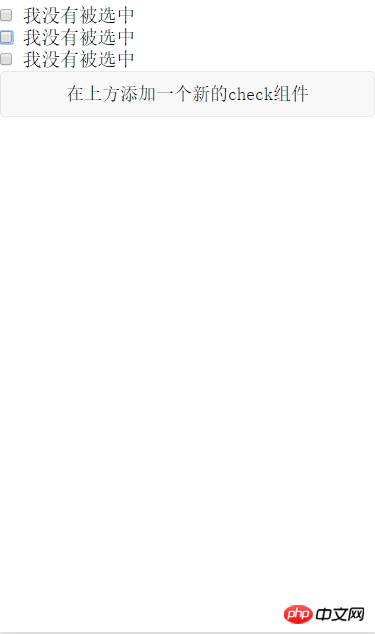
Write the picture description here
ok, everything is normal here. In order to better explain the problem, add the processing of the checkbox selection event. When the checkbox is selected, Change the text to "I was selected", the relevant code is as follows:
//wxml
<checkbox-group bindchange="checkboxChange">
<checkbox wx:for="{{objectArray}}" value="{{item.id}}" style="display: block;" > {{item.name}}
</checkbox>
</checkbox-group>
<button bindtap="addToFront">在上方添加一个新的check组件</button>
//js
Page({
data: {
objectArray: [
{id: 1, name: '我没有被选中'},
{id: 2, name: '我没有被选中'},
],
},
addToFront: function(e) {
const length = this.data.objectArray.length
this.data.objectArray = [{id: length + 1, name: '我没有被选中'}].concat(this.data.objectArray)
this.setData({
objectArray: this.data.objectArray
})
},
checkboxChange: function(e){
console.log('checkboxChange')
const length = this.data.objectArray.length
let checkBoxArray = this.data.objectArray
for (let i = 0; i < length; i++) {
let ischecked = false
for (let j = 0; j < e.detail.value.length; j++){
if (checkBoxArray[i].id == e.detail.value[j]){
checkBoxArray[i].name = '我被选中了'
ischecked = true
}
}
if (!ischecked){
checkBoxArray[i].name = '我没有被选中'
}
}
this.setData({
objectArray: this.data.objectArray
})
}
})When the first checkbox is selected, the interface is as follows
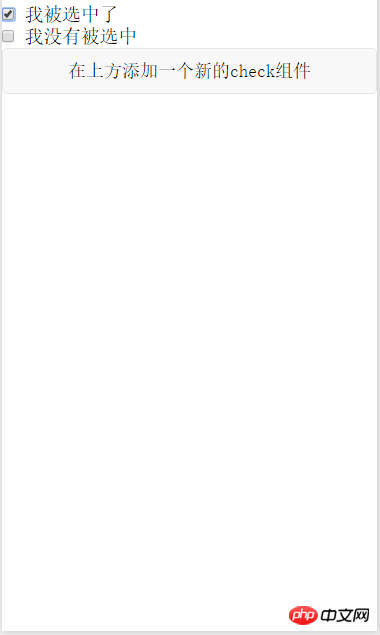
Write picture description here
What will happen if you click the Add Component button at this time? The expected effect should be as follows
Write picture here Description
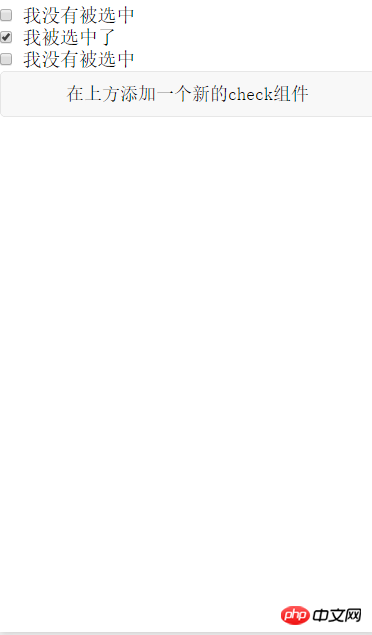
However, the actual effect is indeed like the picture below
Write the picture description here
You can see that the rendering engine and The selected effect is not bound to the data, resulting in unexpected results. If you want to achieve the expected effect, you need to use wx:key
<checkbox-group bindchange="checkboxChange">
  <checkbox wx:for="{{objectArray}}" wx:key = "id" value="{{item.id}}" style="display: block;" > {{item.name}}
  </checkbox>
</checkbox-group>

<button bindtap="addToFront">在上方添加一个新的check组件</button> to modify the .wxml file as shown in the above code. You can achieve the expected effect. The key point is wx :key = "id" This sentence
If the position of the items in the list will change dynamically or new items are added to the list, and you want the items in the list to maintain their own characteristics and Status (such as the input content in
, the selected status of), you need to use wx:keyto specify the unique identifier of the item in the list.
wx:keyThe value is provided in two forms
1 String, representing a property of the item in the array of the for loop, the value of the property needs to be in the list A unique string or number that cannot be changed dynamically.
2 Reserved keywords*thisrepresents the item itself in the for loop. This representation requires the item itself to be a unique string or number,
quoted above From WeChat official tutorial. In addition to maintaining the state of view components, using wx:key also helps improve rendering efficiency
When data changes trigger the rendering layer to re-render, the band will be corrected For components with keys, the framework will ensure that they are reordered rather than recreated to ensure that the components maintain their own state and improve the efficiency of list rendering.
The above is the detailed content of Basics of Mini Program Development: Data Binding (8). For more information, please follow other related articles on the PHP Chinese website!

Hot AI Tools

Undresser.AI Undress
AI-powered app for creating realistic nude photos

AI Clothes Remover
Online AI tool for removing clothes from photos.

Undress AI Tool
Undress images for free

Clothoff.io
AI clothes remover

AI Hentai Generator
Generate AI Hentai for free.

Hot Article
Hot Tools

Notepad++7.3.1
Easy-to-use and free code editor

SublimeText3 Chinese version
Chinese version, very easy to use

Zend Studio 13.0.1
Powerful PHP integrated development environment

Dreamweaver CS6
Visual web development tools

SublimeText3 Mac version
God-level code editing software (SublimeText3)
Hot Topics
 1378
1378
 52
52

 How to implement data binding function in SwiftUI using MySQL
Jul 30, 2023 pm 12:13 PM
How to implement data binding function in SwiftUI using MySQL
Jul 30, 2023 pm 12:13 PM
How to use MySQL to implement data binding function in SwiftUI. In SwiftUI development, data binding can realize automatic updating of interface and data, improving user experience. As a popular relational database management system, MySQL can store and manage large amounts of data. This article will introduce how to use MySQL to implement data binding function in SwiftUI. We will make use of Swift's third-party library MySQLConnector, which provides connections and queries to MySQL data.
 Detailed explanation of data binding functions in Vue documentation
Jun 20, 2023 pm 10:15 PM
Detailed explanation of data binding functions in Vue documentation
Jun 20, 2023 pm 10:15 PM
Vue is an open source JavaScript framework mainly used for building user interfaces. The core of Vue is data binding, which provides a convenient and efficient way to achieve two-way binding between data and views. Vue's data binding mechanism is handled through some special functions. These functions can help us automatically bind the data in the template to the corresponding properties in the JavaScript object, so that when the properties in the JavaScript object are modified, the data in the template will also automatically
 How to use the v-once directive to implement one-time rendering of data binding in Vue
Jun 11, 2023 pm 01:56 PM
How to use the v-once directive to implement one-time rendering of data binding in Vue
Jun 11, 2023 pm 01:56 PM
Vue is a popular front-end JavaScript framework that provides many instructions to simplify the data binding process. One of the very useful instructions is v-once. In this article, we will delve into the use of the v-once directive and how to implement data-bound one-time rendering in Vue. What is the v-once instruction? v-once is a directive in Vue. Its function is to cache the rendering results of elements or components so that their rendering process can be skipped in subsequent updates.
 Vue error: v-model cannot be used correctly for two-way data binding. How to solve it?
Aug 19, 2023 pm 08:46 PM
Vue error: v-model cannot be used correctly for two-way data binding. How to solve it?
Aug 19, 2023 pm 08:46 PM
Vue error: v-model cannot be used correctly for two-way data binding. How to solve it? Introduction: Two-way data binding is a very common and powerful feature when developing with Vue. However, sometimes we may encounter a problem, that is, when we try to use v-model for two-way data binding, we encounter an error. This article describes the cause and solution of this problem, and provides a code example to demonstrate how to solve the problem. Problem Description: When we try to use v-model in Vue
 PHP permission management and user role setting in mini program development
Jul 04, 2023 pm 04:48 PM
PHP permission management and user role setting in mini program development
Jul 04, 2023 pm 04:48 PM
PHP permission management and user role setting in mini program development. With the popularity of mini programs and the expansion of their application scope, users have put forward higher requirements for the functions and security of mini programs. Among them, permission management and user role setting are An important part of ensuring the security of mini programs. Using PHP for permission management and user role setting in mini programs can effectively protect user data and privacy. The following will introduce how to implement this function. 1. Implementation of Permission Management Permission management refers to granting different operating permissions based on the user's identity and role. in small
 PHP page jump and routing management in mini program development
Jul 04, 2023 pm 01:15 PM
PHP page jump and routing management in mini program development
Jul 04, 2023 pm 01:15 PM
PHP's page jump and routing management in mini program development With the rapid development of mini programs, more and more developers are beginning to combine PHP with mini program development. In the development of small programs, page jump and routing management are very important parts, which can help developers achieve switching and navigation operations between pages. As a commonly used server-side programming language, PHP can interact well with mini programs and transfer data. Let’s take a detailed look at PHP’s page jump and routing management in mini programs. 1. Page jump base
 How to implement small program development and publishing in uniapp
Oct 20, 2023 am 11:33 AM
How to implement small program development and publishing in uniapp
Oct 20, 2023 am 11:33 AM
How to develop and publish mini programs in uni-app With the development of mobile Internet, mini programs have become an important direction in mobile application development. As a cross-platform development framework, uni-app can support the development of multiple small program platforms at the same time, such as WeChat, Alipay, Baidu, etc. The following will introduce in detail how to use uni-app to develop and publish small programs, and provide some specific code examples. 1. Preparation before developing small programs. Before starting to use uni-app to develop small programs, you need to do some preparations.
 PHP security protection and attack prevention in mini program development
Jul 07, 2023 am 08:55 AM
PHP security protection and attack prevention in mini program development
Jul 07, 2023 am 08:55 AM
PHP security protection and attack prevention in mini program development With the rapid development of the mobile Internet, mini programs have become an important part of people's lives. As a powerful and flexible back-end development language, PHP is also widely used in the development of small programs. However, security issues have always been an aspect that needs attention in program development. This article will focus on PHP security protection and attack prevention in small program development, and provide some code examples. XSS (Cross-site Scripting Attack) Prevention XSS attack refers to hackers injecting malicious scripts into web pages
