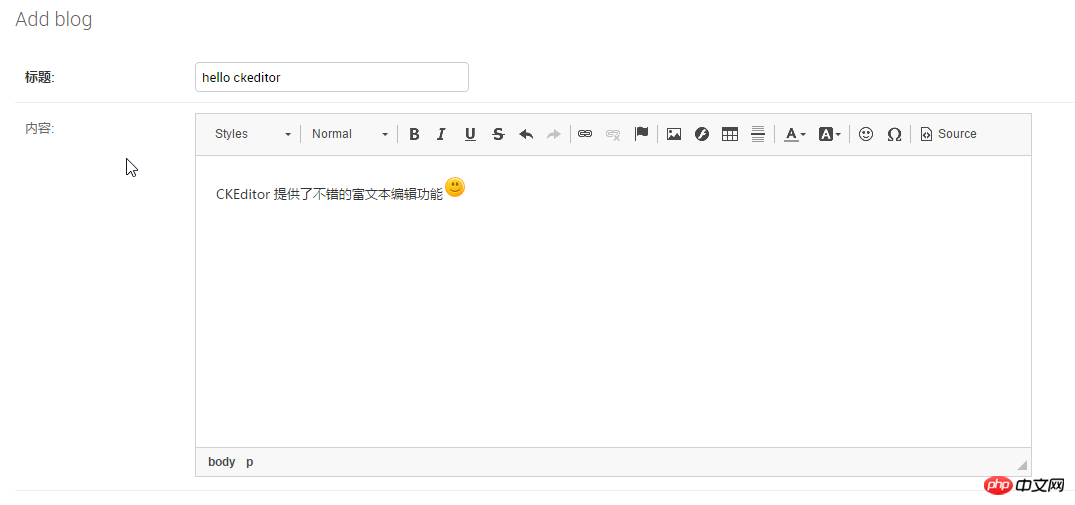
Recently, I need to use the rich text editor in django admin. Since I prefer the CKEditor rich text editor, I have this article. The following article mainly introduces how to easily use rich text editor in django. Friends who need it can refer to the method of text editor CKEditor.
Preface
Django is a web framework that is easy to get started quickly. It is very useful to use it to create content-driven websites (such as independent blogs) convenient. Unfortunately, Django does not provide an official rich text editor, which happens to be an indispensable control in the backend management of content-based websites. ckeditor is a widely used open source web page editor based on JavaScript. It can be combined with a variety of programming languages, and python is certainly no exception. This article will introduce how to use ckeditor perfectly in a Django-based blog system.
Usage
1. Install
pip install django-ckeditor
2. Change INSTALLED_APPS## in 'ckeditor'settings.py
#3. Since djang-ckeditor uses JQuery in the ckeditor-init.js file, you need to set CKEDITOR_JQUERY_URL in settings.py to specify the path of the JQuery library, for example:CKEDITOR_JQUERY_URL ='https://apps.bdimg.com/libs/jquery/2.1.4/jquery.min.js'
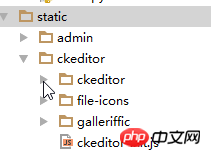
python manage.py collectstatic, and copy the media resources required by CKEditor into the path specified by STATIC_ROOT.
STATIC_ROOT = os.path.join(BASE_DIR,'static/')

from django.db import models
from ckeditor.fields import RichTextField
class Blog(models.Model):
 title = models.CharField(max_length=50,verbose_name="标题")
 content = RichTextField(blank=True,null=True,verbose_name="内容")

 def __unicode__(self):
 return self.name

##File upload 1. Add ckeditor_uploader to INSTALLED_APPS in settings.py
2. CKEditor uses Django’s storage API and uses Django’s file storage by default, which will use MEDIA_ROOT and MEDIA_URL need to be defined in settings.py. In addition, CKEDITOR_UPLOAD_PATH can also be specified, which is located under MEDIA_ROOT:
MEDIA_URL = '/media/'
MEDIA_ROOT = os.path.join(BASE_DIR,'media/')
CKEDITOR_UPLOAD_PATH = 'uploads/'
3. Add the URL mapping of CKEditor in the project's urls.py
url(r'^ckeditor/', include('ckeditor_uploader.urls')),
If not added, the following error may occur:
 4. (Optional) Add CKEDITOR_IMAGE_BACKEND to settings.py to enable thumbnails, for example:
CKEDITOR_IMAGE_BACKEND = 'PIL'
from ckeditor_uploader.fields import RichTextUploadingField
class Post(models.Model):
 content = RichTextUploadingField()
Summarize
The above is the detailed content of Django teaches you how to easily use the rich text editor CKEditor. For more information, please follow other related articles on the PHP Chinese website!


