
phpMyAdmin full installation and configuration step tutorial
phpMyAdmin is a MySQL database management tool. After installing the tool, you can Manage MySQL data directly through the web form without the need to execute system commands. It is very suitable for database managers who are not familiar with database operation commands. The installation method of this tool is explained in detail below.
In the previous article "Introduction to phpMyAdmin", we only introduced the introduction of using phpMyAdmin and the installation of phpMyAdmin in an integrated environment. So today we will introduce to you that phpMyAdmin is not integrated Installation in the environment!
Step 1: Download
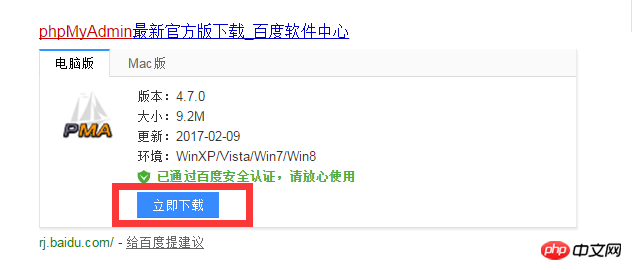
Baidu search to download phpMyAdmin, or you can download it from the phpMyAdmin official website, and then unzip it to a directory that can be accessed by the web. If it is a virtual space, you can decompress it and upload it to the web directory through the ftp tool. At the same time, you can modify the name of the decompressed file.
Step 2: Configuration
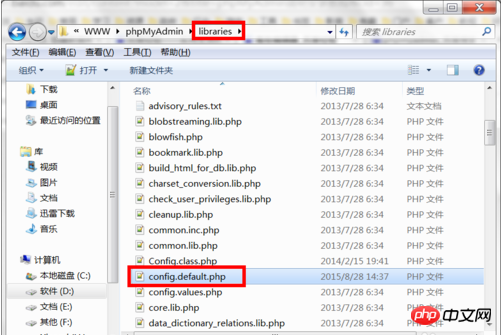
Open the config.default.php file in the libraries directory, Find the following items in turn and configure them according to the instructions.
Step 3: Location access URL
$cfg['PmaAbsoluteUri'] = '' ;Fill in the access URL of phpMyAdmin here.
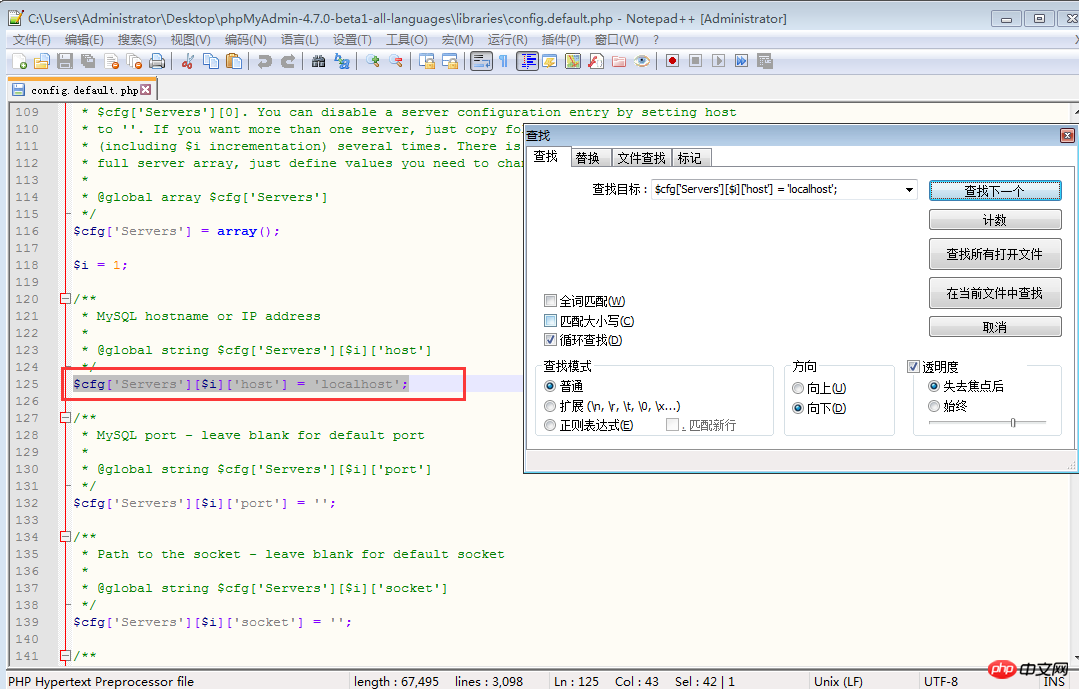
Step 4: MySQL host information
$cfg['Servers'][$i ]['host'] = 'localhost'; // MySQL hostname or IP address fill in localhost or the IP address of the server where MySQL is located. If MySQL and the phpMyAdmin are on the same server, the default localhost
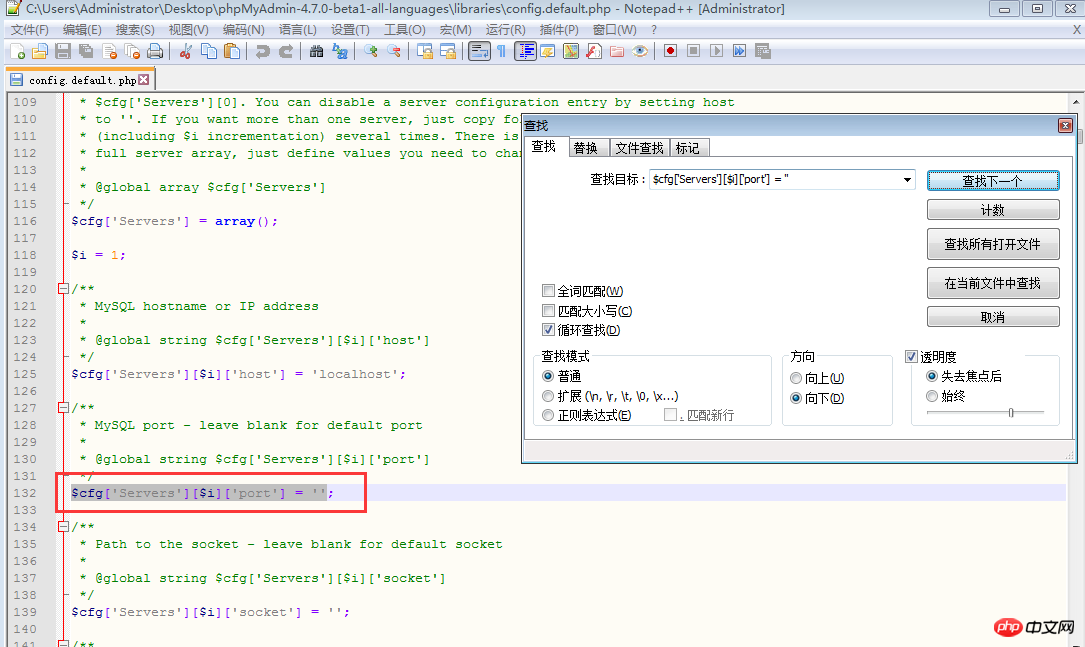
$cfg[ 'Servers'][$i]['port'] = ''; // MySQL port - leave blank for default port MySQL port, the default is 3306, just leave it blank, if you use other ports when installing MySQL , need to be filled in here.

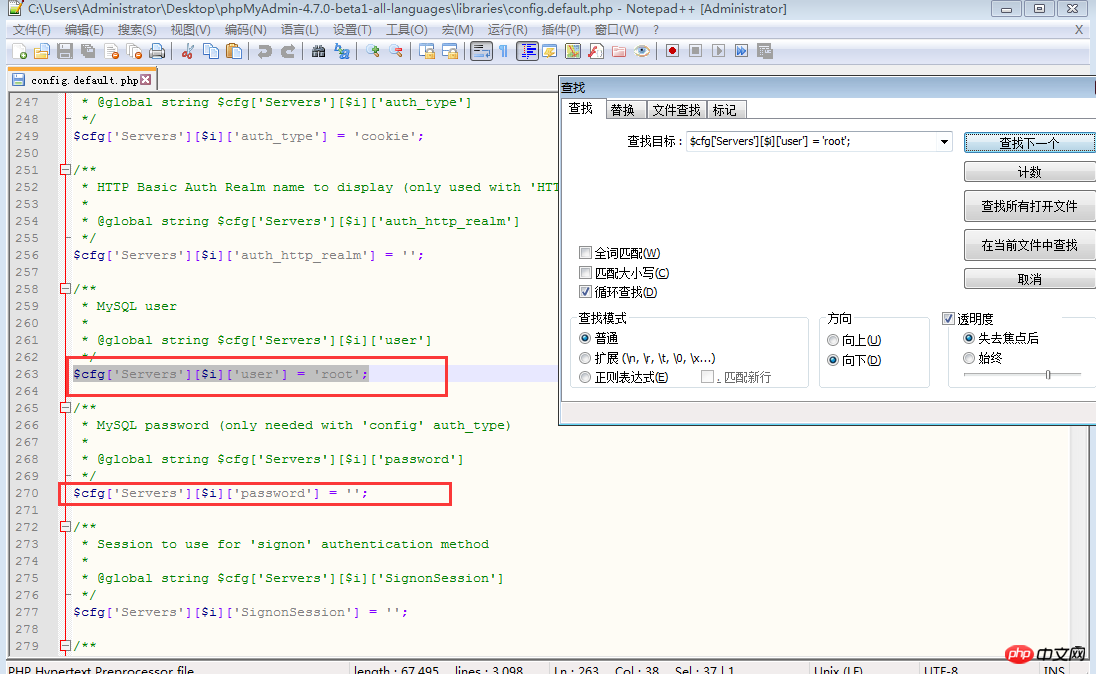
Step 5: MySQL username and password
$cfg['Servers'][$i]['user'] = 'root'; // Fill in the MySQL user name used to access phpMyAdmin. The default is root.
fg['Servers'][$i]['password'] = ''; // Fill in the password corresponding to the above MySQL user name.
Step 6: Authentication method
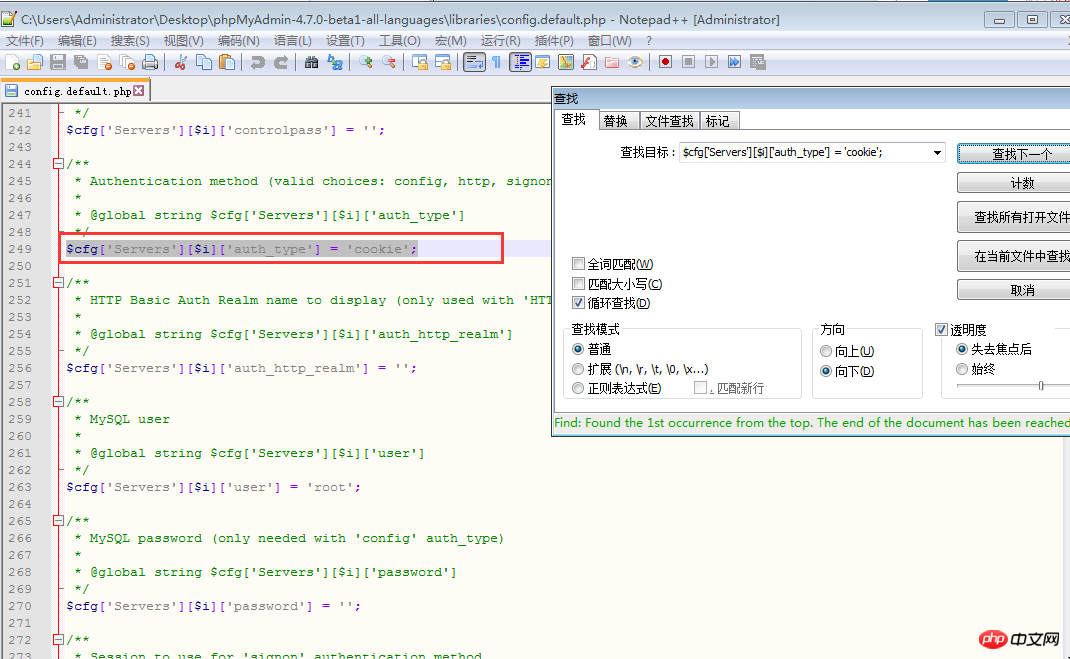
$cfg['Servers'][$i] ['auth_type'] = 'cookie'; Considering security factors, it is recommended to fill in cookies here. There are four modes to choose from here, cookie, http, HTTP, config
config mode. Enter the access URL of phpMyAdmin to enter directly. There is no need to enter the user name and password. It is unsafe and not recommended. .
When this item is set to cookie, http or HTTP, logging in to phpMyAdmin requires a data username and password for verification, as follows:
The PHP installation mode is Apache, and http and cookies can be used;
PHP installation mode is CGI and cookies can be used.
Step 7: Setting the phrase password (blowfish_secret)
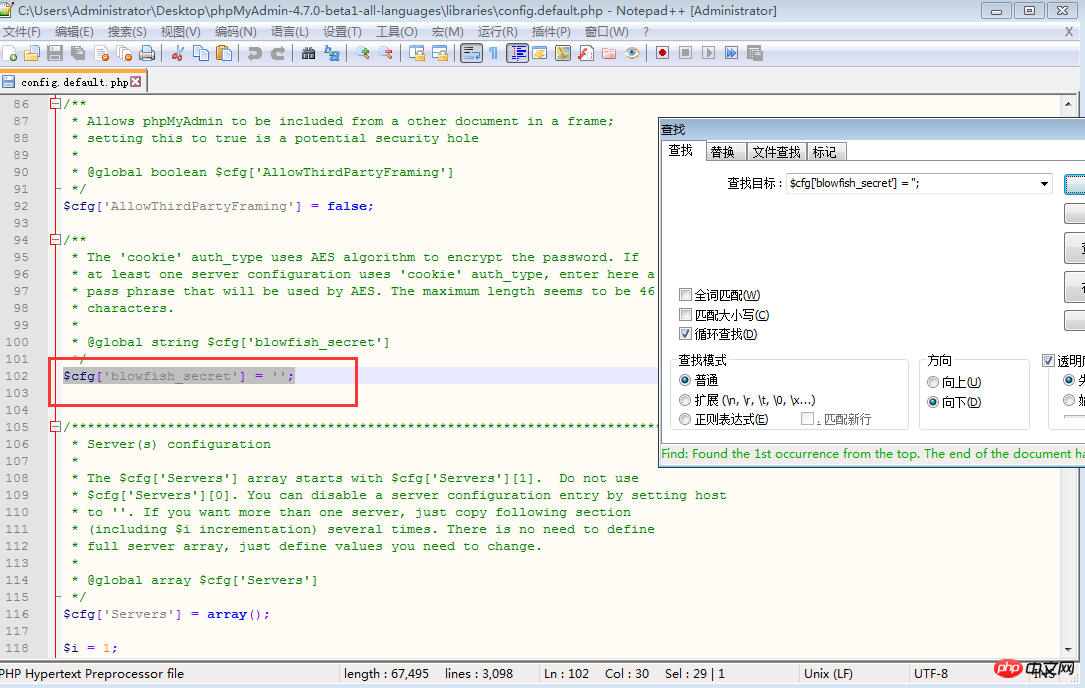
$cfg['blowfish_secret' ] = '';If the authentication method is set to cookie, you need to set a phrase password. It is up to you to decide what password to set. It cannot be left blank, otherwise an error will be prompted when logging in to phpMyAdmin.
Note: It is best to download phpMyAdmin from the official website to ensure the completeness of the content.
This concludes the installation tutorial for PHPmyadmin. Friends who still don’t understand can test it locally based on the content of this article!
【related suggestion】
1. Recommended related topics: "phpMyAdmin usage tutorial"
2. Recommended related video courses: "MySQL Online Free Tutorial 》
3. Online download of related tools:《phpMyAdmin tool download》
The above is the detailed content of phpMyAdmin complete installation and configuration step tutorial. For more information, please follow other related articles on the PHP Chinese website!
 Commonly used mysql management tools
 What to do if phpmyadmin fails to import sql file
 How to change phpmyadmin to Chinese
 What's going on when phpmyadmin can't access it?
 Database vulnerability repair methods
 Windows cannot find the solution to the certificate
 How to upload html
 Website domain name valuation tool


