

Preface
I have put all the code on github-weChatApp-Run, you can download it to have a look or star it first. I There will be some optimizationupdate in the future. Now it is just a learning demo, everyone communicates and learns, and the actual application needs more optimization.
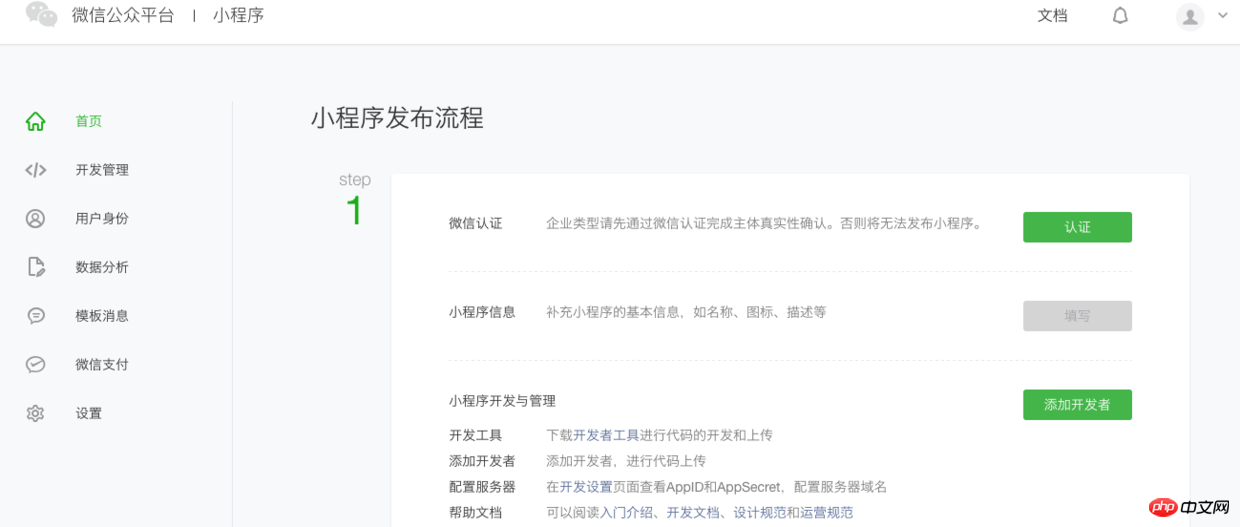
1. To register a mini program account, you must use an email address that has not registered a public account.
2. The registration process requires a lot of certifications. There are many certifications, which are relatively cumbersome. If it is just development and testing for the time being, without review or release, you only need to fill in the business license number. There is no need to complete WeChat certification.
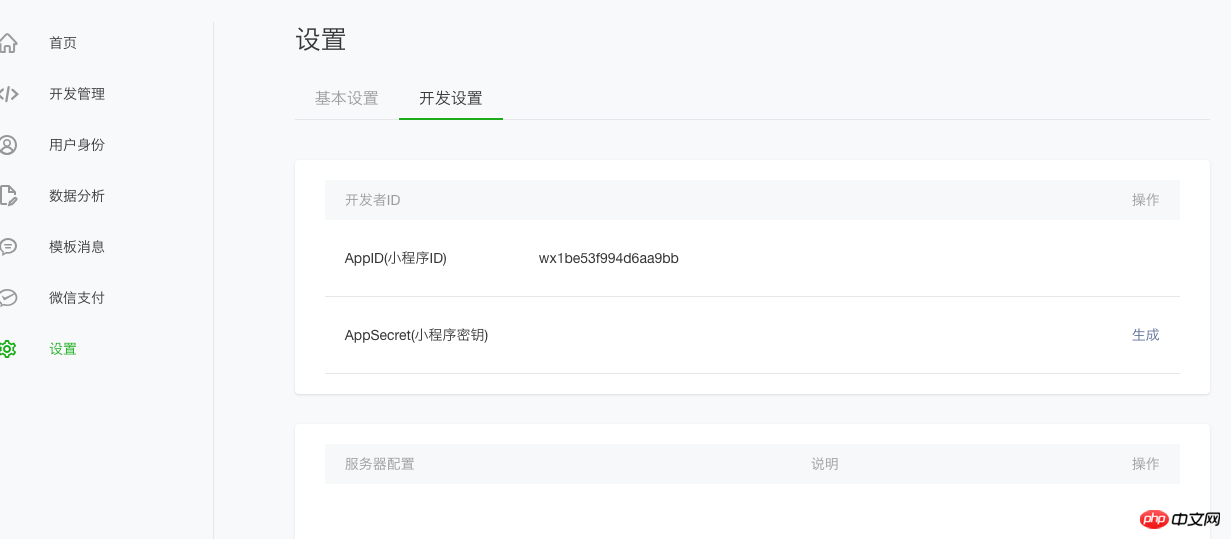
3. After registering the account, log in, click Settings in the list on the left side of the main page, and then select Development Settings on the settings page to see AppID, which is used to log in to the development tool.
Main page

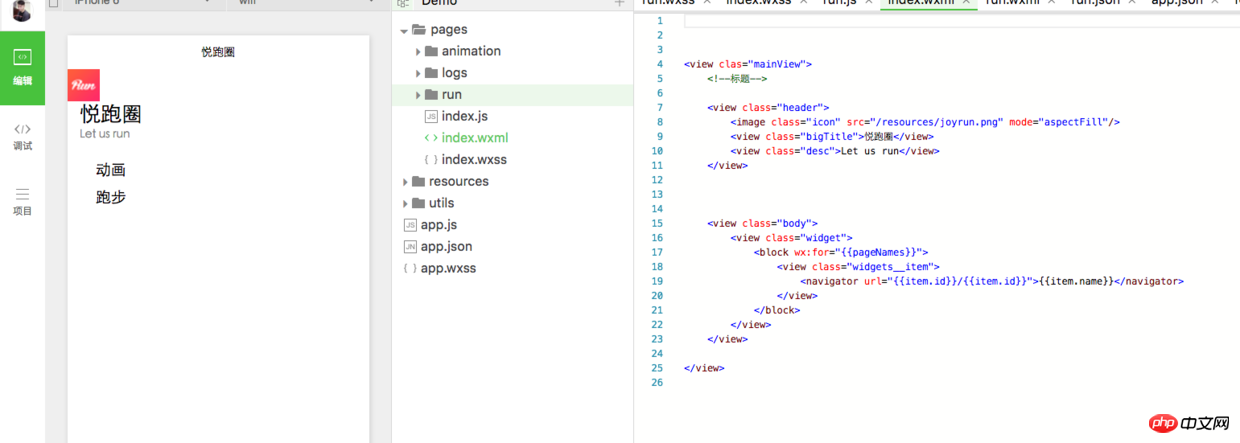
# #Development tool editing page
3. Start the project
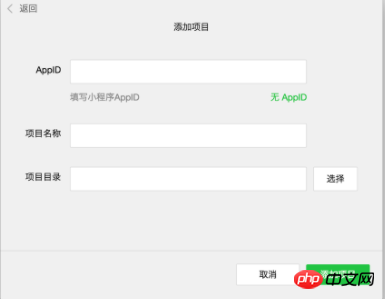
Add item
AppId
on the previous setting page is used. If the file in the project directory is an empty folder, you will be prompted whether to create a quick start project.
This Demo has the general framework of a complete small program.
1. Framework

File directory.png
app.js: Mini program logic, life cycle, global variables
app.json: Mini program public settings, navigation bar color, etc., cannot be commentedapp.wxss: Mini program public style, CSS-like .
Mini program page composition:
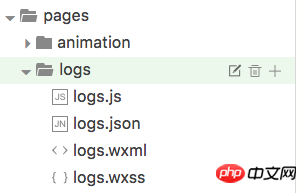
Page composition
Each mini program page is composed of four files with the same name under the same path The composition of files with different suffixes, such as: index.js, index.wxml, index.wxss, index.json.
Ge Wenjia’s introduction
The [path + page name] of each page in the WeChat applet needs to be written in the pages of app.json , and the first page in pages is the homepage of the mini program.
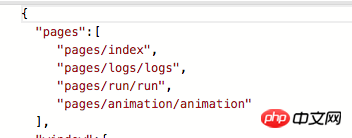
Path
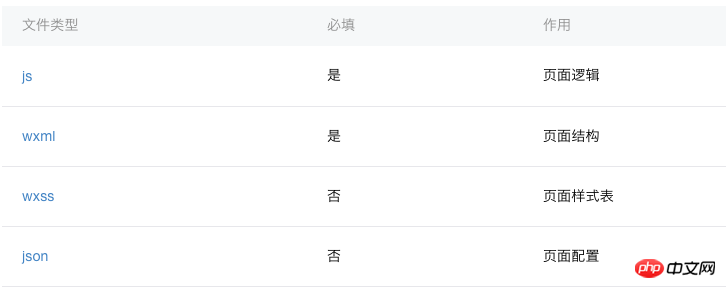
These four files can be divided into three parts according to their functions:
Configuration: json fileLogic layer: js fileOn iOS, thejavascript
code of the applet is run In JavaScriptCoreOn Android
, the javascript code of the mini program is parsed through the X5 kernelOn the development tool, the javascript code of the mini program is run on nwjs (chr
ome kernel) in. Therefore, the effects on the development tools are different from the actual effects. 2. Components
Basic content,Form component ,
Includes commonly used ones such as view, scroll-view, button, form, etc. Components also provide map
Operation feedback,
Navigation,
Media component,
Map,
Canvas
map<a href="http://www.php.cn/code/8210.html" target="_blank"> and canvas</a>canvas<a href="http://www.php.cn/code/7892.html" target="_blank">. </a><p>组件主要属于视图层,通过wxml来进行结构布局,类似于html。通过wxss修改样式,类似于css。<br>组件使用语法实例:</p>
<div class="code" style="position:relative; padding:0px; margin:0px;"><pre class="brush:php;toolbar:false"><!--普通视图-->
<view>这是一个普通视图</view>
<!--wxss样式修改-->
<view clas="mainView">样式修改过的视图</view></pre><div class="contentsignin">Copy after login</div></div>
<p>更多的组件以及相关使用方法可以到官方文档-组件查看</p>
<h5>3、<a href="http://www.php.cn/js/js-weixinapp-api.html" target="_blank">API</a>
</h5>
<blockquote><p>网络<br>媒体<br>数据<br>位置<br>设备<br>界面<br>开发接口</p></blockquote>
<p>其中<code>网络请求的使用必须先到公众平台登录小程序账号,在设置页面那里,设置允许访问的域名,网络请求包含了普通的http请求、支持上传、下载、socket。基本上满足了我们开发中所需要的网络需求。
这些API属于逻辑层,写在js文件中,
使用实例:
wx.getLocation({
   type: 'wgs84',
   success: function(res) {
       var latitude = res.latitude
       var longitude = res.longitude
       var speed = res.speed
       var accuracy = res.accuracy
}})可以到官方文档-API查看其它API的使用方法。
1、模拟器
可以在模拟器上看效果,上面降到了运行底层不同,效果跟在手机上运行有些差异
模拟器.png
2、真机
在左边的选项栏中,选择项目,然后点预览会生产一个二维码,用管理员微信号扫一扫就可以在真机上看实际效果
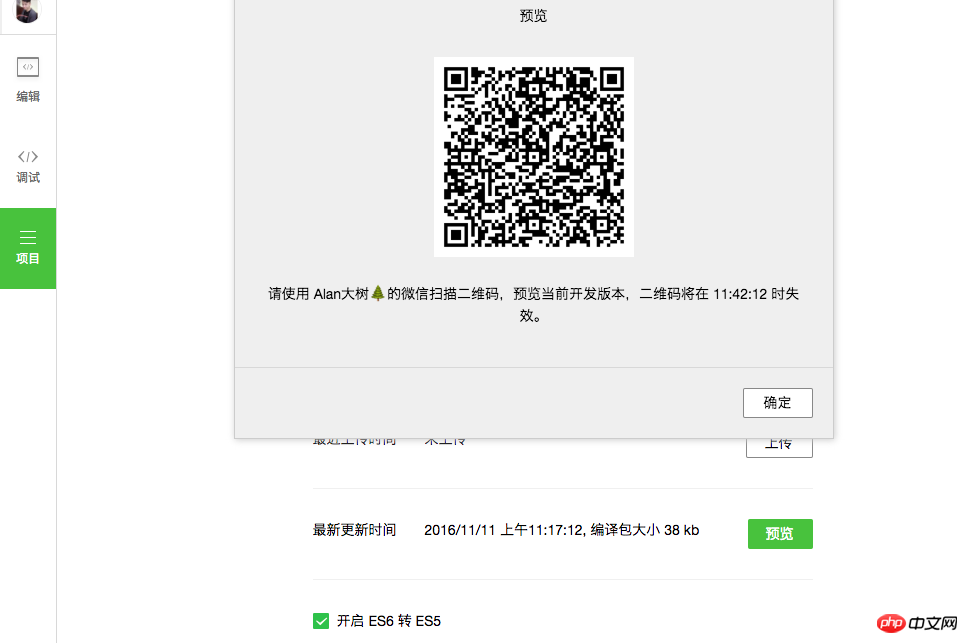
Paste_Image.png

home.jpeg
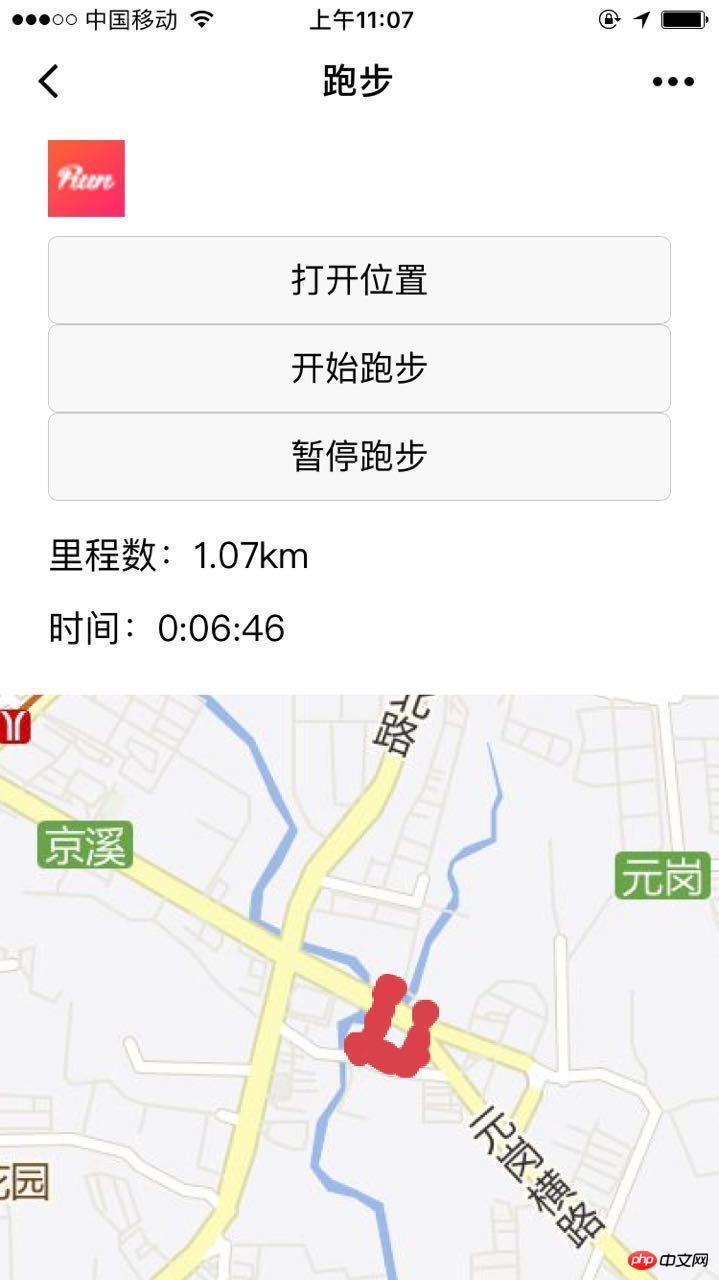
run.jpeg
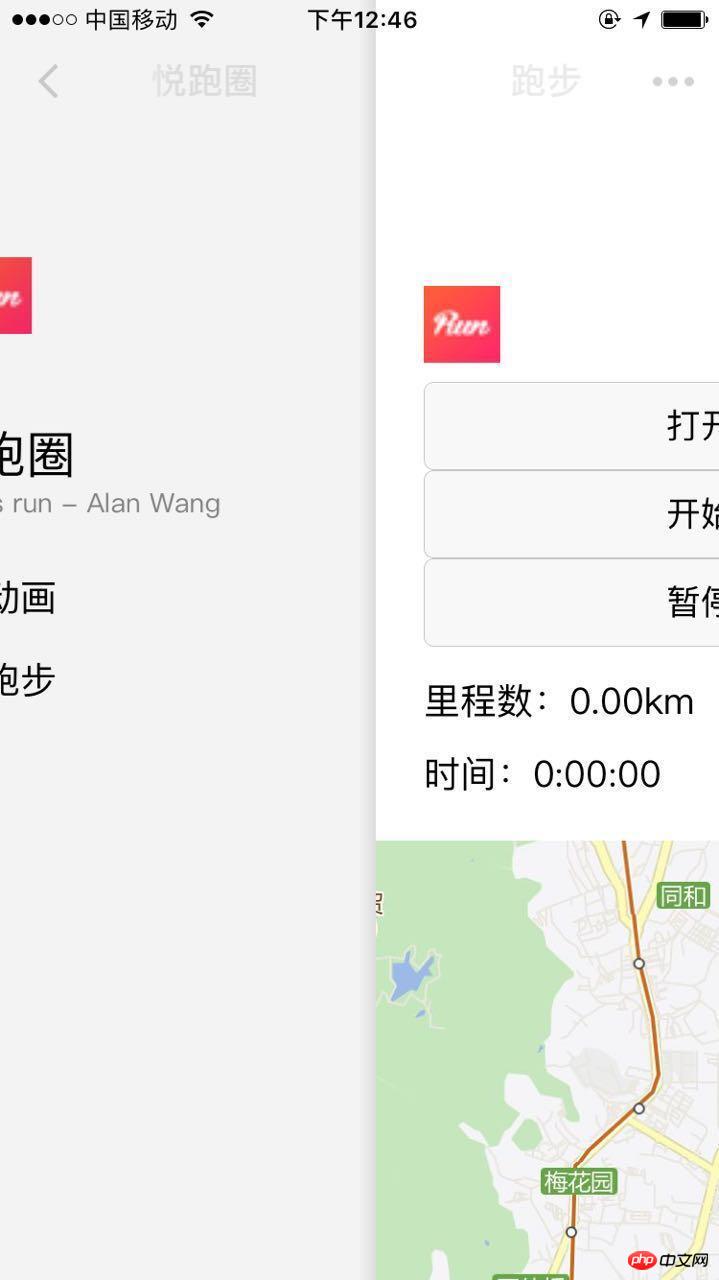
slideback.jpeg

slide.jpeg
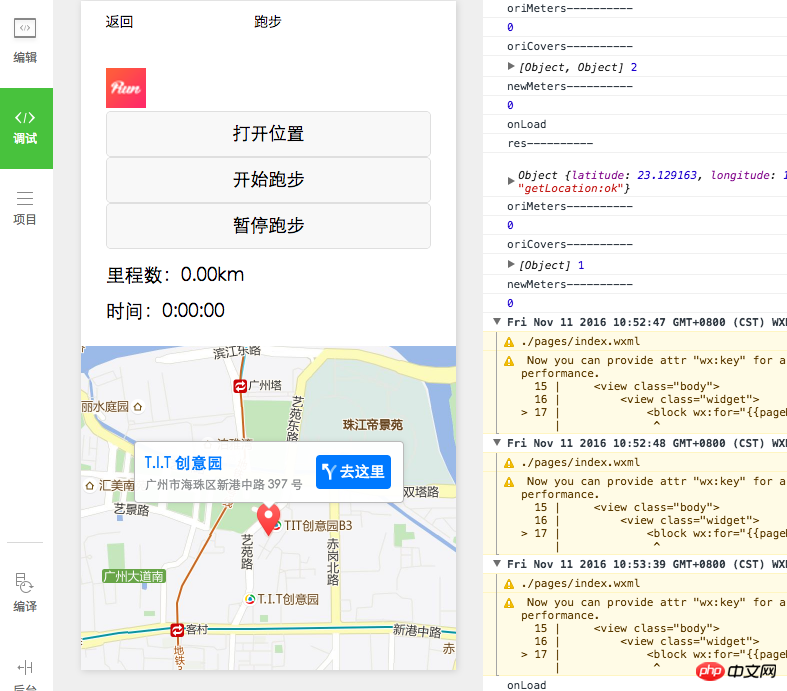
能够计算里程、时间、实时获取跑步路径(有些粗糙)
主要使用了微信小程序的获取位置APIwx.getLocation()和地图组件map。
首先实现一个计时器进行 计时,通过wx.getLocation()获取坐标,把获取到的坐标存在一个数组中,通过坐标每隔一段时间获取里程,进行累加得到总里程,同时也通过坐标点进行连线
存在的问题:
1、因为目前找不到在地图上画连线的方法,所以采用了在地图上贴小红点图的方法显示大概跑步路径,路径比较粗糙。
2、虽然采用了API里面的火星坐标gcj02类型,但是获取的坐标跟国际坐标差不多,依然存在着偏差。
我把全部代码放在github上-weChatApp-Run,可以下载来看看或者先star收藏,我以后还会进行一些优化更新。现在只是一个学习Demo,大家沟通学习,实际应用还需更多优化。
wxml文件布局代码:
<view class="head" style="flex-direction:row;">
    <image class="icon" src="/resources/joyrun.png" mode="aspectFill"/>
    <button bindtap="openLocation">打开位置</button>
    <button bindtap="starRun">开始跑步</button>
    <button bindtap="stopRun">暂停跑步</button>
    <text>\\n里程数:{{meters}}km</text>
    <text>\\n\\n时间:{{time}}</text>
</view>

<view class="mainView">
   <map
        class="mapView"
        style="width: 100%; height: 375px;"
        latitude="{{latitude}}"
        longitude="{{longitude}}"
        markers="{{markers}}"
        covers="{{covers}}"
        >
    </map>

</view>js文件逻辑代码:
var countTooGetLocation = 0;
var total_micro_second = 0;
var starRun = 0;
var totalSecond = 0;
var oriMeters = 0.0;
/* 毫秒级倒计时 */
function count_down(that) {
if (starRun == 0) {
return;
}
if (countTooGetLocation >= 100) {
var time = date_format(total_micro_second);
that.updateTime(time);
}
if (countTooGetLocation >= 5000) { //1000为1s
that.getLocation();
countTooGetLocation = 0;
}
setTimeout
setTimeout(function(){
countTooGetLocation += 10;
total_micro_second += 10;
count_down(that);
}
,10
)
}
// 时间格式化输出,如03:25:19 86。每10ms都会调用一次
function date_format(micro_second) {
// 秒数
var second = Math.floor(micro_second / 1000);
// 小时位
var hr = Math.floor(second / 3600);
// 分钟位
var min = fill_zero_prefix(Math.floor((second - hr * 3600) / 60));
// 秒位
var sec = fill_zero_prefix((second - hr * 3600 - min * 60));// equal to => var sec = second % 60;
return hr + ":" + min + ":" + sec + " ";
}
function getDistance(lat1, lng1, lat2, lng2) {
var dis = 0;
var radLat1 = toRadians(lat1);
var radLat2 = toRadians(lat2);
var deltaLat = radLat1 - radLat2;
var deltaLng = toRadians(lng1) - toRadians(lng2);
var dis = 2 * Math.asin(Math.sqrt(Math.pow(Math.sin(deltaLat / 2), 2) + Math.cos(radLat1) * Math.cos(radLat2) * Math.pow(Math.sin(deltaLng / 2), 2)));
return dis * 6378137;
function toRadians(d) { return d * Math.PI / 180;}
}
function fill_zero_prefix(num) {
return num < 10 ? "0" + num : num
}
//****************************************************************************************
//****************************************************************************************
Page({
data: {
clock: '',
isLocation:false,
latitude: 0,
longitude: 0,
markers: [],
covers: [],
meters: 0.00,
time: "0:00:00"
},
//****************************
onLoad:function(options){
// 页面初始化 options为页面跳转所带来的参数
this.getLocation()
console.log("onLoad")
count_down(this);
},
//****************************
openLocation:function (){
wx.getLocation({
type: 'gcj02', // 默认为 wgs84 返回 gps 坐标,gcj02 返回可用于 wx.openLocation 的坐标
success: function(res){
wx.openLocation({
latitude: res.latitude, // 纬度,范围为-90~90,负数表示南纬
longitude: res.longitude, // 经度,范围为-180~180,负数表示西经
scale: 28, // 缩放比例
})
},
})
},
//****************************
starRun :function () {
if (starRun == 1) {
return;
}
starRun = 1;
count_down(this);
this.getLocation();
},
//****************************
stopRun:function () {
starRun = 0;
count_down(this);
},
//****************************
updateTime:function (time) {
var data = this.data;
data.time = time;
this.data = data;
this.setData ({
time : time,
})
},
//****************************
getLocation:function () {
var that = this
wx.getLocation({
type: 'gcj02', // 默认为 wgs84 返回 gps 坐标,gcj02 返回可用于 wx.openLocation 的坐标
success: function(res){
console.log("res----------")
console.log(res)
//make datas
var newCover = {
latitude: res.latitude,
longitude: res.longitude,
iconPath: '/resources/redPoint.png',
};
var oriCovers = that.data.covers;
console.log("oriMeters----------")
console.log(oriMeters);
var len = oriCovers.length;
var lastCover;
if (len == 0) {
oriCovers.push(newCover);
}
len = oriCovers.length;
var lastCover = oriCovers[len-1];
console.log("oriCovers----------")
console.log(oriCovers,len);
var newMeters = getDistance(lastCover.latitude,lastCover.longitude,res.latitude,res.longitude)/1000;
if (newMeters < 0.0015){
newMeters = 0.0;
}
oriMeters = oriMeters + newMeters;
console.log("newMeters----------")
console.log(newMeters);
var meters = new Number(oriMeters);
var showMeters = meters.toFixed(2);
oriCovers.push(newCover);
that.setData({
latitude: res.latitude,
longitude: res.longitude,
markers: [],
covers: oriCovers,
meters:showMeters,
});
},
})
}
})本文是一个快速上手开发的介绍,细节介绍可以查看官方文档
【相关推荐】
1. 微信公众号平台源码下载
2. 小猪cms(PigCms)微电商系统运营版(独立微店商城+三级分销系统)
The above is the detailed content of WeChat development: making a running WeChat applet. For more information, please follow other related articles on the PHP Chinese website!


![[Web front-end] Node.js quick start](https://img.php.cn/upload/course/000/000/067/662b5d34ba7c0227.png)


