
This article mainly introduces the third article of multi-terminal message push services such as SignalR Self Host+MVC in detail. It has certain reference value. Interested friends can refer to it
1. Overview
I’ve been really busy with projects recently, and I’m also feeling a little unwell. I suffered from chronic pharyngitis. I couldn’t breathe when I went to bed last night. I haven’t had a good rest, and I don’t have much time to write a blog. , today when a friend asked me when I would be able to publish articles sent via messages on the web, I was still busy revising the project. I took advantage of my lunch and lunch break to quickly make up for the articles I had owed before.
This chapter is mainly a simple demo for realizing multi-terminal message communication. The web side of mvc sends information to the control side, etc.
2. Create a web client
1. Create a new WebClient solution
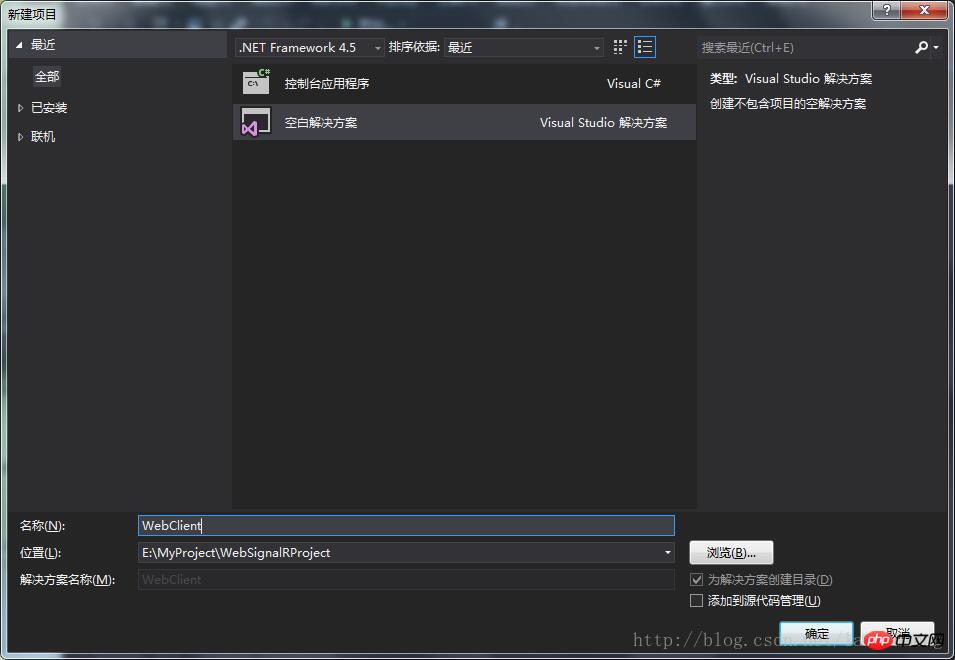
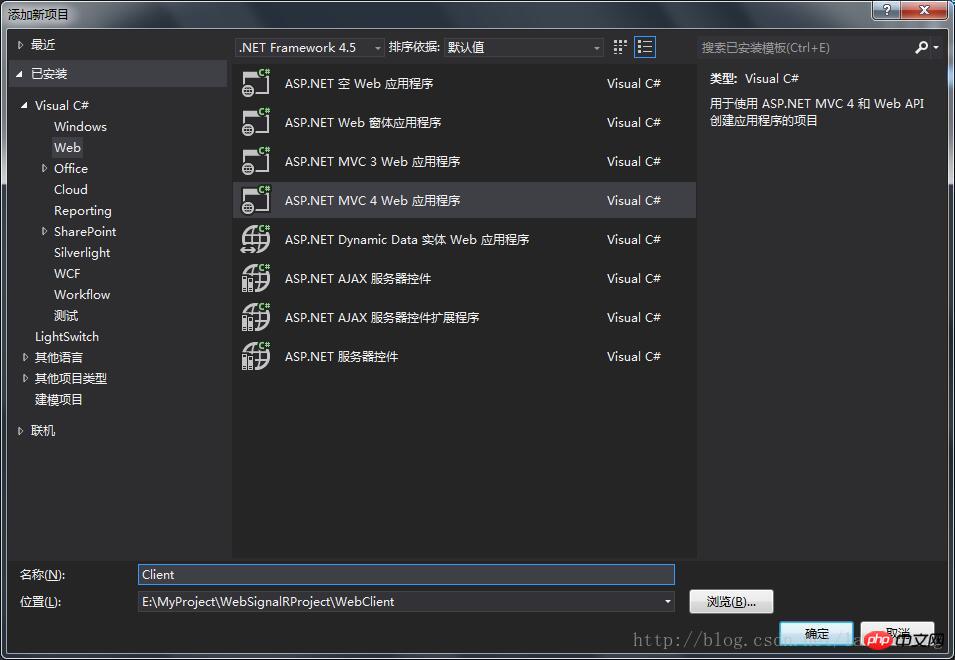
2. In WebClient Create a new project named Clinet mvc under the solution
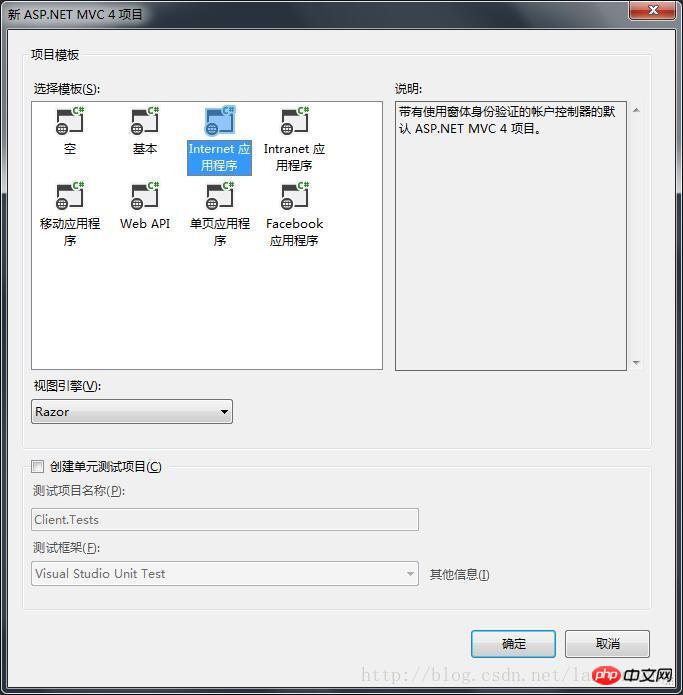
3. Select the corresponding project template according to your actual situation. For demonstration purposes, choose Internet application
4. Check in the package manager console in vs and enter the following code
Install-Package Microsoft.AspNet.SignalR.JS

5. Modify the Index.cshtml file code in the Homge folder under Views in the project, as follows
@{
Layout = null;
}
<h1>流程演示</h1>
<input type="hidden" id="displayname" />
<h2 id="thisname"></h2>
<select id="username" style="width: 100px;">
</select>
<br />
<br />
<input type="text" id="message" />
<input id="send" type="button" value="发送" />
<p>
<h1 id="messgaeInfo"></h1>
</p>
<script src="~/Scripts/jquery-1.8.2.min.js"></script>
<script src="~/Scripts/jquery.signalR-2.2.1.min.js"></script>
<script src="http://localhost:10086/signalr/hubs"></script>
<script type="text/javascript">
$(function () {
$.connection.hub.url = 'http://localhost:10086/signalr';
var work = $.connection.IMHub;
$('#displayname').val(prompt('请输入昵称:', ''));
$('#thisname').text('当前用户:' + $('#displayname').val());
var fromUser = $('#displayname').val();
//对应后端的SendMessage函数,消息接收函数
work.client.receivePrivateMessage = function (user, message) {
//alert(message);
$('#messgaeInfo').append(message + '</br>');
};
//后端SendLogin调用后,产生的loginUser回调
work.client.onConnected = function (connnectId, userName, OnlineUsers) {
reloadUser(OnlineUsers);
};
//hub连接开启
$.connection.hub.start().done(function () {
var username = $('#displayname').val();
//发送上线信息
work.server.register(username);
//点击按钮,发送消息
$('#send').click(function () {
var friend = $('#username').val();
//调用后端函数,发送指定消息
work.server.sendPrivateMessage(friend, $("#message").val());
});
});
});
//重新加载用户列表
var reloadUser = function (userlist) {
$("#username").empty();
for (i = 0; i < userlist.length; i++) {
$("#username").append("<option value=" + userlist[i].UserName + ">" + userlist[i].UserName + "</option>");
}
}
</script>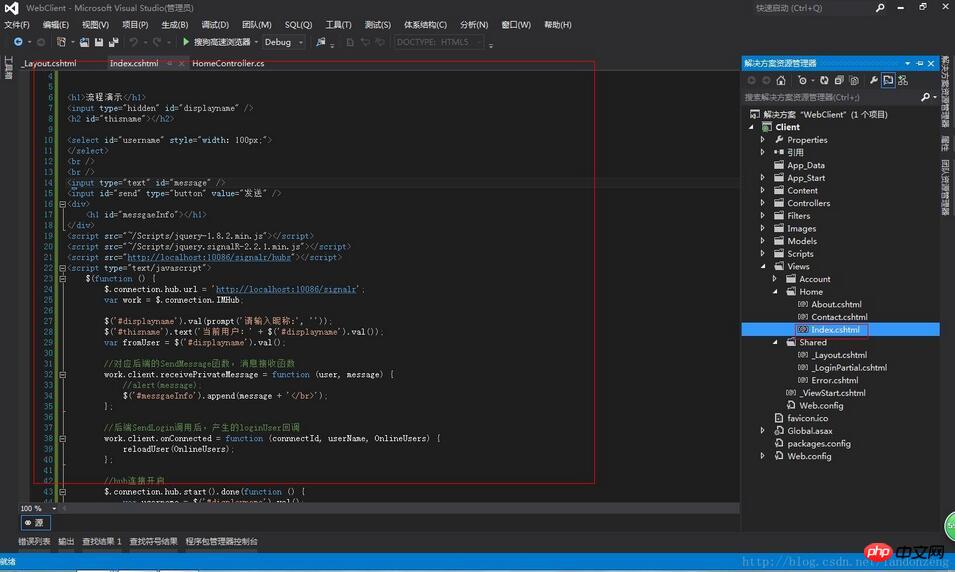
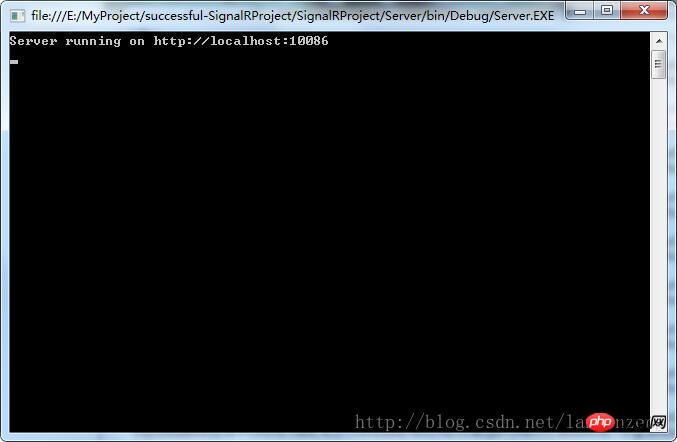
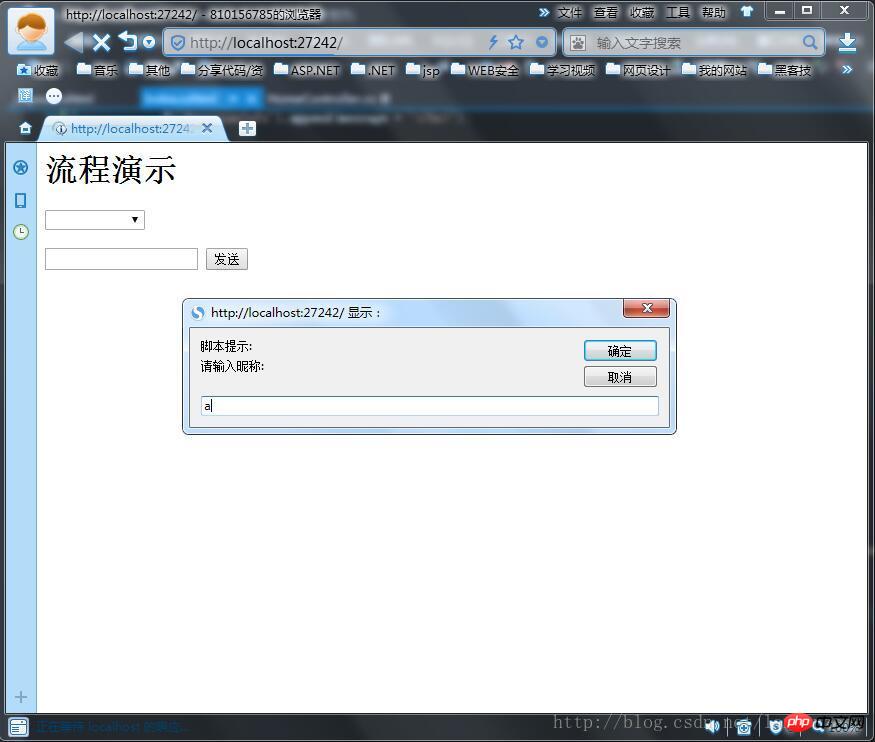
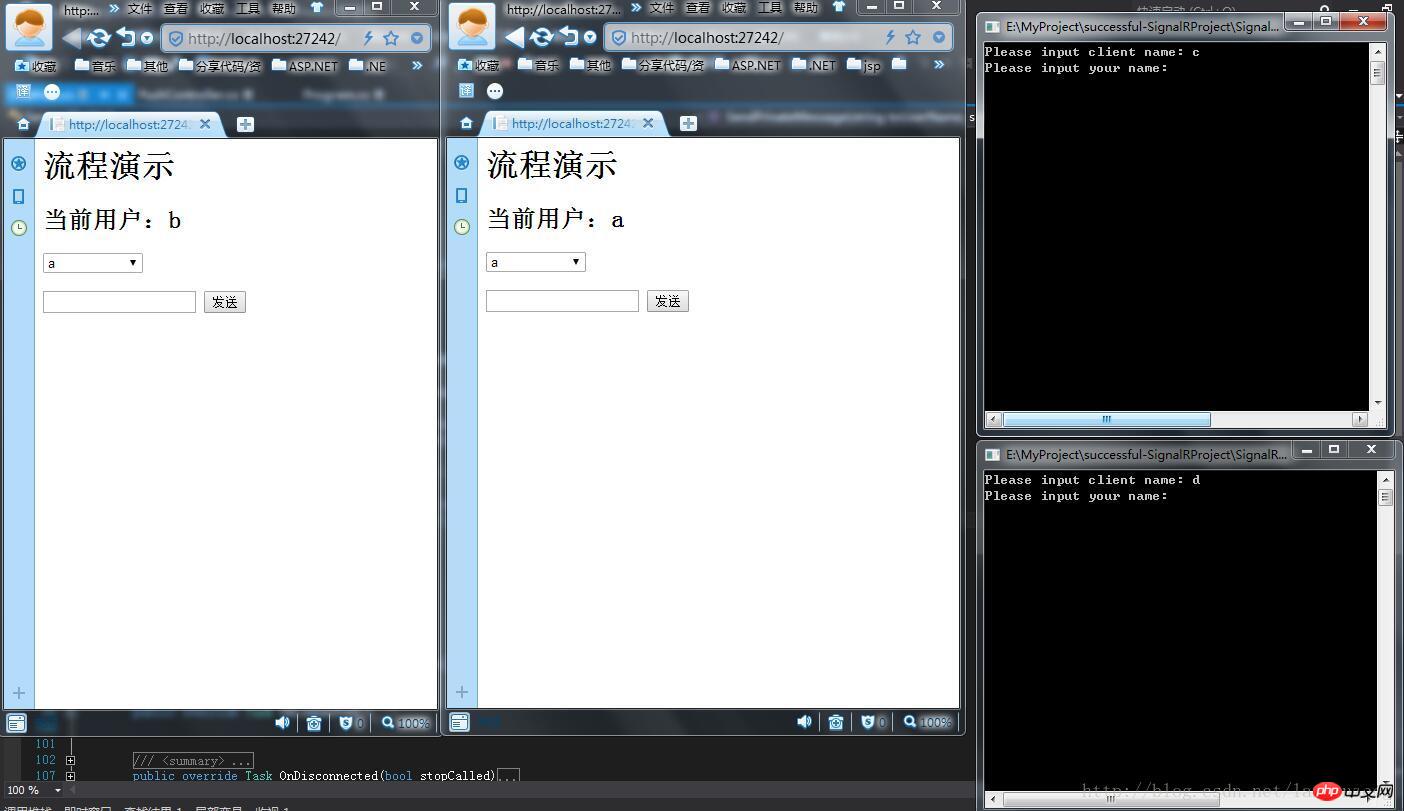
6. Running Before our web Client project, first run our serve console project in the previous two chapters, and then F5 to run the web Client project. See the following interface. Enter the user name a User login
#7. Then open another browser, as in the above steps, enter user b to log in, user a selects b in the drop-down item (the drop-down option is available for users New users will be added automatically when logging in). User b selects a and sends messages to each other for testing. The results are as follows
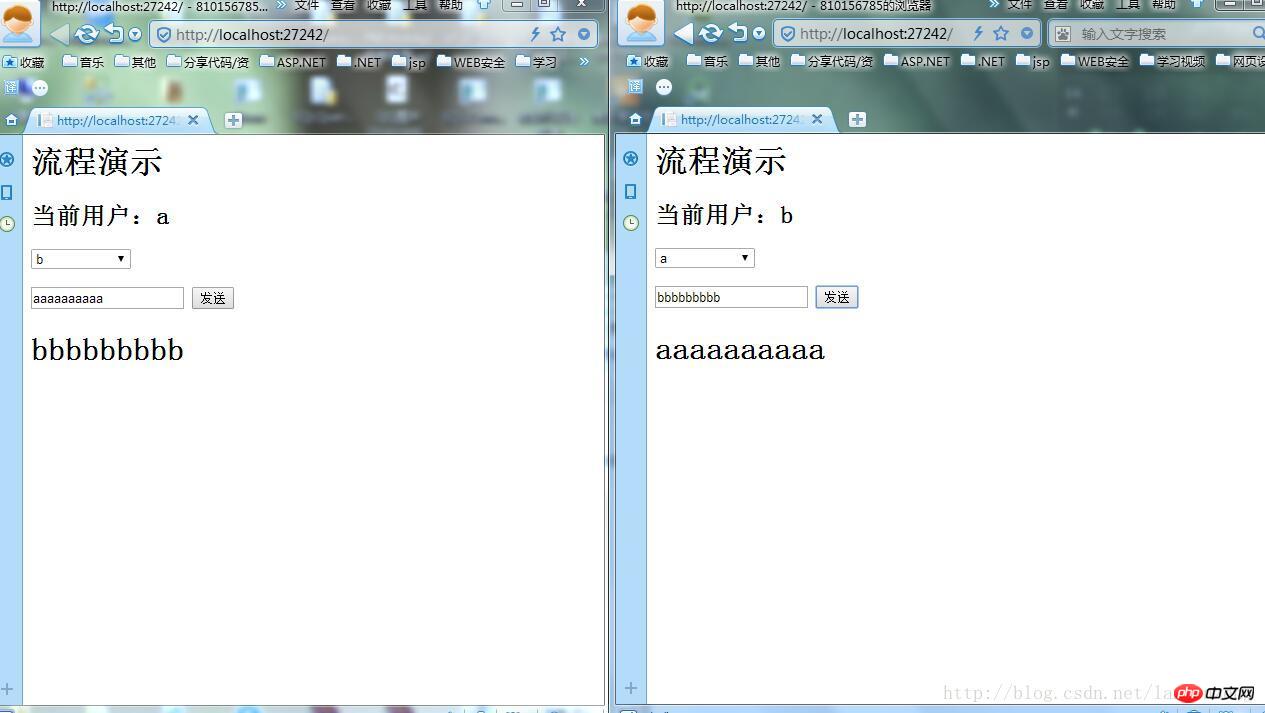
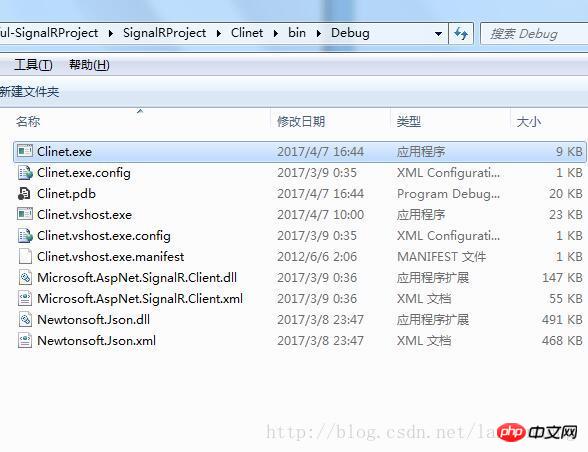
8. If there are messages between a and b There is no problem with the transmission, which proves that the web-side message is transmitted successfully. At this time, open the Client console project in our previous chapter, run Clinet.exe in the bin under the project, check in the two programs, and enter the login name c, b
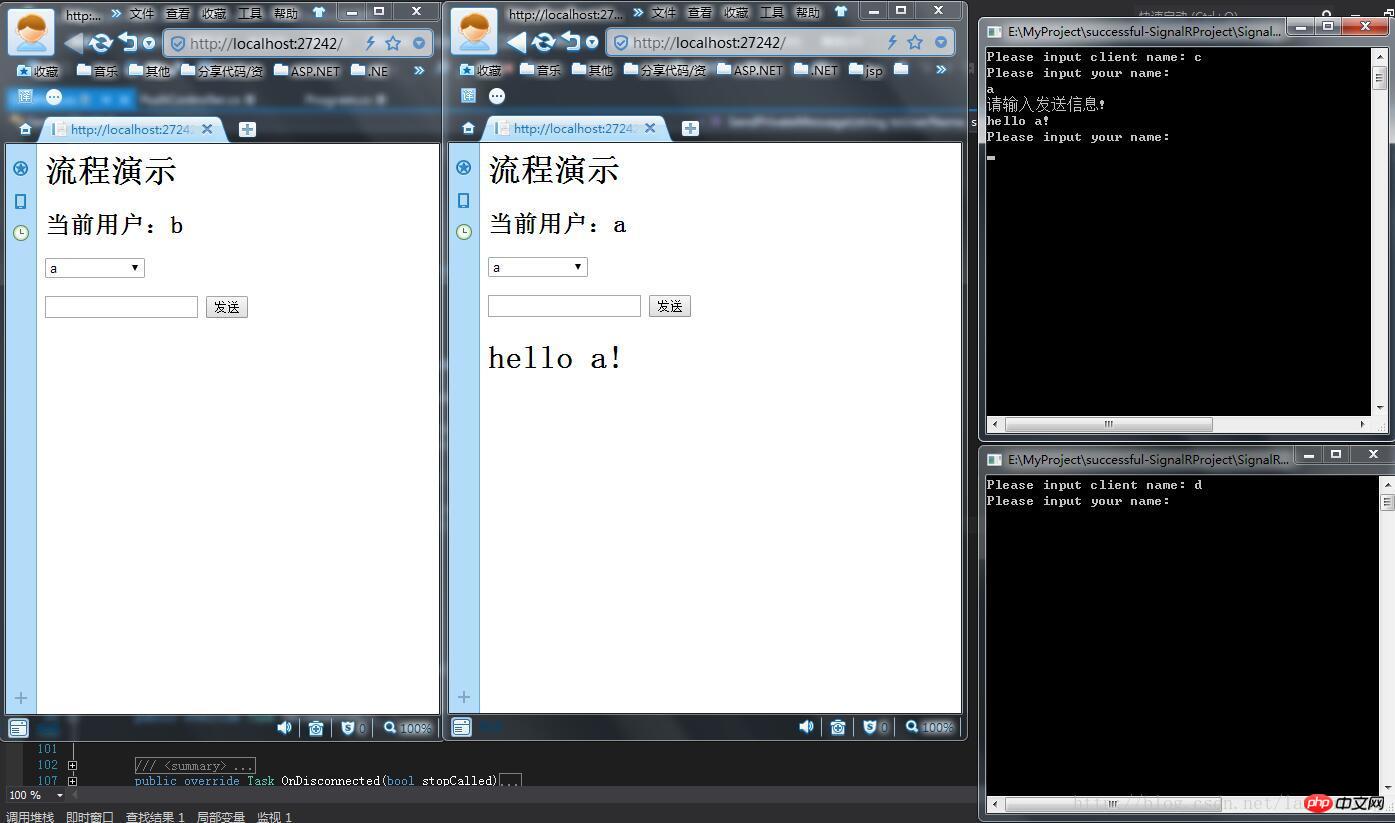
9. Use user c to send a message hello a to a. The effect is as follows
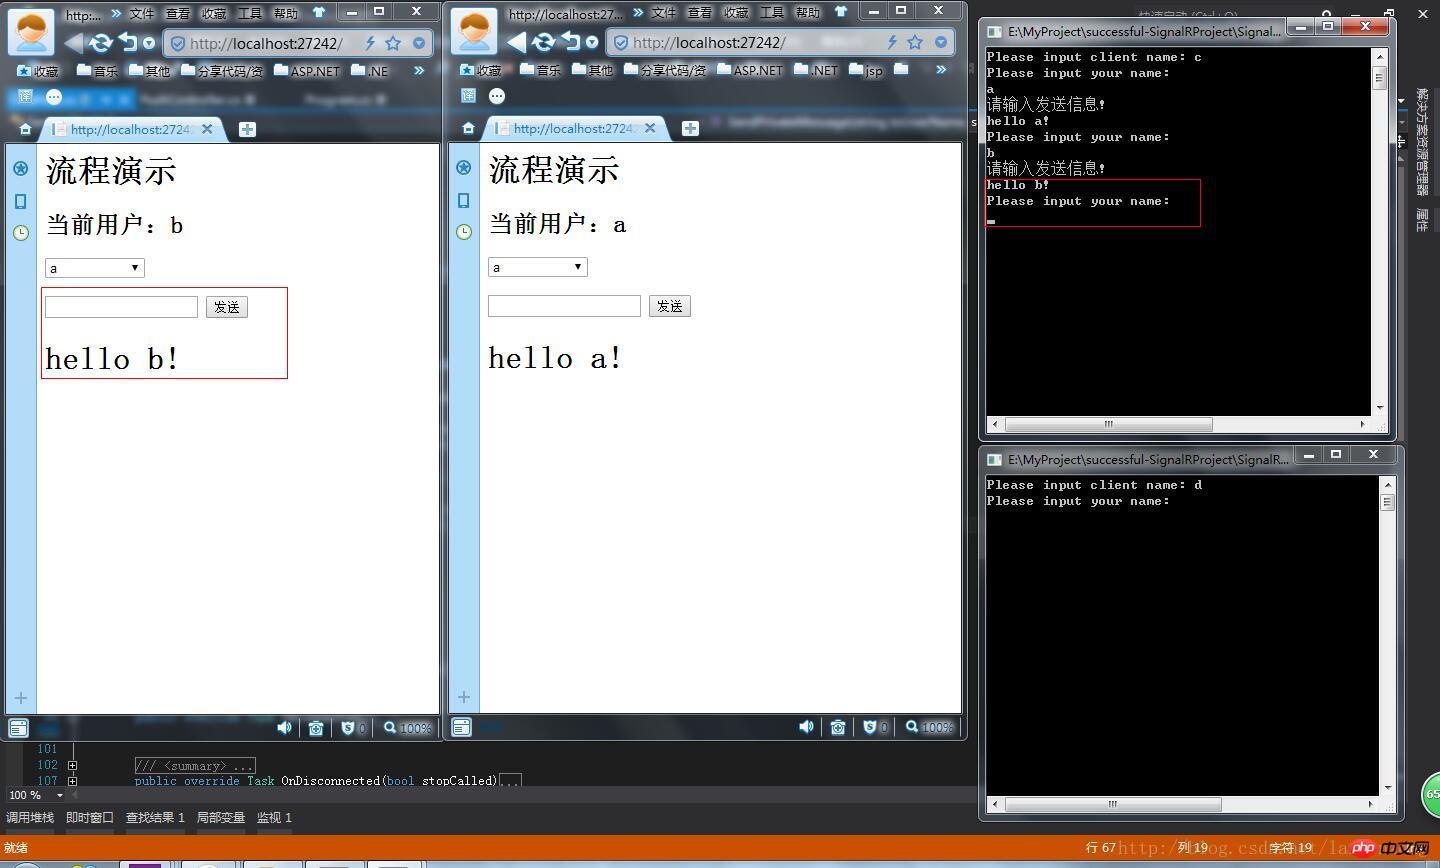
10. Use user c to send a message hello b to user b! The effect is as follows, proving that the control end sends a message to the web end successfully
11. Use user d to send a message to user c, as shown below, proving that the control end sends a message successfully
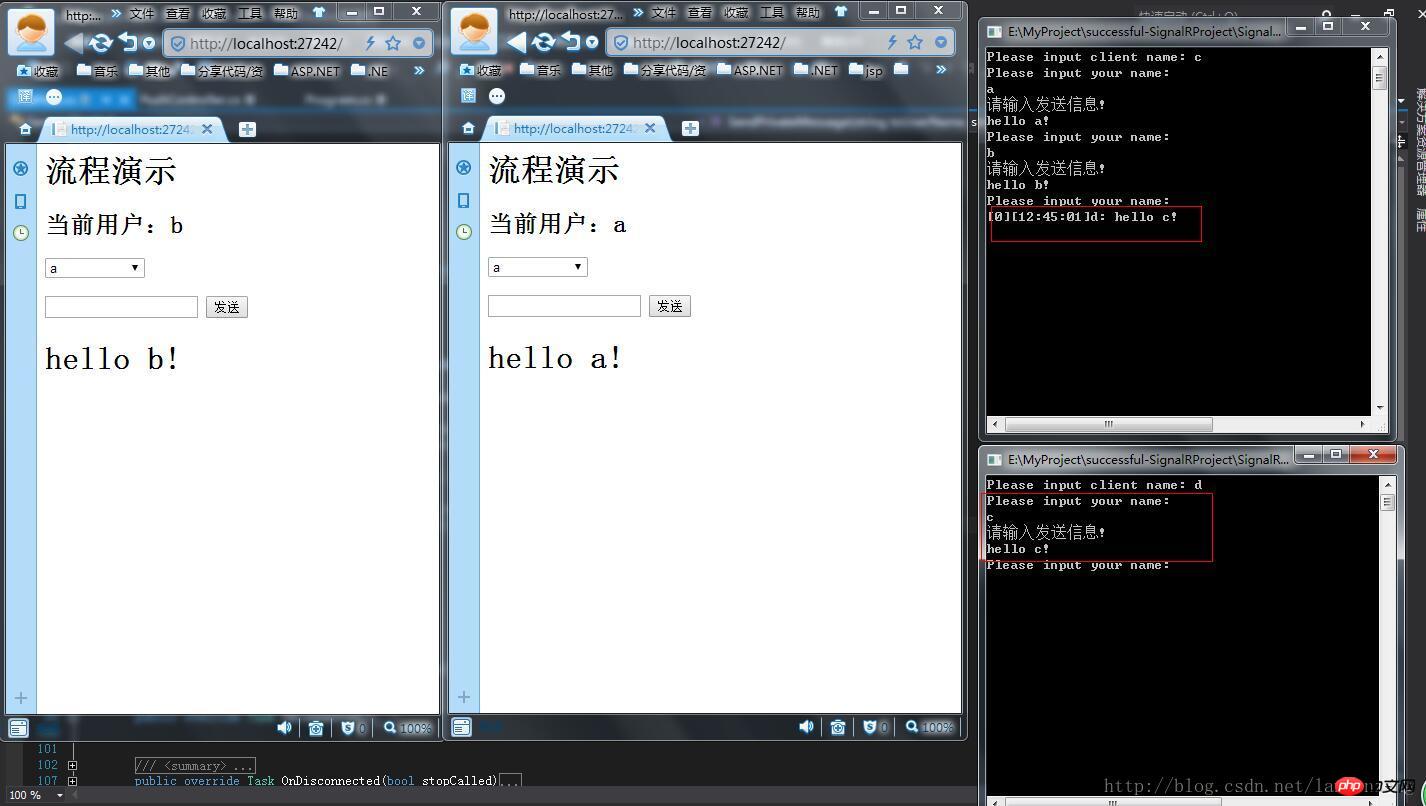
12. Use a to send a message to c, as shown in the figure below
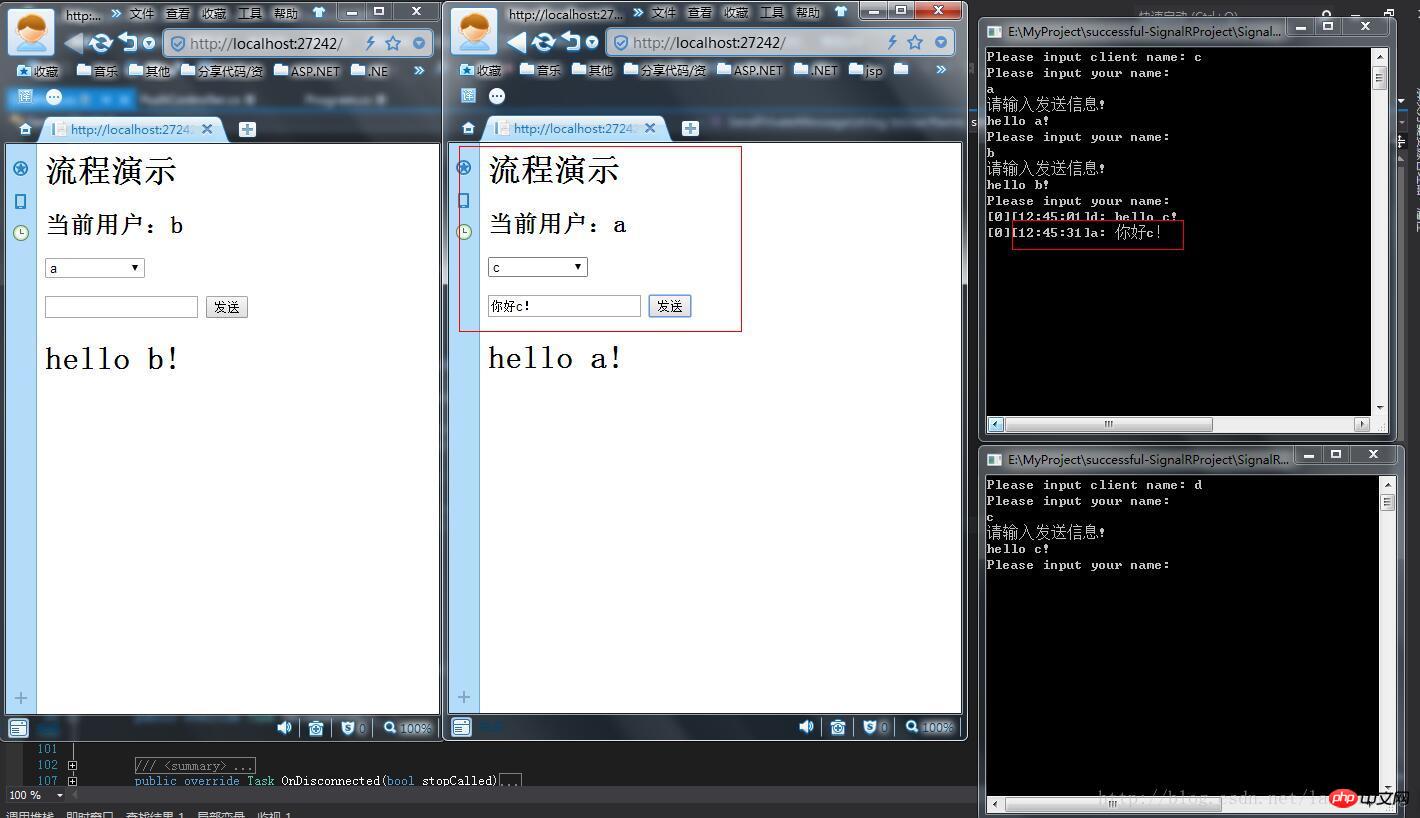
13. Use b to send a message to d, as shown below As shown in the figure, it is proved that web——>control successfully sends messages
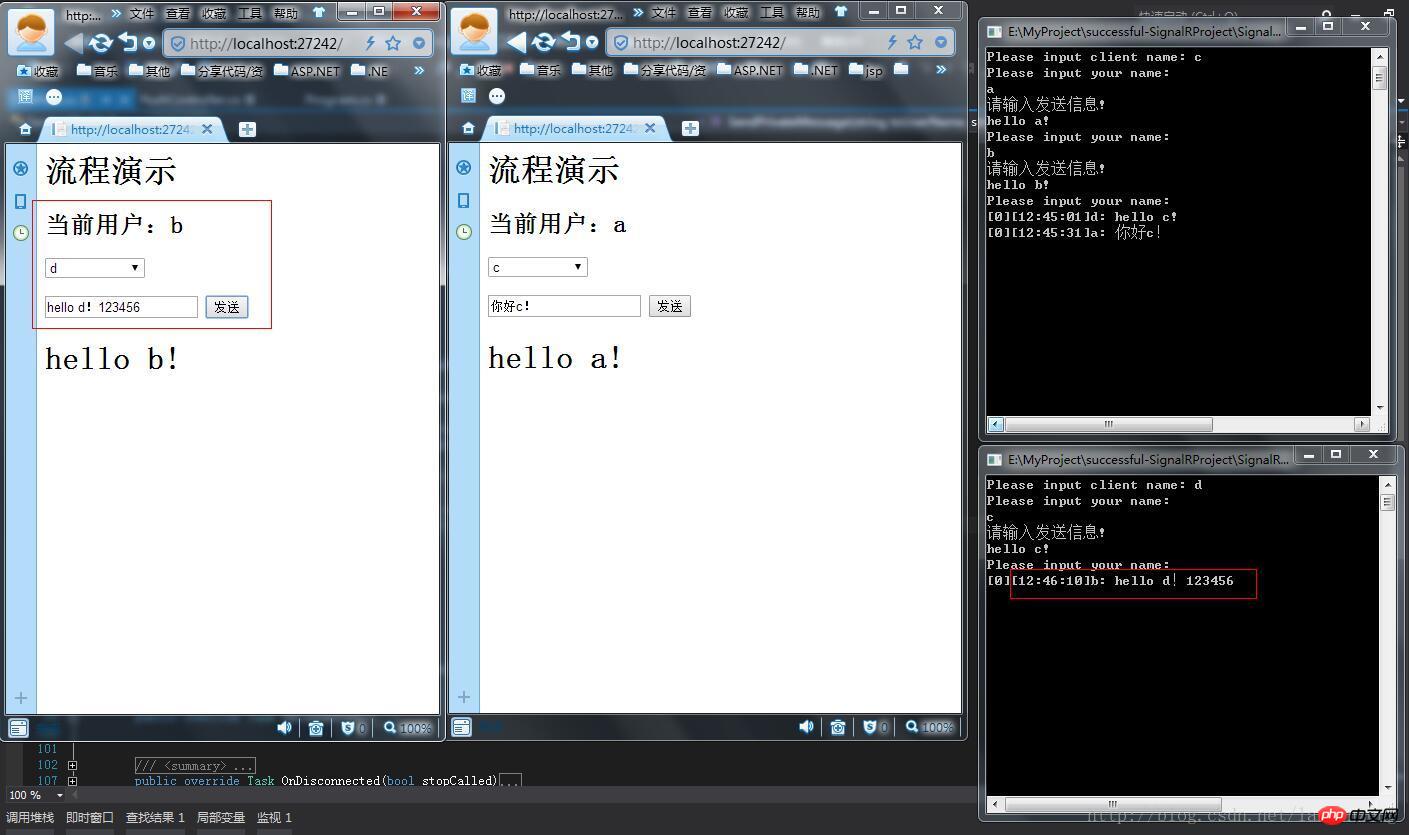
As shown above, it is proved that using SignalR to make owin service can realize multi-end communication, and SignalR can be made into a separate communication service and can be separated and decoupled from other projects.
I will continue to optimize and integrate RabbitMQ when I have time in the future.
The writing is not good. It is my first time to write a blog. Please give me some advice
The above is the detailed content of Introduction to SignalR Self Host multi-terminal message push service. For more information, please follow other related articles on the PHP Chinese website!


