Summary of HTML5+CSS3BusinessTheme project
Due to various reasons such as final exams, mentality adjustment, etc., it has been a long time since the last project exercise. Today I finally have time to continue practicing the page structure and design draft restoration of HTML5+CSS3. The design drawing is very long, and the entire page is divided into several areas, so I will not include the complete design drawing. The specific design files can be downloaded from the Github address at the end of the article. The first summary was based on my understanding of the page architecture and in the order of code implementation. This time I will summarize it according to the problems encountered. Everyone is welcome to provide valuable suggestions after reading my works and summary! thank you all!
After the last practice, this time the practice is more calm, not only to find and fill in the gaps, but also to solve the problem and make the code Could be more concise. But there are also some small flaws. For example, each title of each module on the page actually has the same font size and color. Some titles change according to the background color. I could have set the overall color and font size at the beginning. In this way, Modifications will be made in special circumstances. But because I was lazy in the end, this part of the settings was repeated many times in each module. Also, the fonts on the page are not imported, so it doesn’t look as perfect as the original version. Another question is that because it is a static page, all sizes are fixed values. Some bad phenomena will occur when the page is scaled. Moreover, after absolute positioning is set, it cannot be responsive at the same time. In this way, in actual product production, everyone should be very unfriendly? I need to consider this issue carefully in my next work. The last point is that there are many places on the page where JavaScript can be used, but now I am not good at learning and have not had the courage to try (???). All of them are not well designed, but they can be implemented with CSS. , it was still achieved.
Problem 1: It always makes people crazy when inline elements and block-level elements need to be displayed on the same line.
This problem was also encountered in the last work. Several solutions were mentioned. For some problems, some solutions can solve it, while others have no effect. . Now let’s talk about my solution based on the problems I encountered when implementing the page.
Option 1: Magical vertical-align
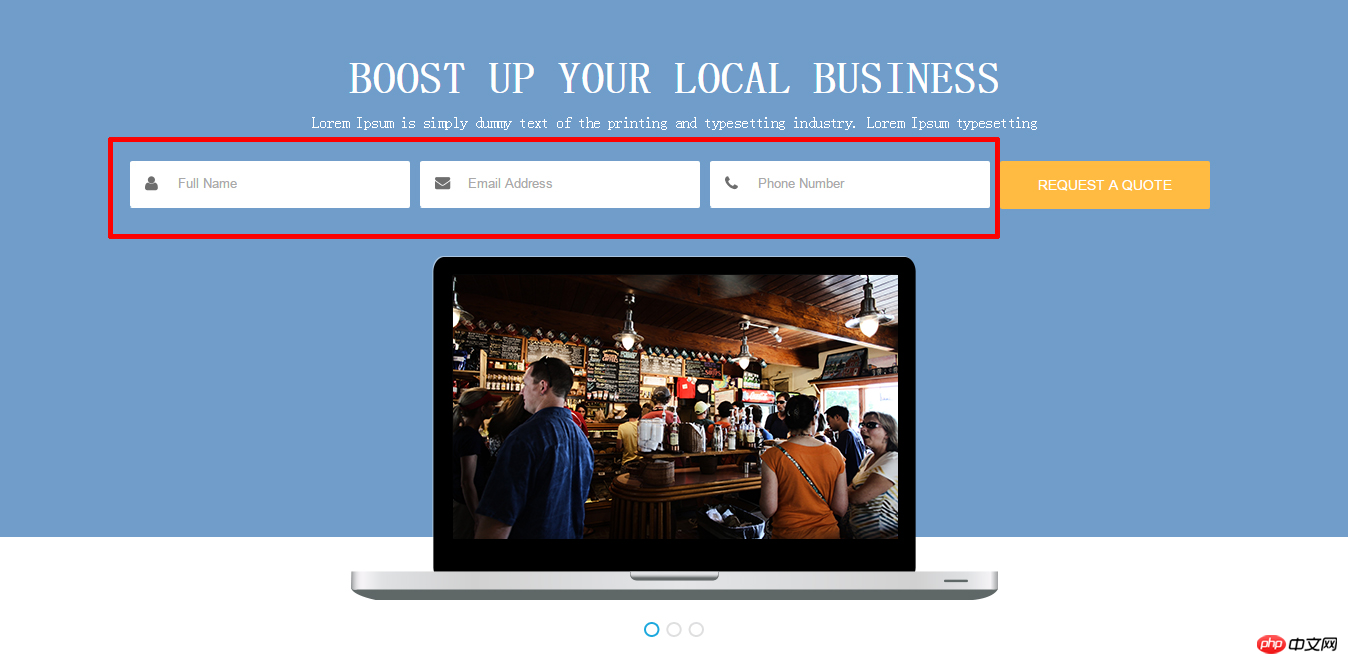
##In this page, the place circled in red is the text input box of a form, which is composed of multiple divs. The divs include img picture and input input box. The picture and input box will be misaligned. I can easily solve this problem by setting the style of the picture to "vertical-align: middle;". (Note: When searching for solutions online, some answers mentioned setting the input style line-height to the same height as the div, but I tried it and found that it failed. Later, I used vertical-align to set it successfully.)
The code is as follows:
.textbox img {vertical-align: middle;
}.textbox input {font-size: 13px;width: 200px;
}同样的,下面这个是图片+文字的组合,也是设置“vertical-align:middle; ”即可。
方案二:使用margin。
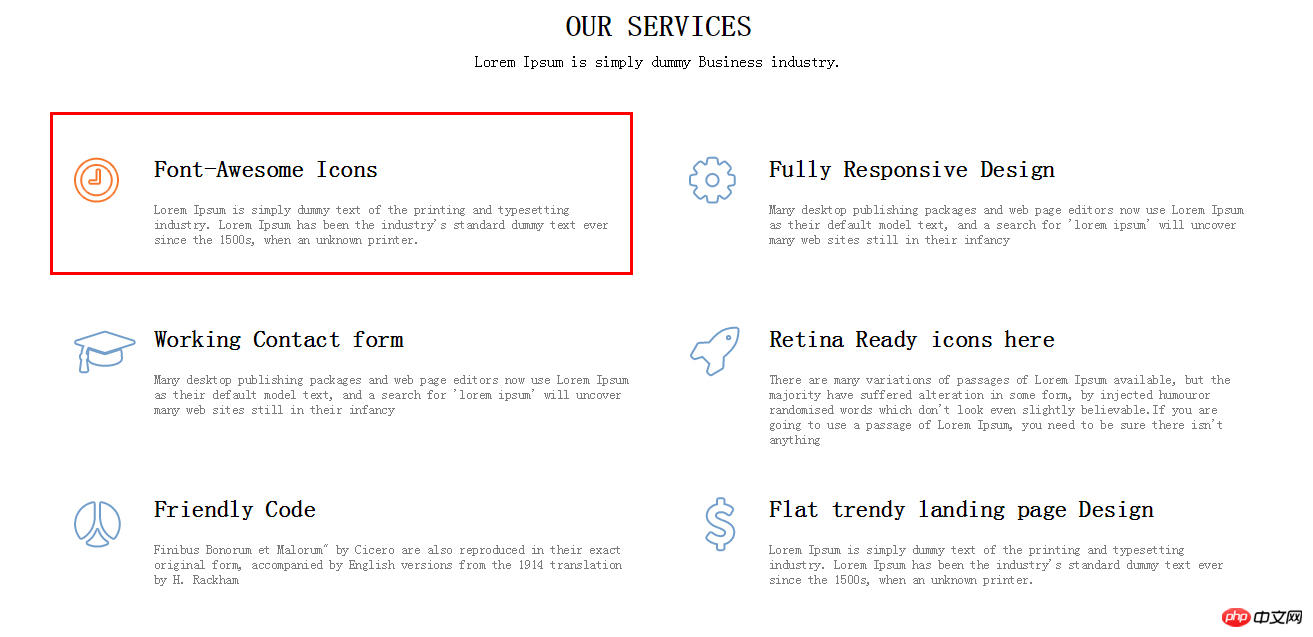
图中的组合是图片+多个段落文字,这个时候尝试了vertical-align以后发现,还是不能正常显示,这个时候就只能选择使用margin的方法。将img的样式设置为“float:left;”,使用div包裹文字,并设置左边距即可。
代码如下:
.sers img {float: left;
}.serstext {margin-left: 80px;
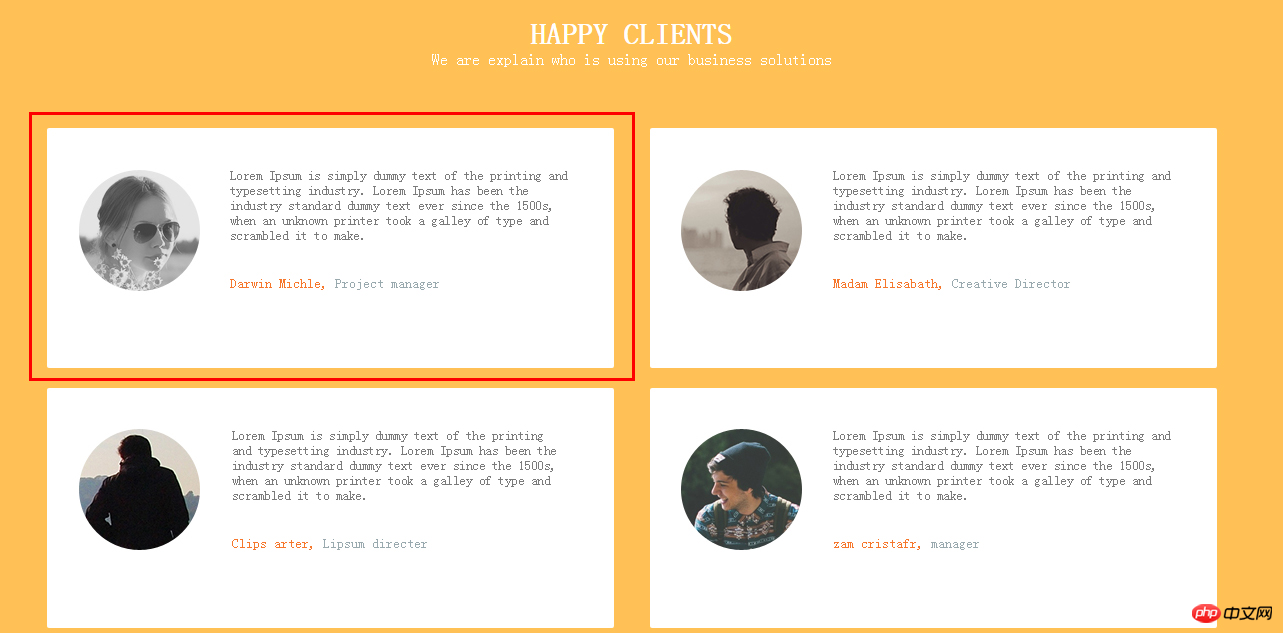
}下面二图也是同样的例子:
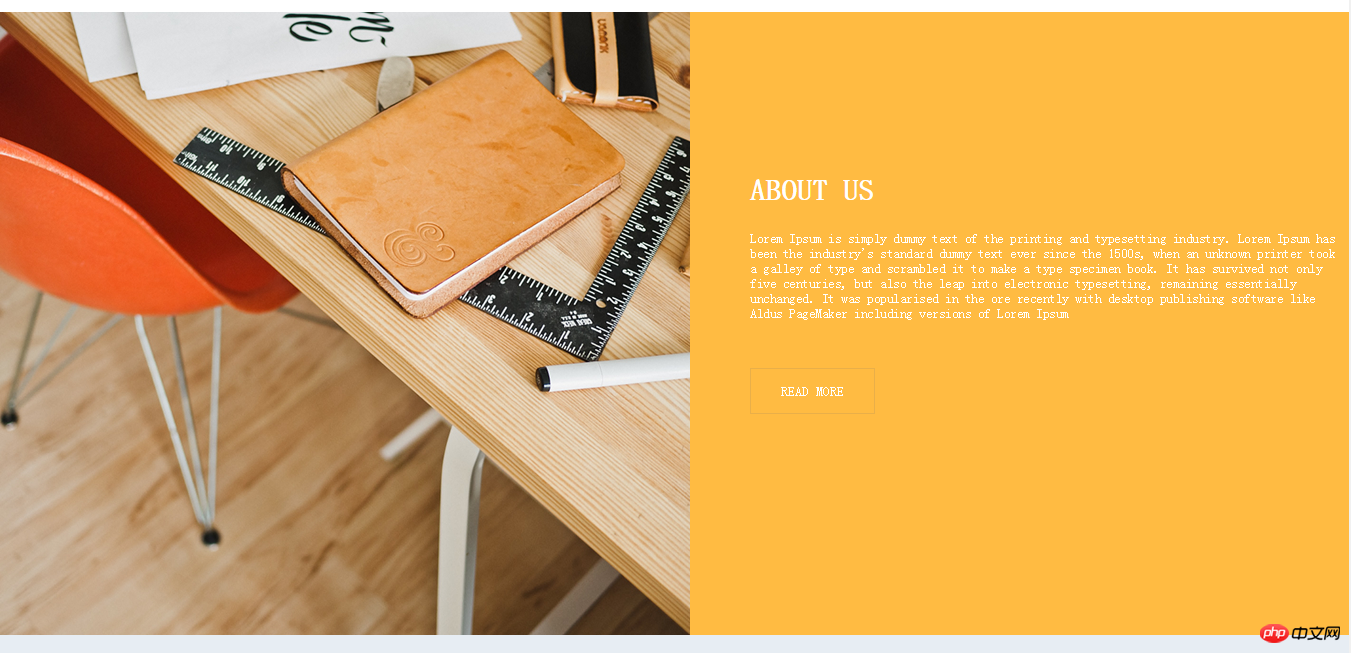
方案三:是将图片作为div的背景图片,再修改文字的属性即可。
这个方案就要视图片是否适合作背景图片的具体情况而定了。在本次项目中就没有使用这个方法。
附加的方案四:其实不是图片和文字的情况,而是单纯的文字在div中水平居中和垂直居中。
可以使用“text-align:center;”设置水平居中以及将文字的line-height设置为与div同高以设置垂直居中。
代码如下:
.copyright {height: 45px;background-color: #709dca;text-align: center;
}.copyright p {line-height: 45px;color: #fff;font-size: 13px;
}如下图效果:

问题二:取消元素的默认样式,分别为取消inline、inline-block元素的默认边距以及input元素的默认样式。
一、取消inline、inline-block元素的默认边距
每次按照设计稿设定a元素的边距时,发现无论怎么设置都会多出一点默认的边距,而出现这个问题的原因是标签段之间的空格,去掉HTML中的空格即可。
方案一:去掉HTML空格。
<div> <a> ...</a><a> ...</a><a> ...</a></div>或:<div> <a>...</a ><a>...</a> ><a>...</a></div>
方案二:添加HTML注释。
<div> <a>...</a><!-- --><a>...</a><!-- --><a>...</a></div>
方案三:使用margin负值进行缩进(不推荐)
方案四:不使用闭合标签,仅闭合最后一个标签。
<div><a>...<a>...<a>...</a>
方案五:使用“font-size:0px;”
.space {
     font-size:0px;
}
.space a {
     font-size:12px;
}方案六:使用letter-spacing或word-spacing。
.space {
     letter-spacing:-3px;
}
.space a {
     letter-spacing:0px;
}
或
.space {
     word-spacing:-6px;
}
.space a {
     word-spacing:0px;
}最后很尴尬的是,不知道什么原因,上述的方法都不能够成功。最后是将HTML代码中a元素不留任何空格。当然,在实际生产中,代码被压缩后,也就没有空格了,这时就不影响边距的设定了。如我在项目中是这样设置的:
<nav> <a href="#">Home</a><a href="#Service">Service</a><a href="#About">AboutUs</a><a href="#Price">PricingTable</a><a href="#How">HowItWork</a><a href="#Client">HappyClients</a><a href="#Contact">ContactUs</a></nav>
二、取消input元素的默认样式。
在Chrome浏览器中,input元素自带有点击后,自动显示一个蓝色的外边框。取消这一效果只需要设定border和outline为none即可。
问题三:关于a元素的三个问题,分别为在链接周围加上背景色、设置a的上边距以及a元素的四个伪类。
一、在链接周围中加上背景色
如下图效果所示:
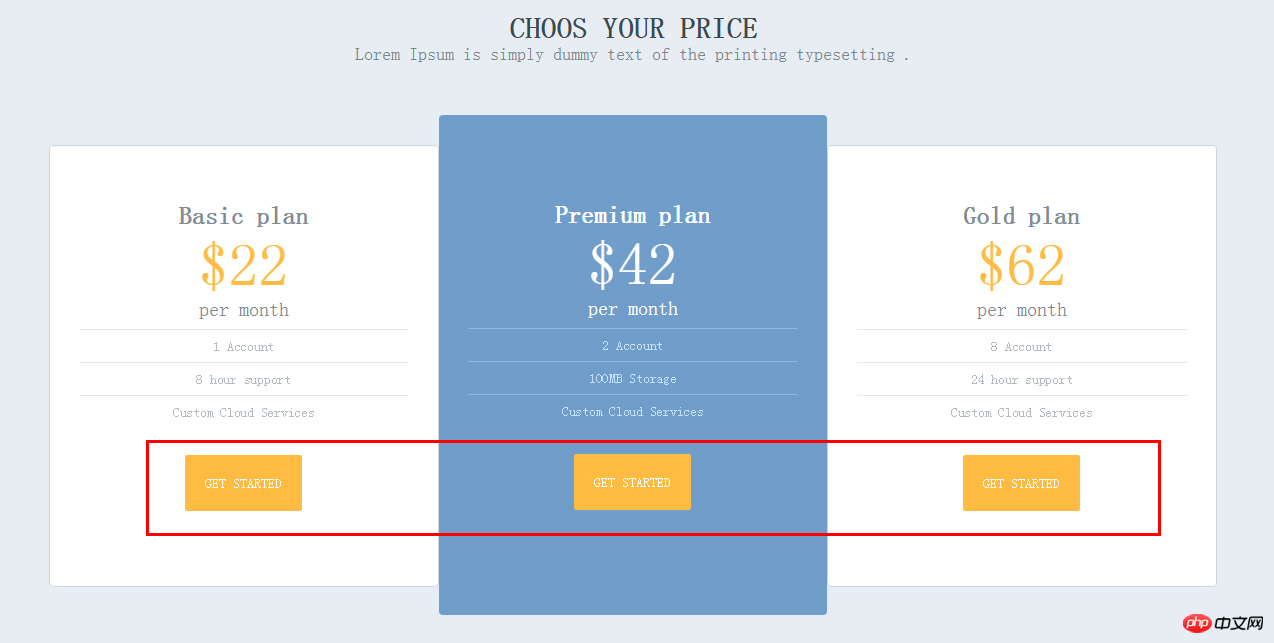
当时做的时候,是想着用一个设置背景颜色的button按钮,但其实只要设置a元素的padding属性和背景颜色即可。代码如下:
.price_box a {
    color: #fff;
    font-size: 14px;
    display: inline-block;
    margin-top: 35px;
    padding: 20px;
    background-color: #ffbb42;
    border-radius: 2px;
}二、设置a元素的上边距。
行内元素如a、span等等的元素无法设定上下边距,这时只要设置样式“display:inline-block;”即可。从上一例子可以看到通过设置了display,以设定margin-top。
三、设置a元素的四个伪类:a:link、a:visited、a:hover、a:active。
通过设置a元素的四个伪类,可以改变鼠标与a元素之间的操作效果,如导航栏中,鼠标经过时改变背景色等等的效果。
效果图如下(截图时,鼠标被隐藏了):

代码如下:
.head nav a:hover {color: #fff;
    background-color: #ffbb42;border-radius: 2px;
}问题四:调整字间距。
因为没有使用设计中的字体,而原字体的字间距并不适合,所以需要调整字间距。
调整字间距可以使用letter-spacing或word-spacing。
问题五:hr元素的属性设置。
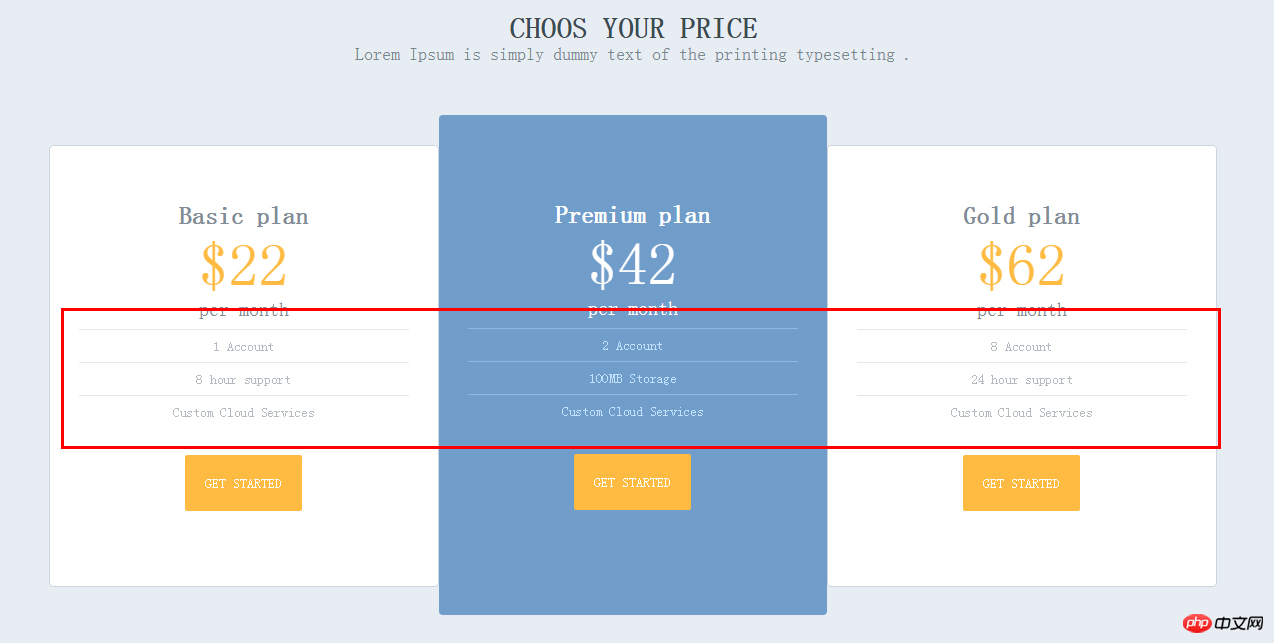
图中的横线是使用
实现的,可是原本默认的样式却不太适合,因此改变了hr元素的长度和颜色。但修改颜色的时候要注意,一般用color改变文本颜色,而线条等的元素则使用background-color来修改,并且需要设定一个线条的高度才能显示颜色,同时hr还有一个默认的boder属性,所以还要设置为none。代码如下:
hr {width: 330px;height: 1px;border: none;background-color: #e2e9f0;
}问题六:只选择为单数序列的元素。
在文本或区块中常常有不同列或行的元素需要有不同的设定,因此就需要使用CSS选择器,而nth-child(n)就可以根据n的值选择元素来应用样式。
如下图所示:
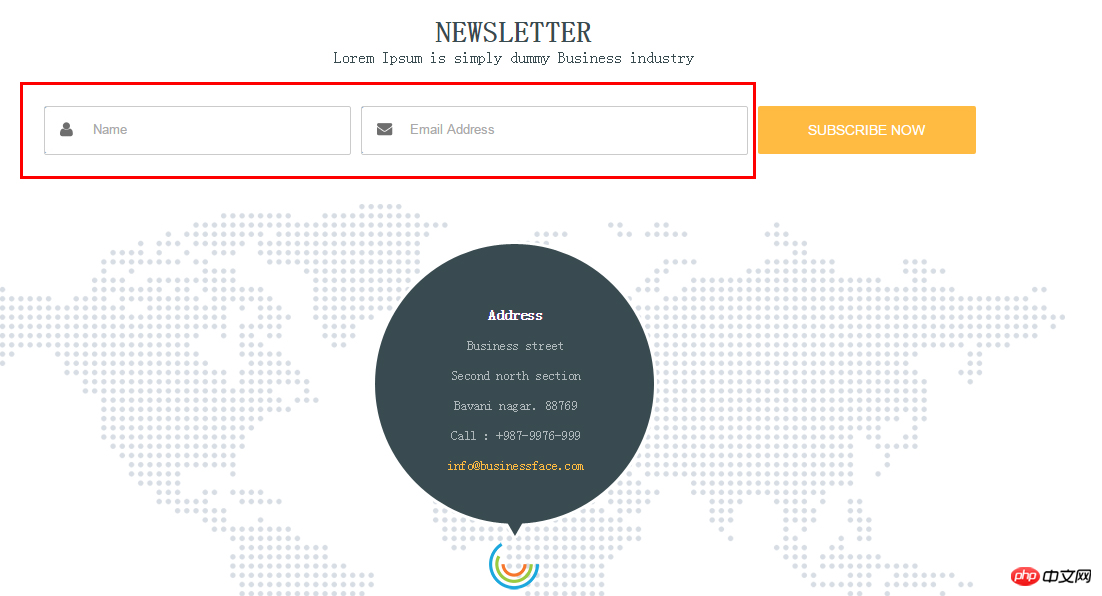
可以看到红框中的两个input框的宽度是不一样的,这个时候就可以使用nth-child来设定不同的宽度,代码如下:
.contact .textbox:nth-child(1) {width: 305px;
}.contact .textbox:nth-child(2) {width: 385px;
}详细的解释可以查看:
在练习中出现的问题大概就是这些,常常以为看过了书,就能一定能运用起来。实际上却不是这样的,在面对问题的时候,很大概率上是不能反应过来,常常是搜索了方法以后,才会意识到,啊,原来可以这样子做,原来还有这种方法,原来因为某个知识点的原因等等,还是需要通过实践才能知道自己的能力到了多少,才能积累更多解决问题的经验。做到了第二个(实际上是第三个)项目,知道了自己还有很长的路要走,很多的知识要学习,很多的操作要练习。以前做项目的时候,常常添加一个样式就要刷新一下,看看效果。现在已经可以先写好想到的样式,再来解决问题,效率提高了不少,大概都是因为练习多了,经验丰富了,也就知道了不会出错的常规操作,信心也增加了呢!
但还是能够在实践中发现很多的不足,应该更有大局观一些,通用的样式应该提前想好、设定好,减少代码的冗余。应该多使用代码解决而不是靠图片,提高用户的下载效率。应该要开始使用JavaScript来做动态效果,可是因为没信心、拖延症,脚步一直停滞不前。应该要解决拖延症,简单的页面一天就能完成,提高工作的效率……以前常看书不实践,现在都在实践却不看书,不好不好。
所以,近期目标是要开始练习JavaScript的小项目,开始认真学习jQuery,要快马加鞭地加油了!
所有文件地址:
网页观看地址:http://htmlpreview.github.io/?https://github.com/omocc/PracticeItem/blob/master/7.5%E5%AE%9E%E6%88%98%E7%BB%83%E4%B9%A0-2/index.html
The above is the detailed content of Summary of HTML5+CSS3BusinessTheme project. For more information, please follow other related articles on the PHP Chinese website!

Hot AI Tools

Undresser.AI Undress
AI-powered app for creating realistic nude photos

AI Clothes Remover
Online AI tool for removing clothes from photos.

Undress AI Tool
Undress images for free

Clothoff.io
AI clothes remover

AI Hentai Generator
Generate AI Hentai for free.

Hot Article

Hot Tools

Notepad++7.3.1
Easy-to-use and free code editor

SublimeText3 Chinese version
Chinese version, very easy to use

Zend Studio 13.0.1
Powerful PHP integrated development environment

Dreamweaver CS6
Visual web development tools

SublimeText3 Mac version
God-level code editing software (SublimeText3)

Hot Topics
 1385
1385
 52
52
 How to use bootstrap in vue
Apr 07, 2025 pm 11:33 PM
Using Bootstrap in Vue.js is divided into five steps: Install Bootstrap. Import Bootstrap in main.js. Use the Bootstrap component directly in the template. Optional: Custom style. Optional: Use plug-ins.
 The Roles of HTML, CSS, and JavaScript: Core Responsibilities
Apr 08, 2025 pm 07:05 PM
HTML defines the web structure, CSS is responsible for style and layout, and JavaScript gives dynamic interaction. The three perform their duties in web development and jointly build a colorful website.
 How to write split lines on bootstrap
Apr 07, 2025 pm 03:12 PM
There are two ways to create a Bootstrap split line: using the tag, which creates a horizontal split line. Use the CSS border property to create custom style split lines.
 Understanding HTML, CSS, and JavaScript: A Beginner's Guide
Apr 12, 2025 am 12:02 AM
WebdevelopmentreliesonHTML,CSS,andJavaScript:1)HTMLstructurescontent,2)CSSstylesit,and3)JavaScriptaddsinteractivity,formingthebasisofmodernwebexperiences.
 How to resize bootstrap
Apr 07, 2025 pm 03:18 PM
To adjust the size of elements in Bootstrap, you can use the dimension class, which includes: adjusting width: .col-, .w-, .mw-adjust height: .h-, .min-h-, .max-h-
 How to set up the framework for bootstrap
Apr 07, 2025 pm 03:27 PM
To set up the Bootstrap framework, you need to follow these steps: 1. Reference the Bootstrap file via CDN; 2. Download and host the file on your own server; 3. Include the Bootstrap file in HTML; 4. Compile Sass/Less as needed; 5. Import a custom file (optional). Once setup is complete, you can use Bootstrap's grid systems, components, and styles to create responsive websites and applications.
 How to insert pictures on bootstrap
Apr 07, 2025 pm 03:30 PM
There are several ways to insert images in Bootstrap: insert images directly, using the HTML img tag. With the Bootstrap image component, you can provide responsive images and more styles. Set the image size, use the img-fluid class to make the image adaptable. Set the border, using the img-bordered class. Set the rounded corners and use the img-rounded class. Set the shadow, use the shadow class. Resize and position the image, using CSS style. Using the background image, use the background-image CSS property.
 How to use bootstrap button
Apr 07, 2025 pm 03:09 PM
How to use the Bootstrap button? Introduce Bootstrap CSS to create button elements and add Bootstrap button class to add button text


