
Spring Boot is a new framework provided by the Pivotal team. It is designed to simplify the initial construction and development process of new Spring applications. The framework uses an ad hoc approach to configuration, eliminating the need for developers to define boilerplate configurations. In this way, Spring Boot strives to become a leader in the booming field of rapid application development.
In previous spring projects, we would face a lot of tedious configurations, and basically use them with a lot of copy and paste. Spring Boot allows us to easily and quickly build Spring Web applications without excessive configuration. It can be used out of the box without code generation or XML configuration, allowing us to quickly use the spring framework.
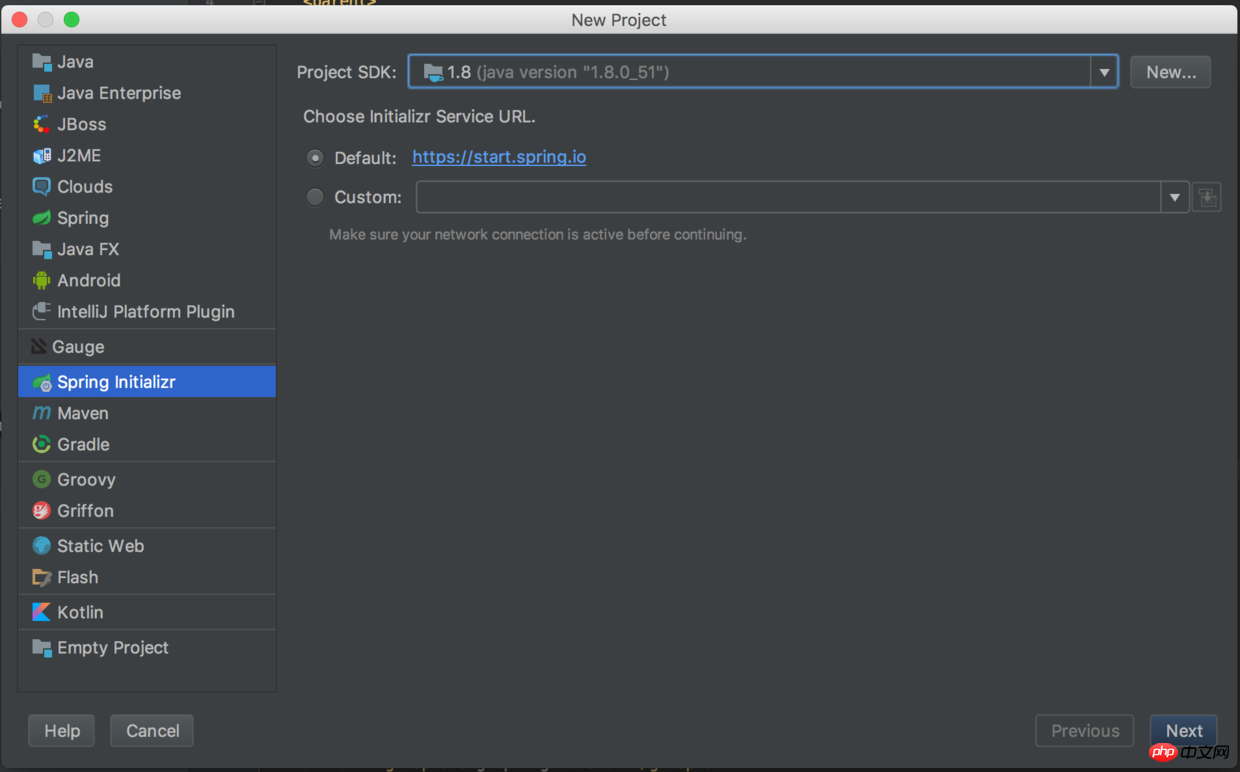
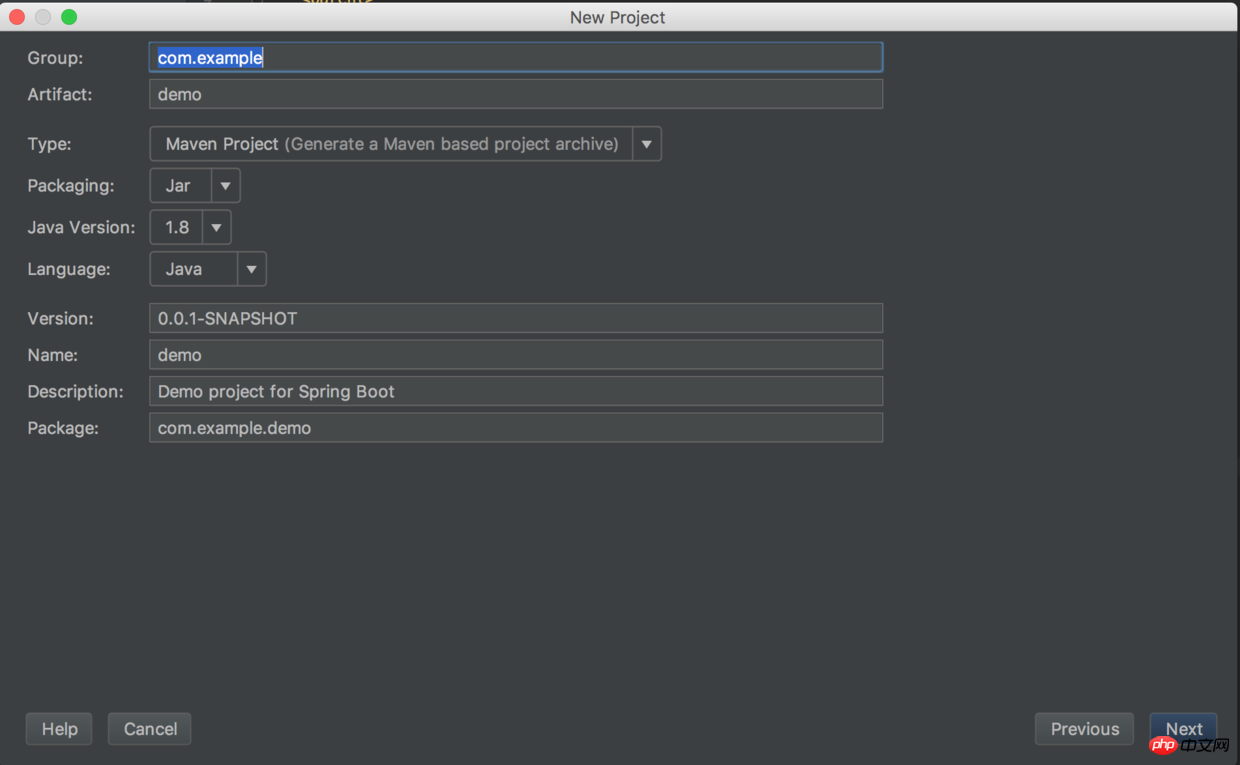
Version: java 1.8.0_51 & spring boot 1.5.4
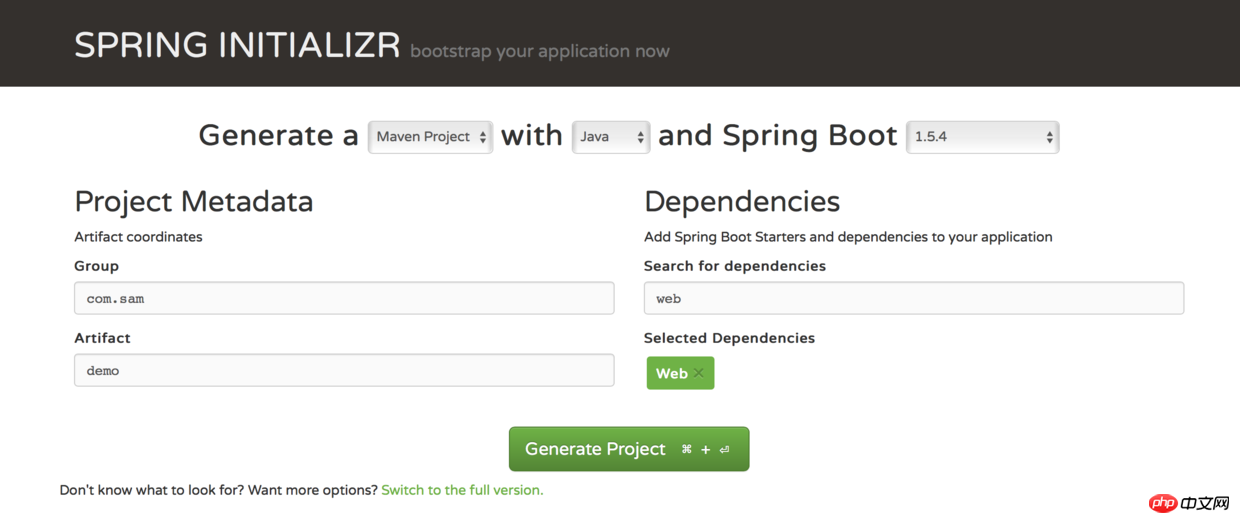
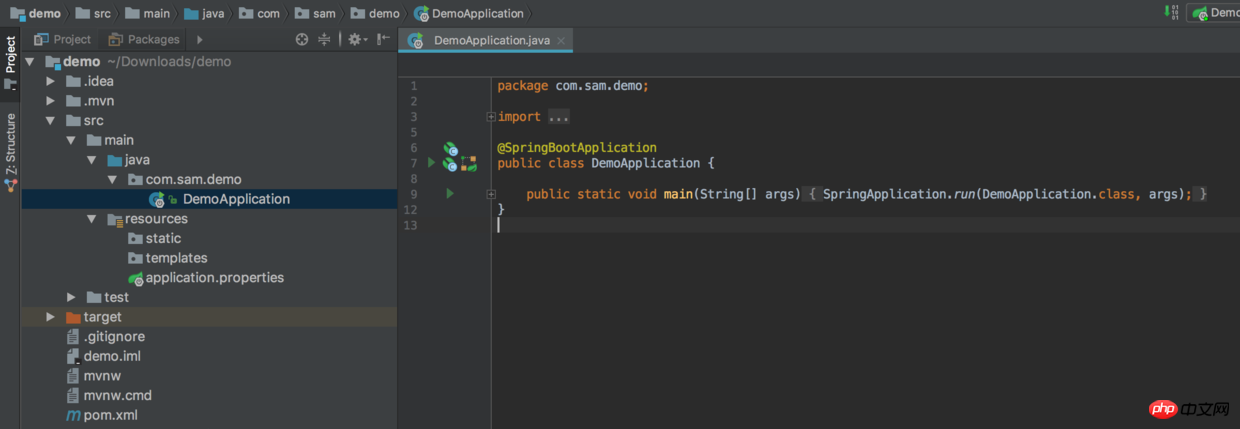
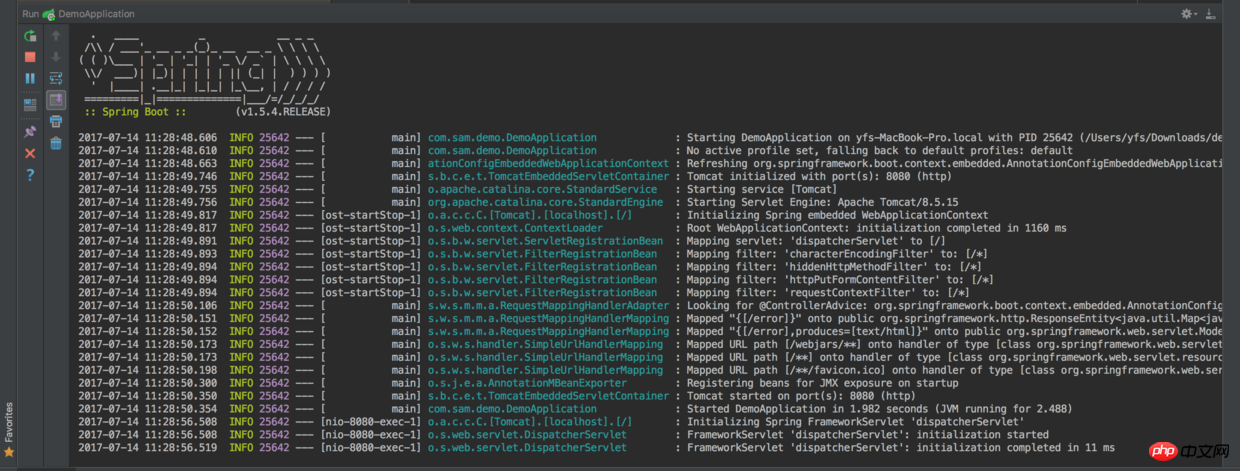

Inherit the parent module. The spring-boot-starter-parent module contains automatic configuration, logs and YAML (reference:), so Building spring projects becomes easy.
 <!-- 继承 spring boot 父包-->
<parent>
    <groupid>org.springframework.boot</groupid>
    <artifactid>spring-boot-starter-parent</artifactid>
    <version>1.5.4.RELEASE</version>
    <relativepath></relativepath> <!-- lookup parent from repository -->
</parent>
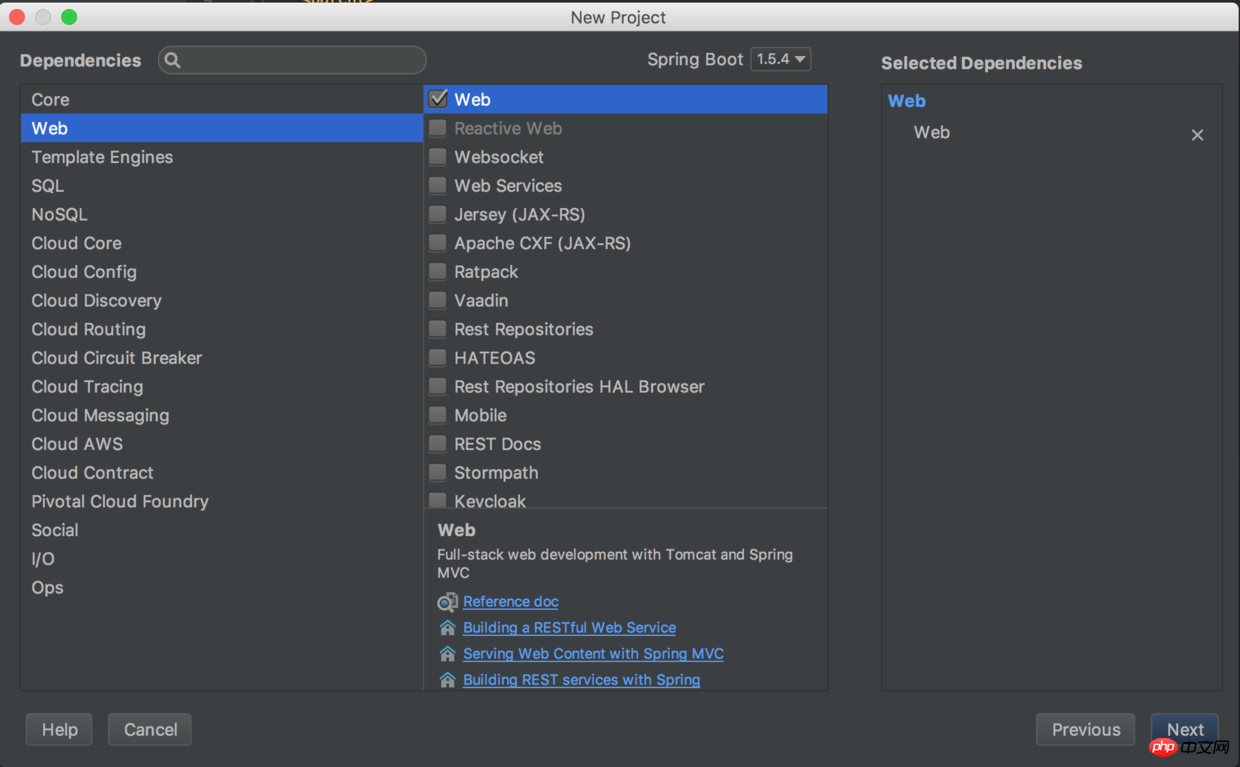
pom.xml relies on the spring-boot-starter-web module, including Tomcat and spring-webmvc (reference:). There is no need to specify the version because the parent module already has the default configuration. If needed Specified versions can be added.
<!-- 构建web项目模块 包括了Tomcat和spring-webmvc -->
<!-- spring-boot-starter-web 默认依赖了tomcat的starter 所以使得项目可以直接运行而不需要部署到tomcat中-->
<dependency>
    <groupId>org.springframework.boot</groupId>
    <artifactId>spring-boot-starter-web</artifactId>
</dependency>pom.xml depends on the spring-boot-starter-test test module, including JUnit, Hamcrest, Mockito
<dependency>
    <groupId>org.springframework.boot</groupId>
    <artifactId>spring-boot-starter-test</artifactId>
    <scope>test</scope>
</dependency>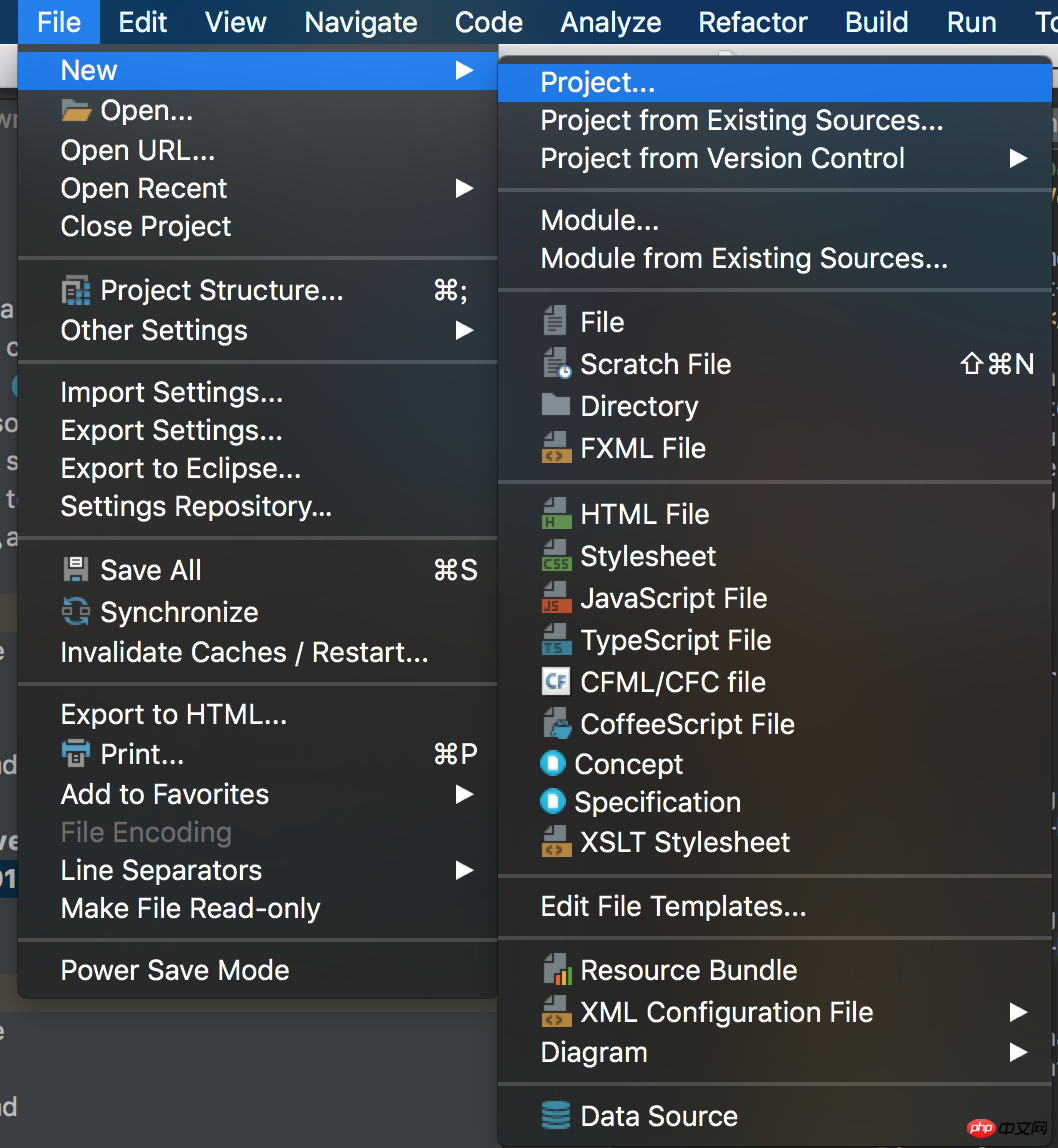
The above is the detailed content of Build a simple spring boot project example. For more information, please follow other related articles on the PHP Chinese website!
 Introduction to interface types
 How to resize pictures in ps
 What to do if postscript cannot be parsed
 Win10 does not support the disk layout solution of Uefi firmware
 What are the oracle wildcards?
 Detailed explanation of sprintf function usage
 What are the four big data analysis tools?
 How to connect asp to access database


