If you use Python for web development, there are many frameworks to choose from, such as the most famous Django, tornado, etc. In addition to these frameworks, there is a lightweight framework that is also very convenient and easy to use, which is web.py. It was created by a hacker who unfortunately committed suicide in 2013. It is said that it is now maintained and updated by another person. Now let’s learn how to set up a web.py development environment under Windows.
1. Install web.py
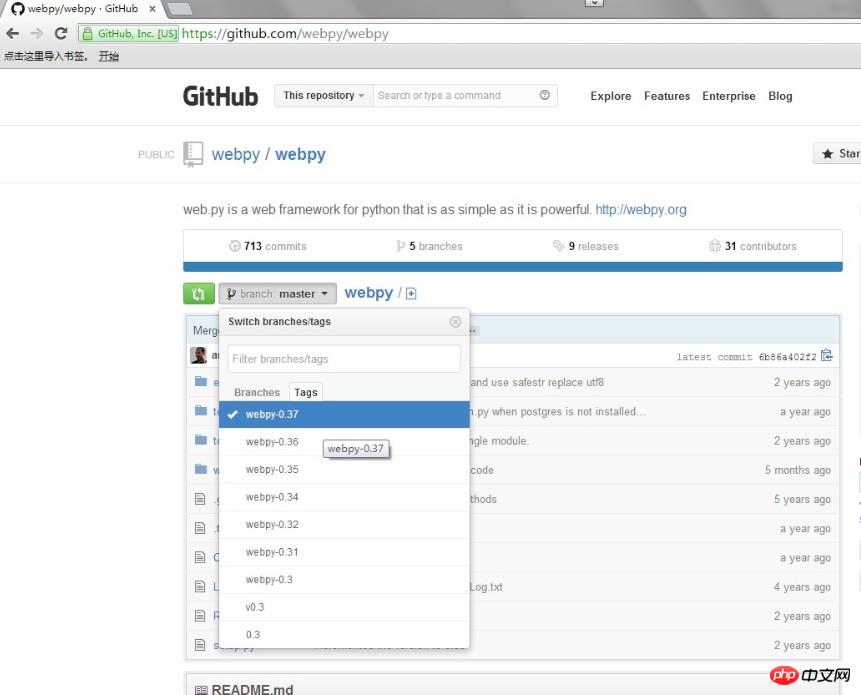
Download the web.py installation package at https://github.com/webpy/webpy. Note that github has requirements for browser versions. For example, it does not support IE9 or lower.

Download the corresponding version as needed.
After downloading, unzip it, open cmd, cd to the decompression directory, enter
python setup.py install
The installation is complete. (The prerequisite is to install python, version below python3)
2. Test program.
Create a hello.py file
import web

urls = ('/hello', 'hello',
       )

class hello(object):
  def GET(self):
    return 'hello world'

if __name__ == "__main__":
  app = web.application(urls, globals())
app.run()urls is the url mapping rule (similar to the mapping in servlet), and class hello is the link request response.
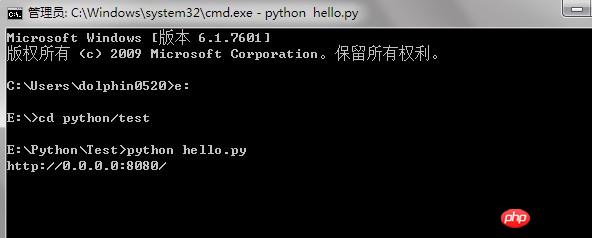
Then run the file on the command line:

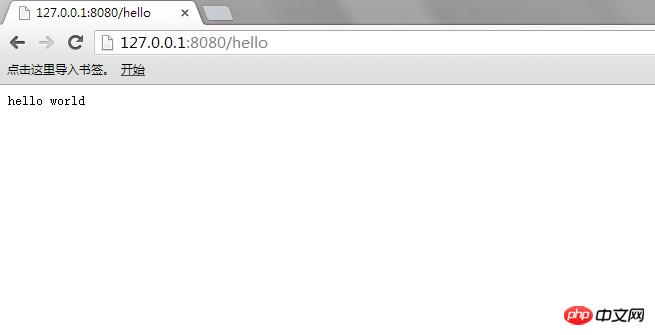
If you want to stop the program, press Ctrl+C to exit. The default program runs on port 8080, and then enter: http://127.0.0.1:8080/hello in the browser, you can see the result:

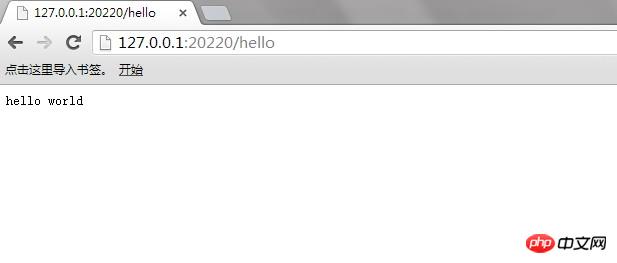
The program defaults Runs on port 8080. If port 8080 is occupied by other programs, the web.py program will fail to run. For example, an error such as sockets.error will occur. In this case, the port needs to be changed:


Note that web.py does not have the ability to deploy websites, so the web.py program can only be accessed locally. If you want to deploy, you must use apache or nginx.
The above is the detailed content of How to quickly build the web.py development framework under Windows. For more information, please follow other related articles on the PHP Chinese website!


