
 Backend Development
PHP Tutorial
How to configure the PHP development environment under Windows 10 system
Backend Development
PHP Tutorial
How to configure the PHP development environment under Windows 10 system
How to configure the PHP development environment under Windows 10 system

Build under Windows (Apache+PHP+MySQL) =>WAMP
Build under Linux (Apache+PHP+MySQL) => ;LAMP
PHP development environment configuration generally has two methods: kit installation and custom installation. Kits can also be found online, and you can directly download a complete development environment, eliminating the configuration process. However, this method is not flexible enough, and we cannot understand the relationship. It is still beneficial to try to configure the environment yourself. Yes, what I introduce in detail below is the custom installation of PHP development environment under Windows 10 system.
It is recommended to install these software into the same folder for easy management. I put them all in thephpenvir folder; in addition, after each software is installed, test it Whether the installation is successful.
My next installation sequence is:Apache→PHP→MySQL
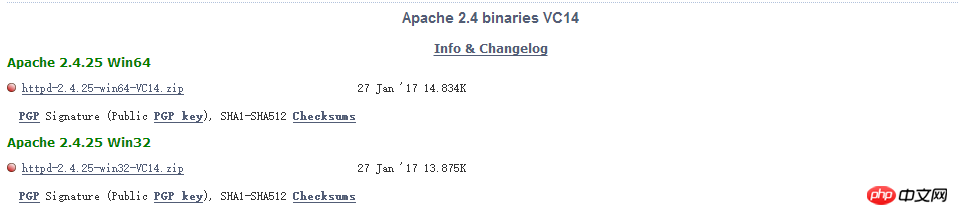
Apache installationOfficial website download link: Click here to download

http.conf file in the conf directory, and use a text compiler (such as Editplus) to open it, Ctrl+F
ServerRoot "C:/Apache24"
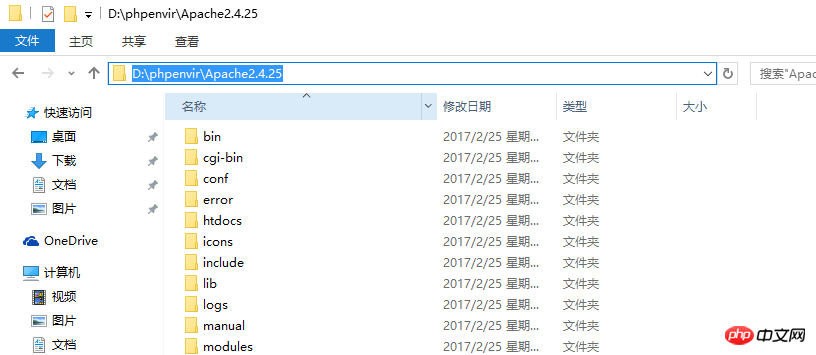
D:/phpenvir/Apache2.4.25
One thing to note here: the directory slash symbol should beContinue/
or\\.
Crtl+F in the file and find the following code:
#
DocumentRoot "c:/Apache24/htdocs"
<Directory"c:/Apache24/htdocs">
#
#
DocumentRoot "D:/phpenvir/Apache2.4.25/htdocs"
<Directory"D:/phpenvir/Apache2.4.25/htdocs">
#
Save the file.
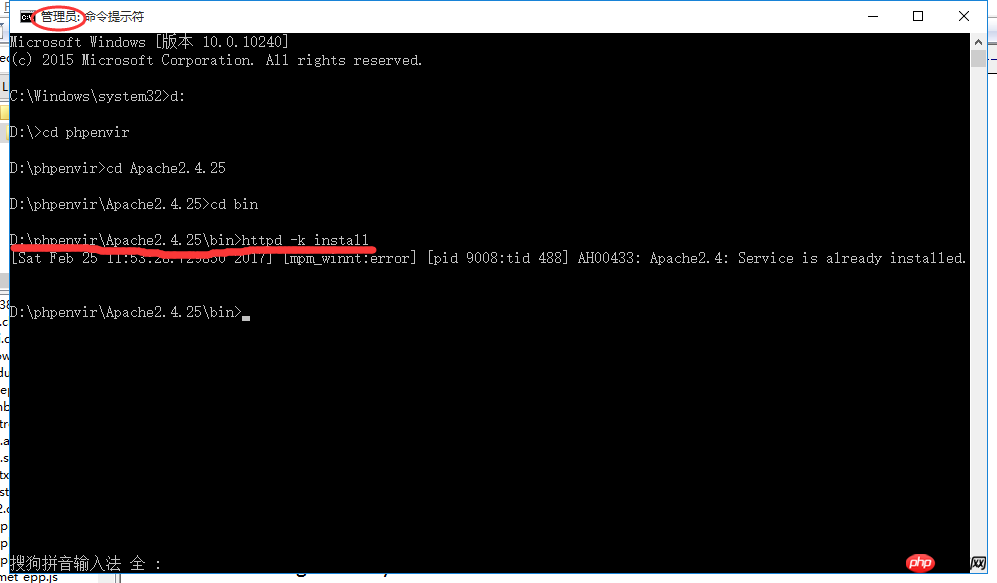
Next, useadministrator identity (Be sure to note here, you need to run it through the administrator identity. An error occurred here when you first started configuring, resulting in If an error occurs) open the command prompt, switch to the bin directory under the Apache directory, and execute the installation program httpd -k install.
httpd –k start to start the Apache service.
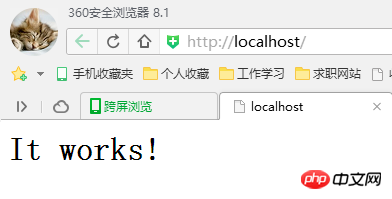
Test: Enter: http://localhost in the browser. If the page below appears, it means that Apache is installed successfully.
Tips:
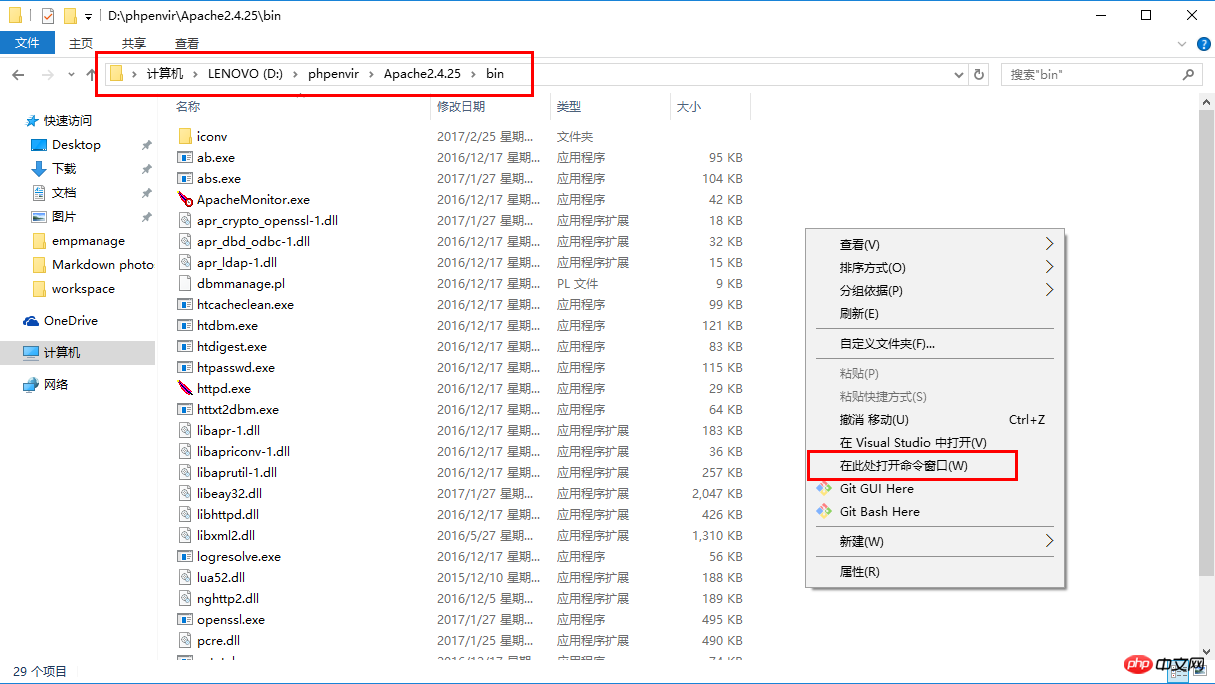
- After switching to the
Apache directory## In the process of #bin folder, you can use the method mentioned above. In addition, you can also open the location where the bin file is located locally, and then hold down shift## Click the right mouse button while holding the # key, there will be an item in the list Open the command window here
, click to open the command prompt, you can directly locate the location, eliminating the need to switch folders. As shown in the picture below:
- bin folder
- is located symbol because our
httpd command is located in this folder. If you want to run our httpd command
in any directory (that is, you do not need to switch tobin directoryto operate), then we need to set theenvironment variable, the specific process is as follows:
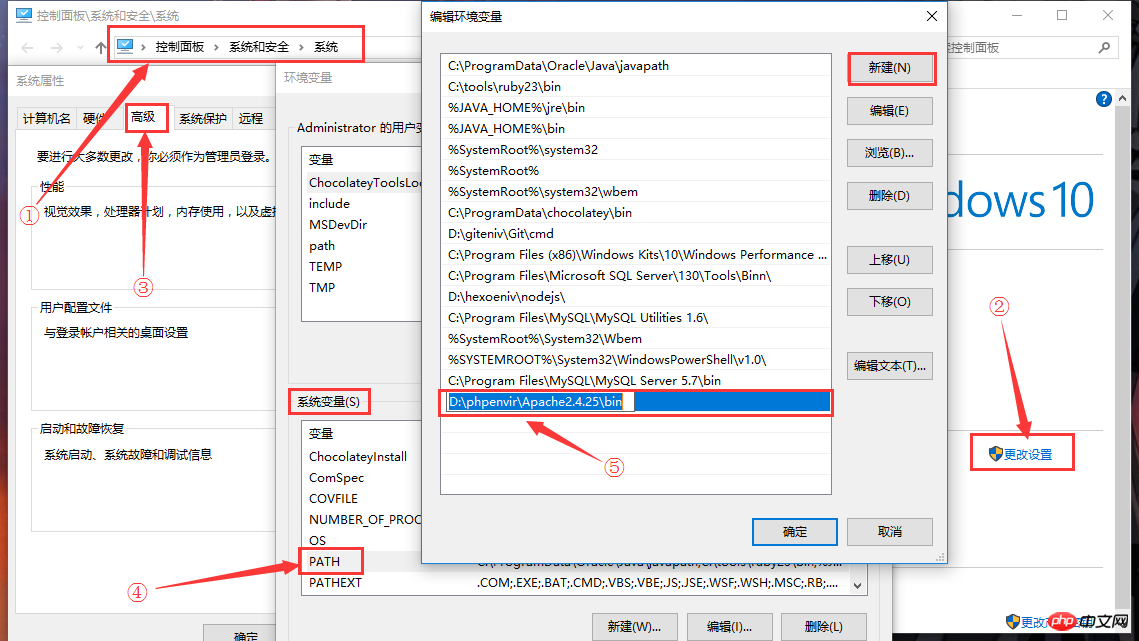
- Computer
- Properties (or shortcut key
Win+PauseBreak) to open Computer System
Open the interfaceInterfaceChange Settings -
Open
Advanced -
Environment Variables# #Open
PATH -
#AddinSystem Variables environment variable to install the complete bin directory of Apache Fill it in, and then - confirm
the open windows one by one (as you can see from the picture, the environment variables in the win10 operating system are arranged in rows, while win7Environment variables in the operating system seem to be all on one line, so when configuring environment variables, you should add ; at the end to distinguish different environment variables).
Please refer to the picture below for details:
PHP安装
Apache安装好之后,在下载PHP开发软件之前,先向
httpd.conf文件中写入PHP支持模块。
打开httpd.conf文件,Crtl+FDirectoryIndex index.html
Copy after login将其修改为
#修改首页面文件类型支持
DirectoryIndex index.html index.htm index.php
Copy after login然后,在文件尾部添加下面的内容:
#让Apache支持PHP
LoadModule php7_module "D:/phpenvir/php7.1.1/php7apache2_4.dll"
#告诉Apache php.ini的位置
PHPIniDir  "D:/phpenvir/php7.1.1"
AddType application/x-httpd-php .php .html .htm
Copy after login写好之后保存文件。
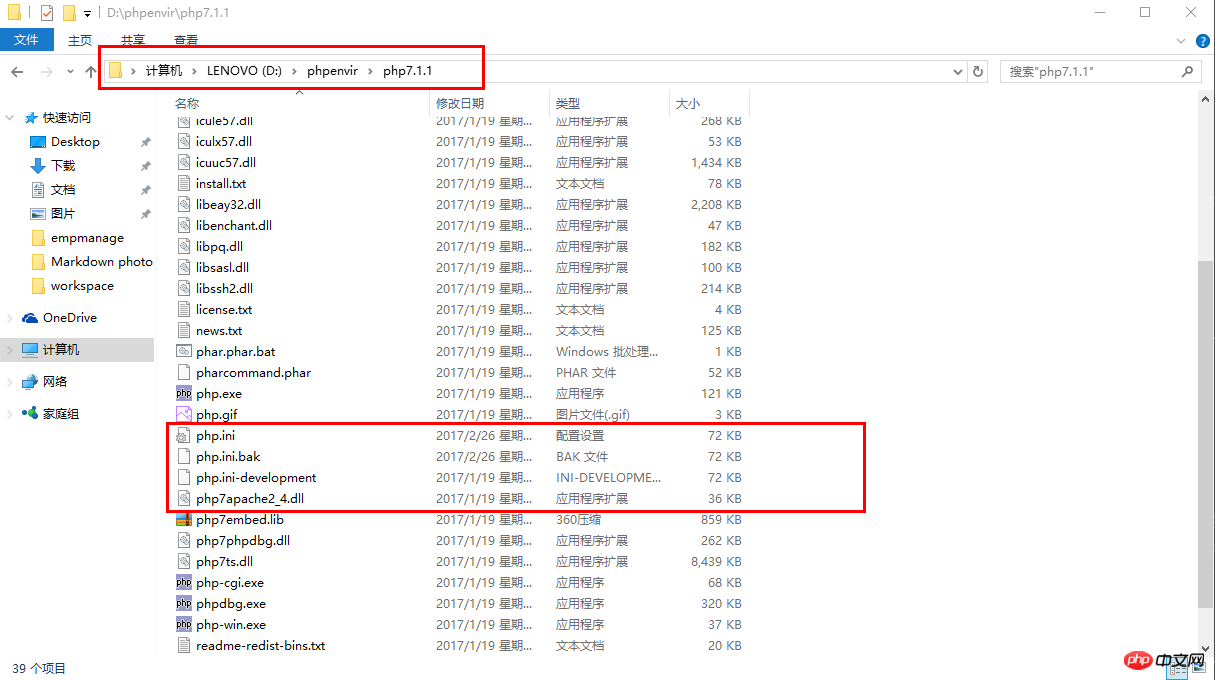
注意一点,上面添加的内容需要根据自己接下来将要安装的PHP软件版本进行修改,我这里安装的PHP7.1.1版本和Apache2.4.25版本,要确保能够在下载好的PHP文件夹中找到D:/phpenvir/php7.1.1/php7apache2_4.dll和D:/phpenvir/php7.1.1/php.ini这两个文件,而
php.ini文件是从php.ini-development文件复制而来的,下文会提及到.接下来,开始下载PHP开发工具。
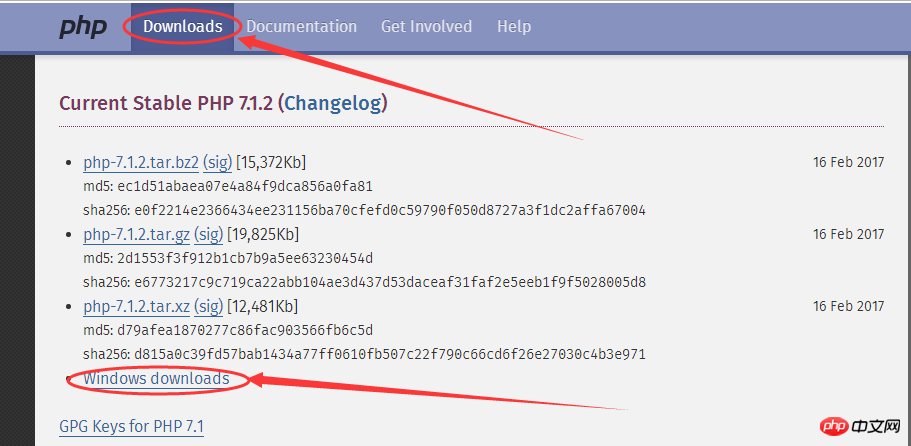
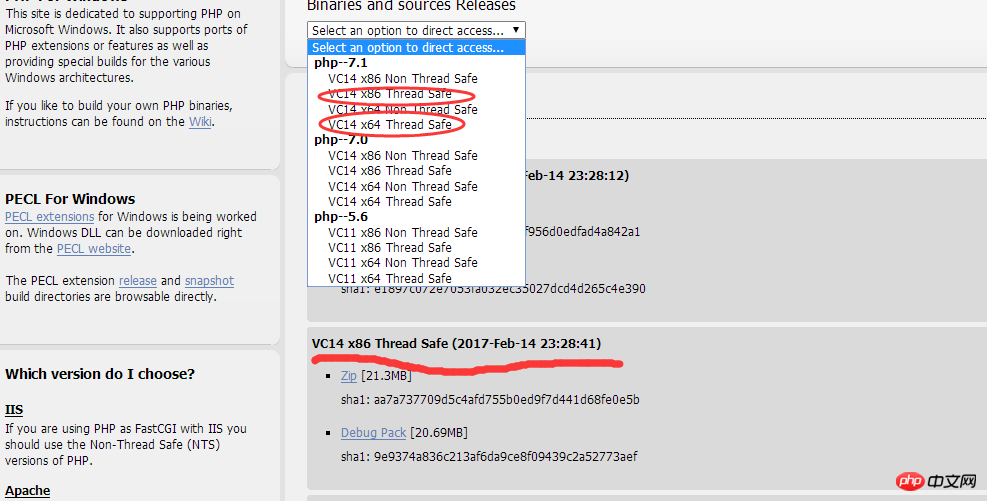
请前往官网下载
从图中可以看到有
Non Thread Safe和Thread Safe两个版本,我们需要下载Thread Safe的PHP环境。下载完成之后将其解压到之前指定好的文件夹
D:/phpenvir/php7.1.1中。然后,将php7.1.1目录下的
php.ini-development文件重命名为php.ini,用Editplus打开,Crtl+F;extension_dir="ext"
Copy after login将其修改为:
#去掉前面的分号,并且将地址更改为自己的安装位置
extension_dir="D:/phpenvir/php7.1.1/ext"
Copy after login接着
Crtl+F;extension=php_mysqli.dll #将前面的分号去掉,这样PHP便可以支持mysqli扩展
Copy after login根据开发的不同需求,可以去掉各种扩展前面的分号,我们这里先去掉一些能用得到的(前面不带分号的即为自己启用的扩展):
;extension=php_bz2.dll
extension=php_curl.dll
;extension=php_fileinfo.dll
;extension=php_ftp.dll
extension=php_gd2.dll
;extension=php_gettext.dll
;extension=php_gmp.dll
;extension=php_intl.dll
;extension=php_imap.dll
;extension=php_interbase.dll
;extension=php_ldap.dll
extension=php_mbstring.dll
;extension=php_exif.dll      ; Must be after mbstring as it depends on it
extension=php_mysqli.dll
;extension=php_oci8_12c.dll  ; Use with Oracle Database 12c Instant Client
;extension=php_openssl.dll
;extension=php_pdo_firebird.dll
;extension=php_pdo_mysql.dll
;extension=php_pdo_oci.dll
;extension=php_pdo_odbc.dll
;extension=php_pdo_pgsql.dll
;extension=php_pdo_sqlite.dll
;extension=php_pgsql.dll
;extension=php_shmop.dll
Copy after login测试:
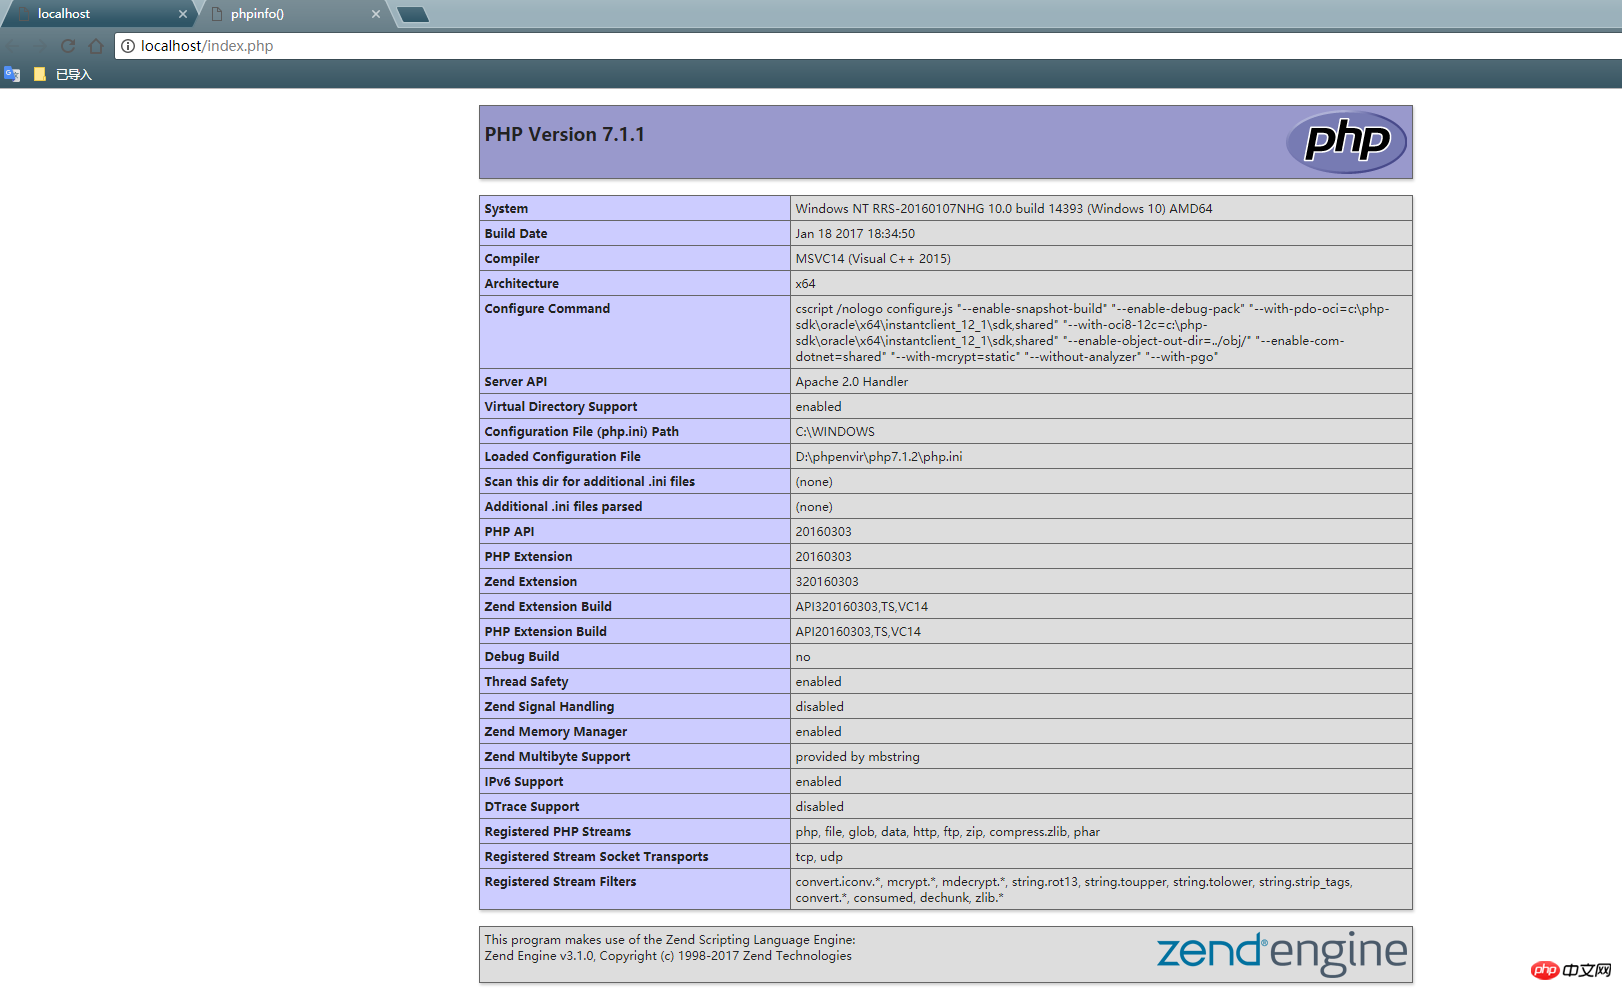
在Apache目录下的
htdocs文件夹中新建Index.php文件,填入以下代码:php <?php phpinfo(); ?>Copy after login保存之后,在浏览器中输入:http://localhost/index.php
如果出现如下页面,则证明PHP安装成功。从上面这个页面中,你可以很清楚地看到自己安装的PHP版本和Apache版本信息,包括各种扩展功能。
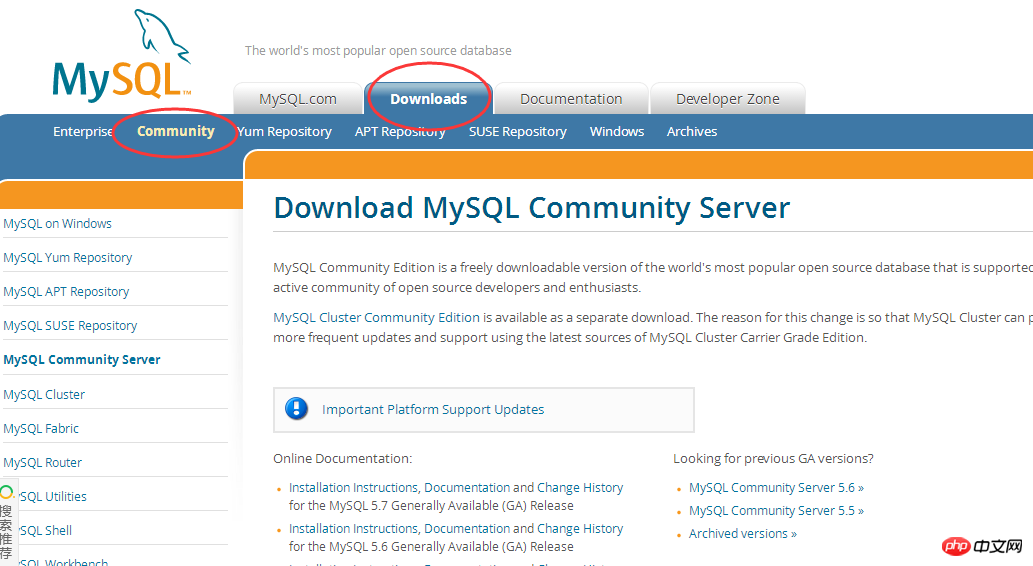
MySQL安装
请前往官网下载
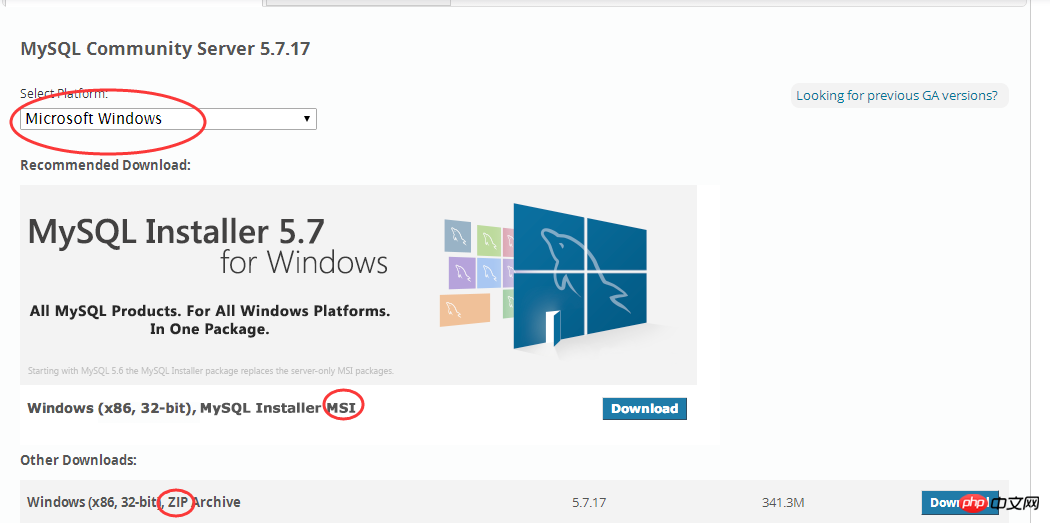
这里有两个版本
msi和zip.msi格式的是我们平时经常使用的那种,可以直接点击安装,按照给出的提示进行安装。而Zip格式的则需要自己去解压,然后使用命令行进行相关配置,才能够使用。我个人下载安装的是
msi格式的,安装方式比较简单,根据提示一步步安装即可,下面有两个教程对于MySQL安装已经解释得很清楚,这里我便不再多做赘述。将MySQL安装完成以后,PHP环境配置就大致完成了,需要注意的一点是平时写的php文件要放在Apache目录下的
htdocs文件夹下,例如我这里是D:/phpenvir/Apache2.4.25/htdocs文件夹。如果想要自定义一个存放文件夹,还需要在httpd.conf中进行修改,具体操作可以去参考网上的方法。
The above is the detailed content of How to configure the PHP development environment under Windows 10 system. For more information, please follow other related articles on the PHP Chinese website!

Hot AI Tools

Undresser.AI Undress
AI-powered app for creating realistic nude photos

AI Clothes Remover
Online AI tool for removing clothes from photos.

Undress AI Tool
Undress images for free

Clothoff.io
AI clothes remover

Video Face Swap
Swap faces in any video effortlessly with our completely free AI face swap tool!

Hot Article
Hot Tools

Notepad++7.3.1
Easy-to-use and free code editor

SublimeText3 Chinese version
Chinese version, very easy to use

Zend Studio 13.0.1
Powerful PHP integrated development environment

Dreamweaver CS6
Visual web development tools

SublimeText3 Mac version
God-level code editing software (SublimeText3)
Hot Topics
 1386
1386
 52
52

 PHP 8.4 Installation and Upgrade guide for Ubuntu and Debian
Dec 24, 2024 pm 04:42 PM
PHP 8.4 Installation and Upgrade guide for Ubuntu and Debian
Dec 24, 2024 pm 04:42 PM
PHP 8.4 brings several new features, security improvements, and performance improvements with healthy amounts of feature deprecations and removals. This guide explains how to install PHP 8.4 or upgrade to PHP 8.4 on Ubuntu, Debian, or their derivati
 How To Set Up Visual Studio Code (VS Code) for PHP Development
Dec 20, 2024 am 11:31 AM
How To Set Up Visual Studio Code (VS Code) for PHP Development
Dec 20, 2024 am 11:31 AM
Visual Studio Code, also known as VS Code, is a free source code editor — or integrated development environment (IDE) — available for all major operating systems. With a large collection of extensions for many programming languages, VS Code can be c
 7 PHP Functions I Regret I Didn't Know Before
Nov 13, 2024 am 09:42 AM
7 PHP Functions I Regret I Didn't Know Before
Nov 13, 2024 am 09:42 AM
If you are an experienced PHP developer, you might have the feeling that you’ve been there and done that already.You have developed a significant number of applications, debugged millions of lines of code, and tweaked a bunch of scripts to achieve op
 Explain JSON Web Tokens (JWT) and their use case in PHP APIs.
Apr 05, 2025 am 12:04 AM
Explain JSON Web Tokens (JWT) and their use case in PHP APIs.
Apr 05, 2025 am 12:04 AM
JWT is an open standard based on JSON, used to securely transmit information between parties, mainly for identity authentication and information exchange. 1. JWT consists of three parts: Header, Payload and Signature. 2. The working principle of JWT includes three steps: generating JWT, verifying JWT and parsing Payload. 3. When using JWT for authentication in PHP, JWT can be generated and verified, and user role and permission information can be included in advanced usage. 4. Common errors include signature verification failure, token expiration, and payload oversized. Debugging skills include using debugging tools and logging. 5. Performance optimization and best practices include using appropriate signature algorithms, setting validity periods reasonably,
 How do you parse and process HTML/XML in PHP?
Feb 07, 2025 am 11:57 AM
How do you parse and process HTML/XML in PHP?
Feb 07, 2025 am 11:57 AM
This tutorial demonstrates how to efficiently process XML documents using PHP. XML (eXtensible Markup Language) is a versatile text-based markup language designed for both human readability and machine parsing. It's commonly used for data storage an
 PHP Program to Count Vowels in a String
Feb 07, 2025 pm 12:12 PM
PHP Program to Count Vowels in a String
Feb 07, 2025 pm 12:12 PM
A string is a sequence of characters, including letters, numbers, and symbols. This tutorial will learn how to calculate the number of vowels in a given string in PHP using different methods. The vowels in English are a, e, i, o, u, and they can be uppercase or lowercase. What is a vowel? Vowels are alphabetic characters that represent a specific pronunciation. There are five vowels in English, including uppercase and lowercase: a, e, i, o, u Example 1 Input: String = "Tutorialspoint" Output: 6 explain The vowels in the string "Tutorialspoint" are u, o, i, a, o, i. There are 6 yuan in total
 Explain late static binding in PHP (static::).
Apr 03, 2025 am 12:04 AM
Explain late static binding in PHP (static::).
Apr 03, 2025 am 12:04 AM
Static binding (static::) implements late static binding (LSB) in PHP, allowing calling classes to be referenced in static contexts rather than defining classes. 1) The parsing process is performed at runtime, 2) Look up the call class in the inheritance relationship, 3) It may bring performance overhead.
 What are PHP magic methods (__construct, __destruct, __call, __get, __set, etc.) and provide use cases?
Apr 03, 2025 am 12:03 AM
What are PHP magic methods (__construct, __destruct, __call, __get, __set, etc.) and provide use cases?
Apr 03, 2025 am 12:03 AM
What are the magic methods of PHP? PHP's magic methods include: 1.\_\_construct, used to initialize objects; 2.\_\_destruct, used to clean up resources; 3.\_\_call, handle non-existent method calls; 4.\_\_get, implement dynamic attribute access; 5.\_\_set, implement dynamic attribute settings. These methods are automatically called in certain situations, improving code flexibility and efficiency.
