This article mainly introduces the novice guide (summary) about webpack2 and module packaging. It has certain reference value and interested friends can refer to it.
Webpack has become one of the most important tools in modern web development. It is a module packaging tool for JavaScript, but it can also convert all front-end resources, such as HTML and CSS, and even images. It gives you greater control over the number of HTTP requests your application makes, and allows you to use features from other resources (such as Jade, Sass, and ES6). webpack also lets you easily download packages from npm.
This article is mainly aimed at students who are new to webpack and will introduce initial setup and configuration, modules, loaders, plug-ins, code splitting and hot module replacement.
Before continuing to study the following content, you need to make sure that Node.js has been installed on your computer.
Initial configuration
Use npm to initialize a new project and install webpack:
mkdir webpack-demo
cd webpack-demo
npm init -y
npm install webpack@beta --save-dev
mkdir src
touch index.html src/app.js webpack.config.js
Written The following files:
<!-- index.html -->
<!DOCTYPE html>
<html lang="en">
 <head>
  <meta charset="utf-8">
  <title>Hello webpack</title>
 </head>
 <body>
  <p id="root"></p>
  <script src="dist/bundle.js"></script>
 </body>
</html>
// src/app.js
const root = document.querySelector('#root')
root.innerHTML = `<p>Hello webpack.</p>`
// webpack.config.js
const webpack = require('webpack')
const path = require('path')

const config = {
 context: path.resolve(__dirname, 'src'),
 entry: './app.js',
 output: {
  path: path.resolve(__dirname, 'dist'),
  filename: 'bundle.js'
 },
 module: {
  rules: [{
   test: /\.js$/,
   include: path.resolve(__dirname, 'src'),
   use: [{
    loader: 'babel-loader',
    options: {
     presets: [
      ['es2015', { modules: false }]
     ]
    }
   }]
  }]
 }
}

module.exports = configThe above configuration is an ordinary Starting point, it notifies webpack to compile and output the entry file src/app.js to the file /dist/bundle.js, and use babel to compile all .js File converted from ES2015 to ES5.
In order to convert it to ES5 format JS files, we need to install three packages: babel-core, webpack loader babel-loader and presets babel-preset-es2015. Use { modules: false } to have Tree Shaking remove unused exports from the packaged file to reduce file size.
npm install babel-core babel-loader babel-preset-es2015 --save-dev
Finally, replace the scripts section of package.json with the following:
##
"scripts": {
 "start": "webpack --watch",
 "build": "webpack -p"
},
open index.html
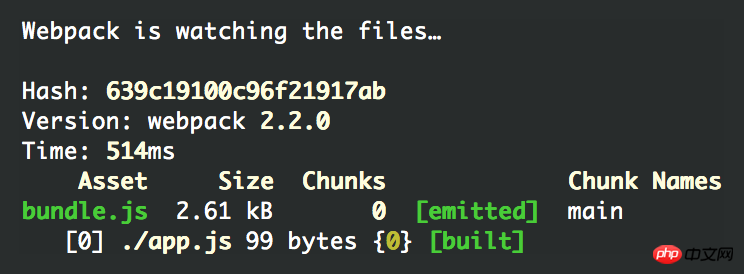
dist/bundle.js file to see what webpack has done. The top is the module guide of webpack Code, at the bottom is our module. So far, you may not have a deep impression of this. But now you can start writing ES6 modules and webpack will generate bundled files that work in all browsers.
Ctrl + C to stop webpack and run npm run build to compile our bundle.js in production mode.
dist/bundle.js file and you will see a lot of unreadable code because we used UglifyJS to minify it. This way, we can use less code to achieve the same effect as before.
Modules
Good webpackers know how to use JavaScript modules in various formats, the two most famous are:npm install lodash --save
// src/app.js
import {groupBy} from 'lodash/collection'

const people = [{
 manager: 'Jen',
 name: 'Bob'
}, {
 manager: 'Jen',
 name: 'Sue'
}, {
 manager: 'Bob',
 name: 'Shirley'
}, {
 manager: 'Bob',
 name: 'Terrence'
}]
const managerGroups = groupBy(people, 'manager')

const root = document.querySelector('#root')
root.innerHTML = `<pre class="brush:php;toolbar:false">${JSON.stringify(managerGroups, null, 2)}`npm startStart webpack and refresh index.html, you can see An array grouped by manager.
people.js.
// src/people.js
const people = [{
 manager: 'Jen',
 name: 'Bob'
}, {
 manager: 'Jen',
 name: 'Sue'
}, {
 manager: 'Bob',
 name: 'Shirley'
}, {
 manager: 'Bob',
 name: 'Terrence'
}]

export default peopleapp.js.
// src/app.js
import {groupBy} from 'lodash/collection'
import people from './people'

const managerGroups = groupBy(people, 'manager')

const root = document.querySelector('#root')
root.innerHTML = `<pre class="brush:php;toolbar:false">${JSON.stringify(managerGroups, null, 2)}`lodash/collection are imported and installed in /node_modules Modules, your own modules need a relative path like ./people, you can use this to distinguish them.
Loader
We have already introduced that you can configure a loader likebabel-loader to tell webpack when encountering different What to do when importing file types. You can combine multiple loaders together and apply them to many file conversions. Importing .sass files in JS is a very good example.
Sass
This conversion involves three separate loaders andnode-sass libraries:
npm install css-loader style-loader sass-loader node-sass --save-dev
// webpack.config.js
rules: [{
 test: /\.scss$/,
 use: [
  'style-loader',
  'css-loader',
  'sass-loader'
 ]
}, {
 // ...
}]webpack.config.js you need to use Ctrl + C and npm start Restart the build.
css-loader Parses CSS into JavaScript and resolves all dependencies.
style-loader outputs our CSS to
The above is the detailed content of Summary of issues related to webpack2 and module packaging. For more information, please follow other related articles on the PHP Chinese website!


