
This article mainly introduces the graphic tutorial of setting up the python+selenium development environment in detail, which has certain reference value. Interested friends can refer to
web debugging tools Introduction and development environment setup
Python and selenium development environment setup:
1. Download python software:https://www.python.org/
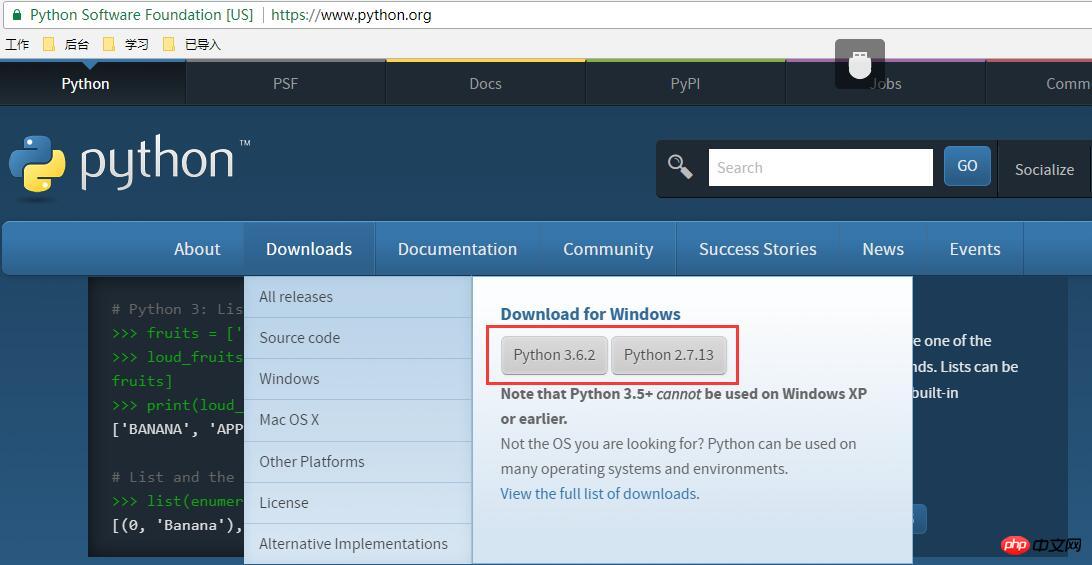
After downloading, install it. After the installation is successful, open IDLE (Python 3.6.2), as shown below:
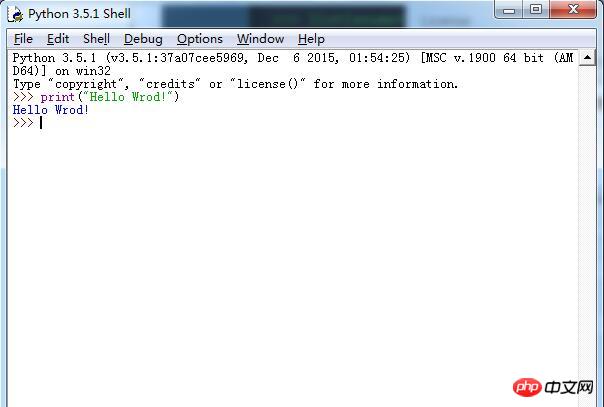
As shown above, enter print("Hello Wrod!") and press Enter. Hello Wrod! appears, indicating that IDLE has been installed. Next, open the dos command window and enter Python and press Enter. As shown below:
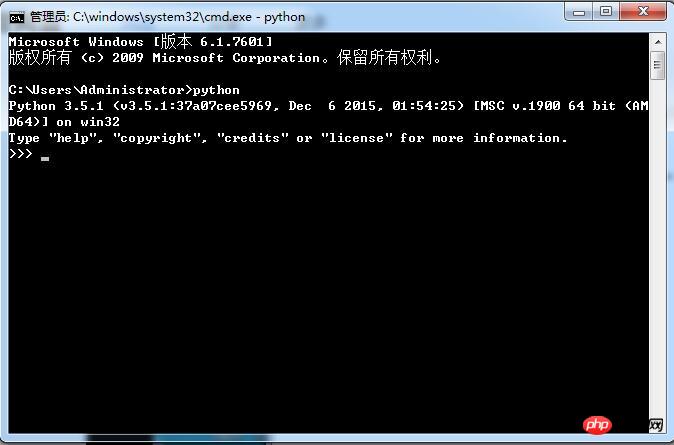
#The python version number and other information appear indicating that python has been installed successfully. If an error message appears, you need to configure the environment variables:
Add the python installation directory to the environment system variable Path, for example: C:\Python35\Scripts;C:\Python35\, this is installed on the C drive Directory.
2. Install pip: https://pypi.python.org/pypi/pip

After downloading, unzip it, Open the dos command window and enter the folder you just decompressed (for example: D:\pip-9.0.1, this is the decompressed pip folder) and enter the following information:
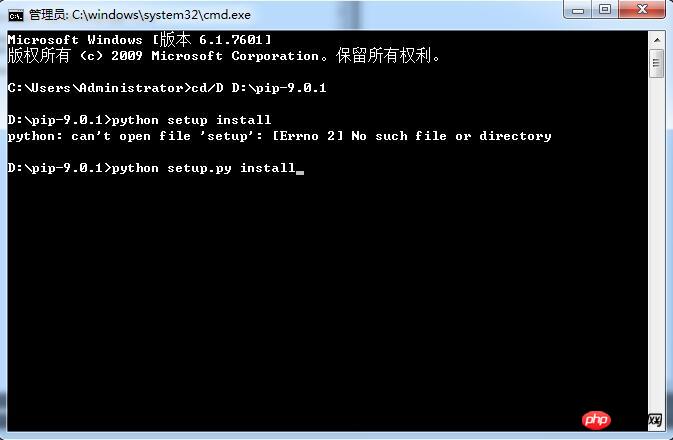
Enter the following information and press Enter to install. After installation, the installation directory is displayed: C:\Python35\Lib\site-packages\pip-9.0.1-py3.5.egg
In the dos command window, enter: pip.exe and press Enter, as shown below:
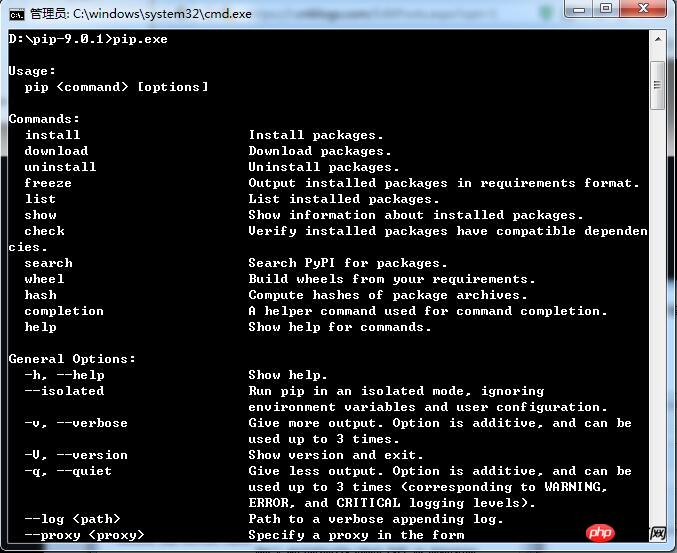
Then configure the environment variables and add C:\Python35\Lib\ to the environment system variable Path site-packages\pip-9.0.1-py3.5.egg (this is the directory installed on the C drive).
Open IDLE (Python 3.6.2) again, enter import selenium and press Enter, as shown below:


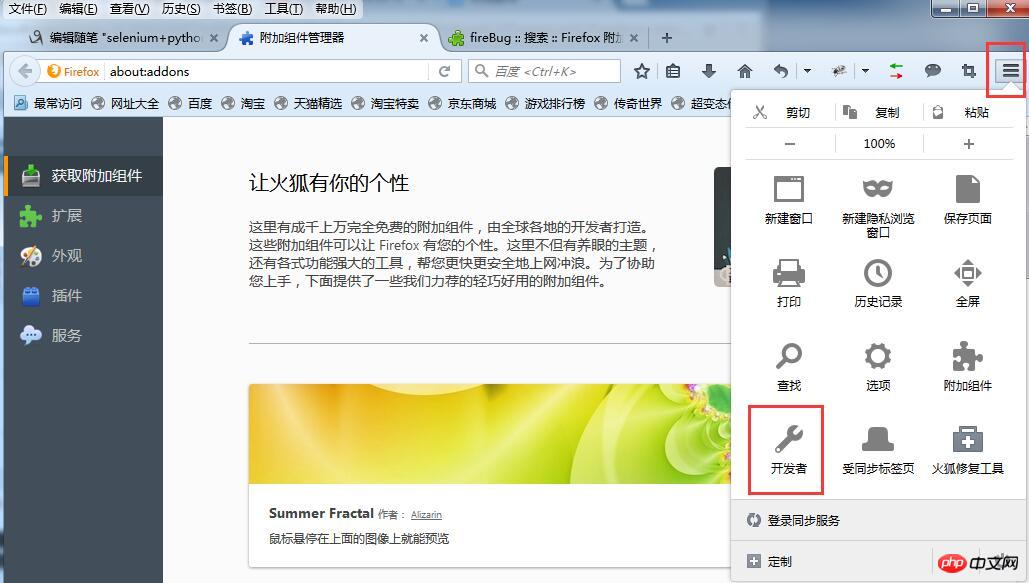
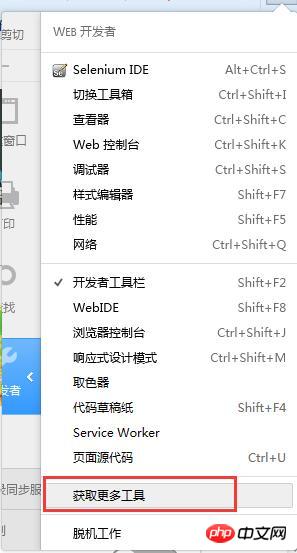
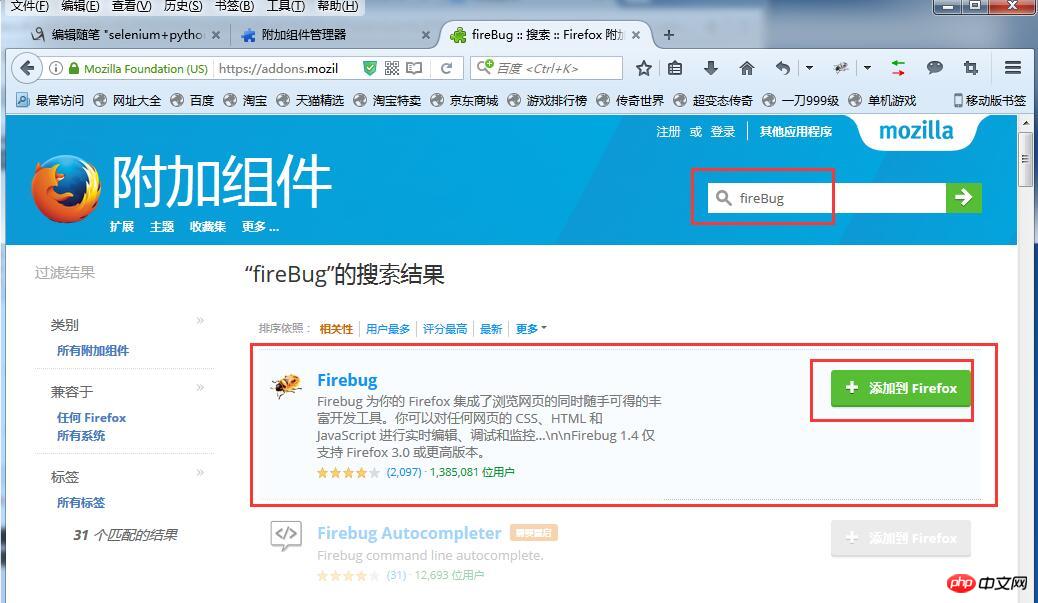
Introduction:1.html: The basis of a web page is a Markup language, display data;
2.JS: Front-end scripting language, interpreted language, add interactive behavior to the page;
3.xml: Extended markup language, used for transmission and storage Data
4.css: Cascading style sheet, used to express file styles such as HTML or XML
Use selenium to open the chrome browser (install the Chrome browser webdriver):
1. Install the chrome browser; 2. Download chromedriver.exe; 3. Place the downloaded chromedriver.exe file under the directory where the Chrome browser is installed (such as: C:\Users\Administrator\AppData\Local\Google\Chrome\ Application) 4. Configure environment variables and add C:\Users\Administrator\AppData\Local\Google\Chrome\Application to the environment system variable Path.
In IDLE (Python 3.6.2), enter import selenium and press Enter, then enter from selenium import webdriver and press Enter, and finally enter b=webdriver.Chrome() and press Enter to successfully call chrome browser. As shown in the picture:

The above is the detailed content of Tutorial on how to set up a python+selenium development environment. For more information, please follow other related articles on the PHP Chinese website!


