php email automatically sent
<?PHP
//邮件发送
require './mailer/class.phpmailer.php';
require './mailer/class.smtp.php';
date_default_timezone_set('PRC');//设置邮件发送的时间,如果不设置,则会显示其他区的时间
$mail = new PHPMailer();
//是否启用smtp的debug进行调试 开发环境建议开启 生产环境注释掉即可 默认关闭debug调试模式
$mail->SMTPDebug = 3;
//使用smtp鉴权方式发送邮件,当然你可以选择pop方式 sendmail方式等 本文不做详解
//可以参考http://phpmailer.github.io/PHPMailer/当中的详细介绍
$mail->isSMTP();
//smtp需要鉴权 这个必须是true
$mail->SMTPAuth=true;
//链接qq域名邮箱的服务器地址
$mail->Host = 'smtp.qq.com';
//设置使用ssl加密方式登录鉴权
$mail->SMTPSecure = 'ssl';
//设置ssl连接smtp服务器的远程服务器端口号 可选465或587
$mail->Port = 465;
//设置发件人的主机域 可有可无 默认为localhost 内容任意,建议使用你的域名,这里为默认localhost
$mail->Hostname = 'localhost';
//设置发送的邮件的编码 可选GB2312
$mail->CharSet = 'UTF-8';
//设置发件人姓名(昵称)可为任意内容,不影响回复(设置为qq昵称即可)
$mail->FromName = 'XXXX';
//smtp登录的账号 这里填入qq号即可
$mail->Username ='发送者的QQ号';
//smtp登录的密码 这里填入“独立密码” 若为设置“独立密码”则填入登录qq的密码 建议设置“独立密码”
$mail->Password = 'QQ邮箱的登录密码';
//设置发件人邮箱地址 这里填入上述提到的“发件人邮箱”
$mail->From = '发送者的QQ邮箱';
//邮件正文是否以html方式发送
$mail->isHTML(true);
//设置收件人邮箱地址 该方法有两个参数 第一个参数为收件人邮箱地址 第二参数为给该地址设置的昵称 不同的邮箱系统会自动进行处理变动 这里第二个参数的意义不大
$mail->addAddress('收件人的QQ邮箱地址','QQ昵称');
//可添加多个收件人
//$mail->addAddress('XXXX@qq.com','XXXXX');
//添加该邮件的主题
$mail->Subject = '这是一个PHPMailer发送邮件的示例';
//添加邮件正文
$mail->Body = "这是一个<b style=\"color:red;\">PHPMailer</b>发送邮件的一个测试用例";
//为该邮件添加附件 该方法也有两个参数 第一个参数为附件存放的目录(相对目录、或绝对目录均可)
//第二参数为在邮件附件中该附件的名称
$mail->addAttachment('./src/20151002.png','test.png');
//同样该方法可以多次调用 上传多个附件
//$mail->addAttachment('./Jlib-1.1.0.js','Jlib.js');
//发送命令 返回布尔值
//PS:经过测试,要是收件人不存在.若不出现错误依然返回true也就是说在发送之前
//自己需要些方法实现检测该邮箱是否真实有效
$status = $mail->send();
//简单的判断与提示信息
if($status)
{
echo '发送邮件成功'.date('Y-m-d H:i:s');;
}
else
{
echo '发送邮件失败,错误信息未:'.$mail->ErrorInfo;
}
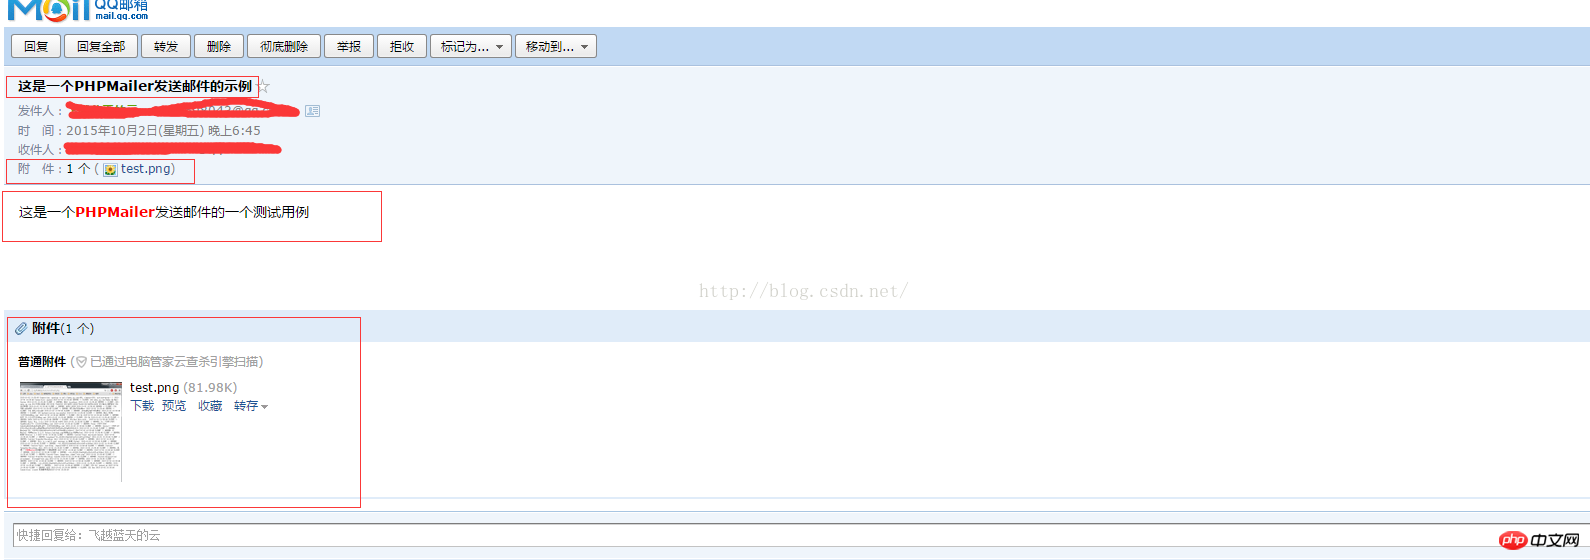
?>This way you can send emails. The results are as follows:

#If you want to automatically send emails, then the program must be able to run automatically. The code for the program to automatically run in the background is as follows:
<?php
ignore_user_abort(); // 后台运行
set_time_limit(0); // 取消脚本运行时间的超时上限
$interval=60*30;// 每隔半小时运行,这个间隔时间是可以随着 需要进行修改
do{
 XXXXX            //这里是你要执行的代码
sleep($interval); // 休眠半小时
}while(true);
?>By combining the code for sending emails and the code for automatically running, you can automatically send emails:
<?php
//邮件发送
require './mailer/class.phpmailer.php';
require './mailer/class.smtp.php';
date_default_timezone_set('PRC');
ignore_user_abort();//后台运行
set_time_limit(0);//取消脚本运行时间的超时上限
$interval = 60*1;//每隔一分钟运行一次(这个可以根据需要来进行调整)
do{
$mail = new PHPMailer();
$mail->SMTPDebug = 3;
$mail->isSMTP();
$mail->SMTPAuth=true;
$mail->Host = 'smtp.qq.com';
$mail->SMTPSecure = 'ssl';
$mail->Port = 465;
$mail->Hostname = 'localhost';
$mail->CharSet = 'UTF-8';
$mail->FromName = 'XXXX';
$mail->Username ='发送者的QQ号';
$mail->Password = 'QQ邮箱的登录密码';
$mail->From = '发送者的QQ邮箱';
$mail->isHTML(true);
$mail->addAddress('收件人的QQ邮箱地址','QQ昵称');
//$mail->addAddress('XXXX@qq.com','XXXXX');
$mail->Subject = '这是一个PHPMailer发送邮件的示例';
$mail->Body = "这是一个<b style=\"color:red;\">PHPMailer</b>发送邮件的一个测试用例";
$mail->addAttachment('./src/20151002.png','test.png');
//$mail->addAttachment('./Jlib-1.1.0.js','Jlib.js');
$status = $mail->send();
if($status)
{
echo '发送邮件成功'.date('Y-m-d H:i:s');;
}
else
{
echo '发送邮件失败,错误信息未:'.$mail->ErrorInfo;
}
sleep($interval);//休眠1minute
}while(true);
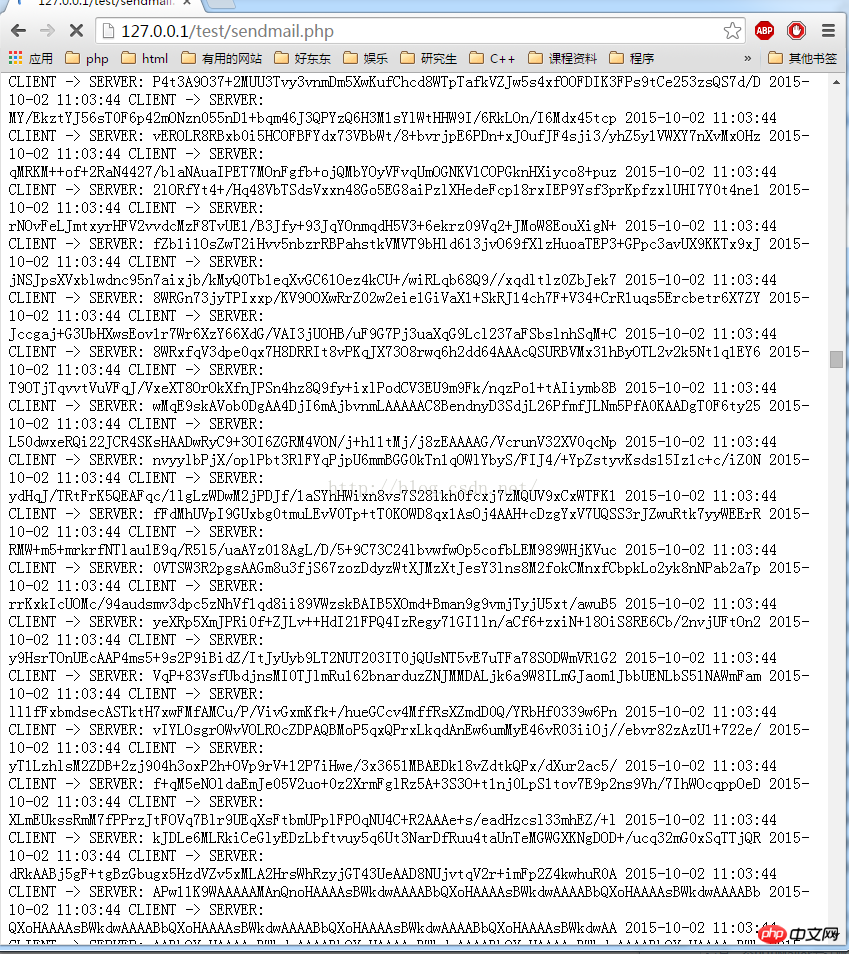
?>The program running result is:

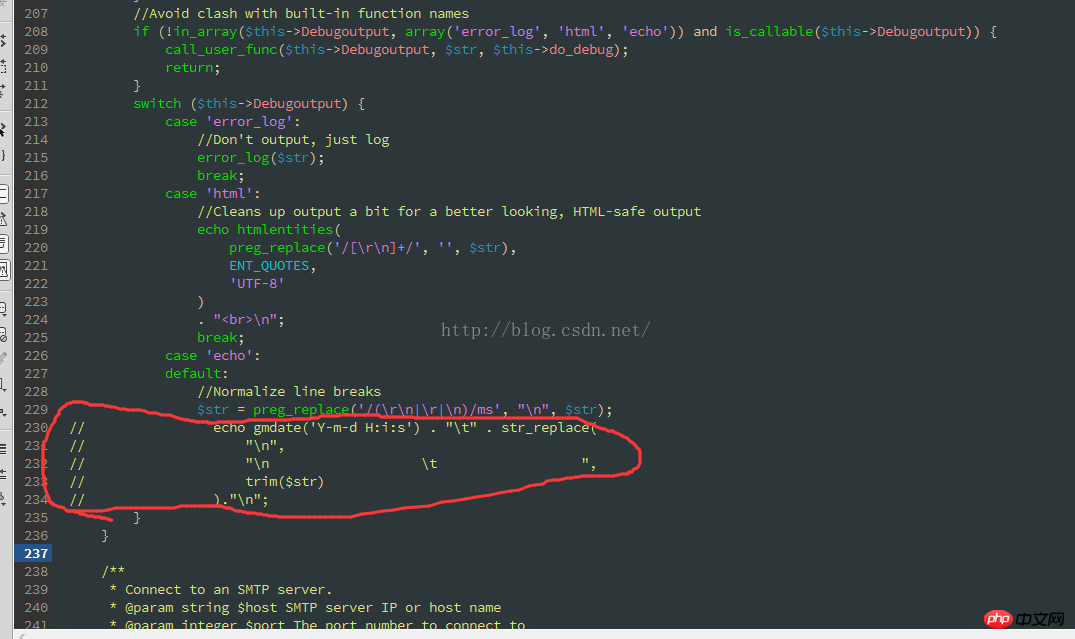
To remove the above information,
only keep the "send successfully and other information"
Need to be in this file Modify: class.smtp.PHP

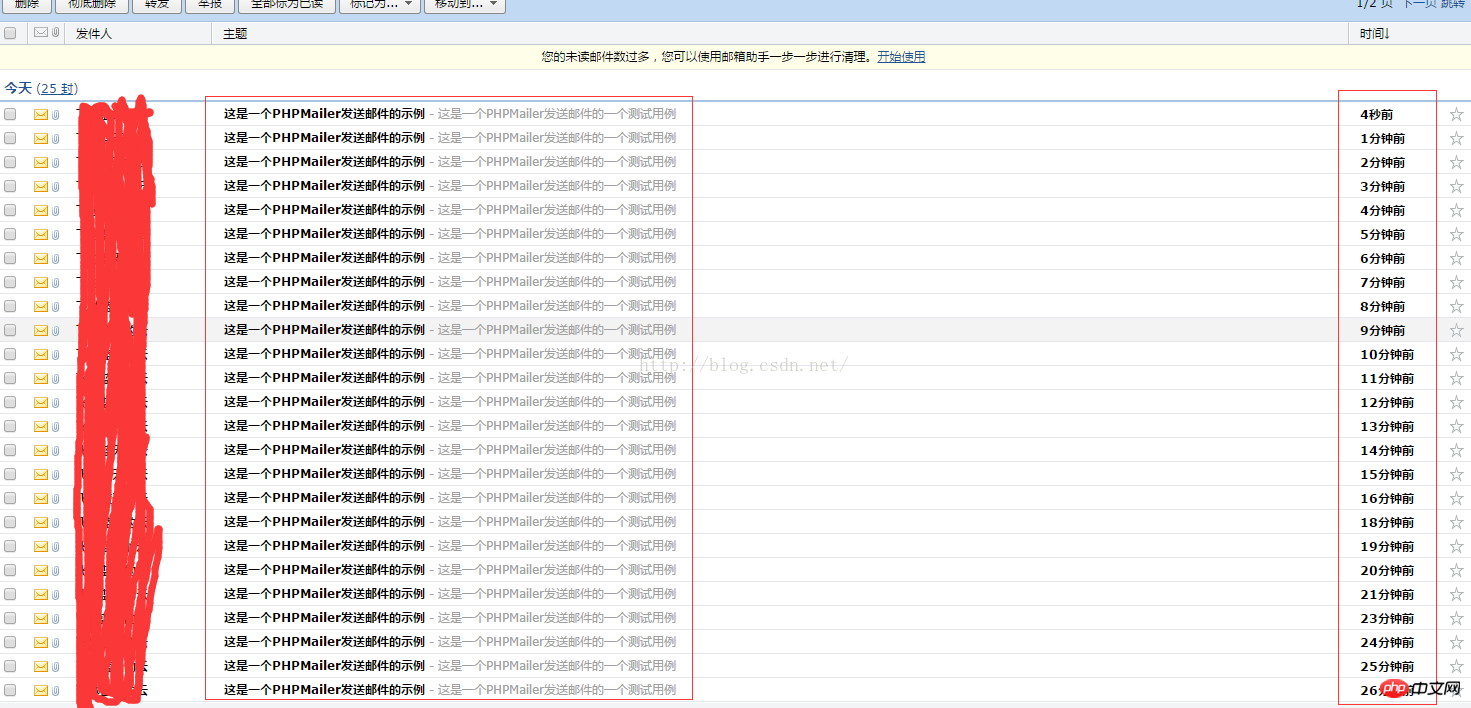
The final result is shown as follows:

This way Automatically sending emails is realized. Of course, according to the above code, scheduled emails can also be sent. As for this, I won’t go into detail here.
The above is the detailed content of php email automatically sent. For more information, please follow other related articles on the PHP Chinese website!

Hot AI Tools

Undresser.AI Undress
AI-powered app for creating realistic nude photos

AI Clothes Remover
Online AI tool for removing clothes from photos.

Undress AI Tool
Undress images for free

Clothoff.io
AI clothes remover

AI Hentai Generator
Generate AI Hentai for free.

Hot Article

Hot Tools

Notepad++7.3.1
Easy-to-use and free code editor

SublimeText3 Chinese version
Chinese version, very easy to use

Zend Studio 13.0.1
Powerful PHP integrated development environment

Dreamweaver CS6
Visual web development tools

SublimeText3 Mac version
God-level code editing software (SublimeText3)

Hot Topics
 CakePHP Project Configuration
Sep 10, 2024 pm 05:25 PM
In this chapter, we will understand the Environment Variables, General Configuration, Database Configuration and Email Configuration in CakePHP.
 PHP 8.4 Installation and Upgrade guide for Ubuntu and Debian
Dec 24, 2024 pm 04:42 PM
PHP 8.4 brings several new features, security improvements, and performance improvements with healthy amounts of feature deprecations and removals. This guide explains how to install PHP 8.4 or upgrade to PHP 8.4 on Ubuntu, Debian, or their derivati
 CakePHP Date and Time
Sep 10, 2024 pm 05:27 PM
To work with date and time in cakephp4, we are going to make use of the available FrozenTime class.
 CakePHP File upload
Sep 10, 2024 pm 05:27 PM
To work on file upload we are going to use the form helper. Here, is an example for file upload.
 CakePHP Routing
Sep 10, 2024 pm 05:25 PM
In this chapter, we are going to learn the following topics related to routing ?
 Discuss CakePHP
Sep 10, 2024 pm 05:28 PM
CakePHP is an open-source framework for PHP. It is intended to make developing, deploying and maintaining applications much easier. CakePHP is based on a MVC-like architecture that is both powerful and easy to grasp. Models, Views, and Controllers gu
 CakePHP Creating Validators
Sep 10, 2024 pm 05:26 PM
Validator can be created by adding the following two lines in the controller.
 How To Set Up Visual Studio Code (VS Code) for PHP Development
Dec 20, 2024 am 11:31 AM
Visual Studio Code, also known as VS Code, is a free source code editor — or integrated development environment (IDE) — available for all major operating systems. With a large collection of extensions for many programming languages, VS Code can be c


