

This article mainly introduces the installation and configuration tutorial of mysql5.7 under Centos7.3 in detail. It has certain reference value. Interested friends can refer to it.
This article shares mysql5. 7 Installation and configuration tutorial for your reference, the specific content is as follows
Step one:Get the mysql YUM source
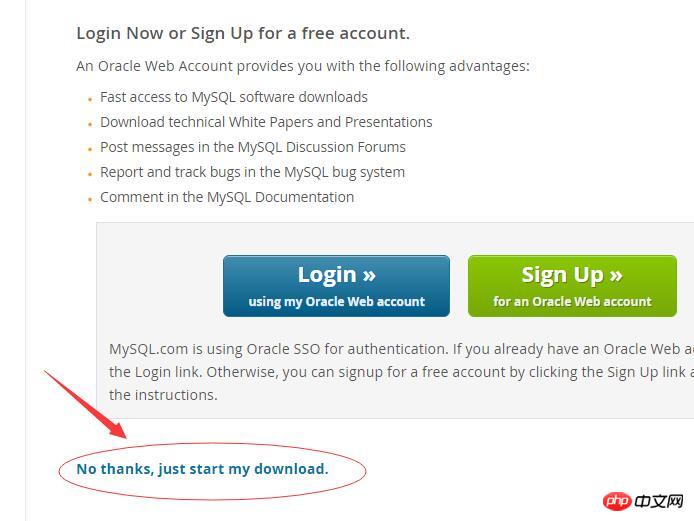
Enter the mysql official website to get the RPM package download address
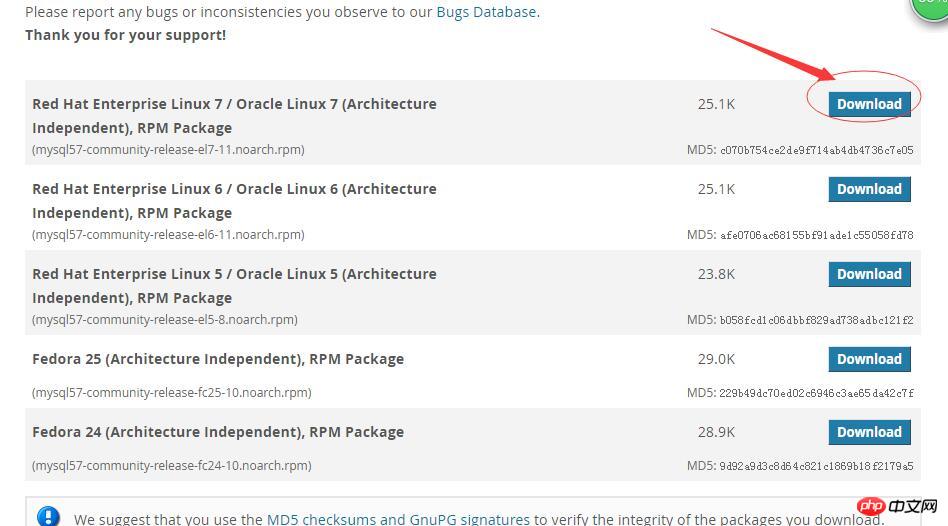
Click to download
Right click to copy the link address
https://dev.mysql.com/get/mysql57-community-release-el7-11.noarch.rpm
Get this. This is the rpm package of the Yum warehouse. It is actually a download address.
Step 2:Download and install the mysql source
First download the mysql source installation package
[root@localhost ~]# wget https://dev.mysql.com/get/mysql57-community-release-el7-11.noarch.rpm
-bash: wget: command not found
Let’s install wget first
yum -y install wget
Then execute
wgethttps://dev.mysql.com/get/mysql57-community-release-el7-11.noarch.rpm
Install mysql source
yum -y localinstall mysql57-community-release-el7-11.noarch.rpm
Step 3:Install Mysql online
yum -y install mysql-community-server
It will take a while to download a lot of things;
Step 4:Start the Mysql service
systemctl start mysqld
Step 5: Set up startup
[root@localhost ~]# systemctl enable mysqld
[root@localhost ~]# systemctl daemon-reload
Step 6: Modify the root local login password
After the mysql installation is completed, a temporary default password is generated for root in the /var/log/mysqld.log file.
[root@localhost ~]# vi /var/log/mysqld.log
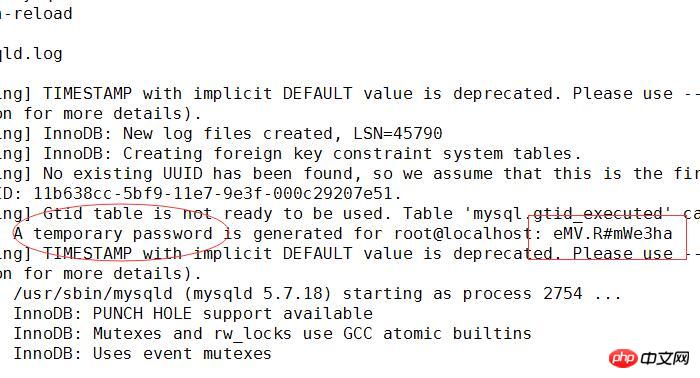
Temporary password here eMV.R#mWe3ha
[root@localhost ~]# mysql -u root -p
Enter password:
Enter the temporary password to enter the mysql command line;
mysql> ALTER USER 'root'@'localhost' IDENTIFIED BY 'Caofeng2012@';
Query OK, 0 rows affected (0.00 sec)
Change the password to Caofeng2012@ (Note that the default password policy of mysql5.7 requires that the password must be a combination of uppercase and lowercase alphanumeric and special letters. At least 8 digits)
Step 7:Set up to allow remote login
Mysql does not allow remote login by default. We need to set it up and open the firewall to port 3306;
mysql> GRANT ALL PRIVILEGES ON *.* TO 'root'@'%' IDENTIFIED BY 'Caofeng2012@' WITH GRANT OPTION;
Query OK, 0 rows affected, 1 warning (0.01 sec)
mysql> exit;
Bye
Exit;
[root@localhost ~]# firewall-cmd --zone=public --add-port=3306/tcp --permanent
success
[root@localhost ~]# firewall-cmd --reload
success
[root@localhost ~]#
Open port 3306
Step 8:Configure the default encoding to utf8
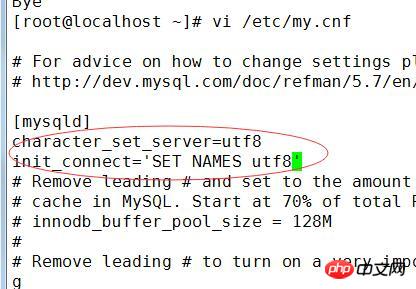
Modify the /etc/my.cnf configuration file and add the encoding configuration under [mysqld], as shown below:
[mysqld]
character_set_server=utf8
init_connect='SET NAMES utf8'

[root@localhost ~]# vi /etc/my.cnf
Restart the mysql service after editing and saving;
##
[root@localhost ~]# systemctl restart mysqld
[root@localhost ~]#
mysql> show variables like '%character%';

+--------------------------+----------------------------+

| Variable_name | Value |

+--------------------------+----------------------------+

| character_set_client | utf8 |
| character_set_connection | utf8 |
| character_set_database | utf8 |
| character_set_filesystem | binary |
| character_set_results | utf8 |
| character_set_server | utf8 |
| character_set_system | utf8 |
| character_sets_dir | /usr/share/mysql/charsets/ |

+--------------------------+----------------------------+

8 rows in set (0.00 sec)
Step 9:Test
We use the local sqlyog to remotely connect to the mysql in the virtual machine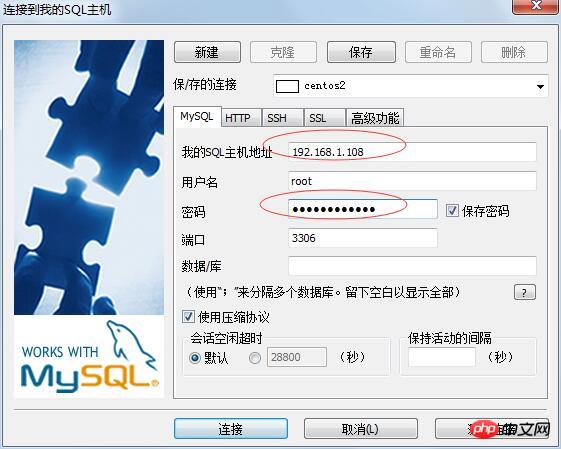

The above is the detailed content of Graphic tutorial for installing and configuring mysql5.7 under Centos7.3. For more information, please follow other related articles on the PHP Chinese website!
 Where should I fill in my place of birth: province, city or county?
 How to solve 400 bad request
 What is the reason why the network cannot be connected?
 Usage of get function in c language
 How to obtain url address
 How to solve the problem that document.cookie cannot be obtained
 Check out the top ten cryptocurrencies worth investing in
 socketpair usage
 what is drivergenius


![[Web front-end] Node.js quick start](https://img.php.cn/upload/course/000/000/067/662b5d34ba7c0227.png)


