

In this article, we mainly introduce to you VueJs to build the Axios interface request tool. axios is an HTTP client based on Promise for browsers and nodejs. Friends who need it can refer to it. I hope it can help you.
axios Introduction
axios is a Promise-based HTTP client for browsers and nodejs. It has the following characteristics:
From browsing Create an XMLHttpRequest in the server
Issue an http request from node.js
// 配置API接口地址
var root = 'https://cnodejs.org/api/v1'
// 引用axios
var axios = require('axios')
// 自定义判断元素类型JS
function toType (obj) {
 return ({}).toString.call(obj).match(/\s([a-zA-Z]+)/)[1].toLowerCase()
}
// 参数过滤函数
function filterNull (o) {
 for (var key in o) {
  if (o[key] === null) {
   delete o[key]
  }
  if (toType(o[key]) === 'string') {
   o[key] = o[key].trim()
  } else if (toType(o[key]) === 'object') {
   o[key] = filterNull(o[key])
  } else if (toType(o[key]) === 'array') {
   o[key] = filterNull(o[key])
  }
 }
 return o
}
/*
 接口处理函数
 这个函数每个项目都是不一样的,我现在调整的是适用于
 https://cnodejs.org/api/v1 的接口,如果是其他接口
 需要根据接口的参数进行调整。参考说明文档地址:
 https://cnodejs.org/topic/5378720ed6e2d16149fa16bd
 主要是,不同的接口的成功标识和失败提示是不一致的。
 另外,不同的项目的处理方法也是不一致的,这里出错就是简单的alert
*/
function apiAxios (method, url, params, success, failure) {
 if (params) {
  params = filterNull(params)
 }
 axios({
  method: method,
  url: url,
  data: method === 'POST' || method === 'PUT' ? params : null,
  params: method === 'GET' || method === 'DELETE' ? params : null,
  baseURL: root,
  withCredentials: false
 })
 .then(function (res) {
 if (res.data.success === true) {
  if (success) {
   success(res.data)
  }
 } else {
  if (failure) {
   failure(res.data)
  } else {
   window.alert('error: ' + JSON.stringify(res.data))
  }
 }
 })
 .catch(function (err) {
  let res = err.response
  if (err) {
   window.alert('api error, HTTP CODE: ' + res.status)
  }
 })
}
// 返回在vue模板中的调用接口
export default {
 get: function (url, params, success, failure) {
  return apiAxios('GET', url, params, success, failure)
 },
 post: function (url, params, success, failure) {
  return apiAxios('POST', url, params, success, failure)
 },
 put: function (url, params, success, failure) {
  return apiAxios('PUT', url, params, success, failure)
 },
 delete: function (url, params, success, failure) {
  return apiAxios('DELETE', url, params, success, failure)
 }
}// The Vue build version to load with the `import` command
// (runtime-only or standalone) has been set in webpack.base.conf with an alias.
import Vue from 'vue'
import App from './App'
import router from './router'
Vue.config.productionTip = false
/* eslint-disable no-new */
new Vue({
el: '#app',
router,
template: '<App/>',
components: { App }
})// The Vue build version to load with the `import` command
// (runtime-only or standalone) has been set in webpack.base.conf with an alias.
import Vue from 'vue'
import App from './App'
import router from './router'
// 引用API文件
import api from './api/index.js'
// 将API方法绑定到全局
Vue.prototype.$api = api
Vue.config.productionTip = false
/* eslint-disable no-new */
new Vue({
el: '#app',
router,
template: '<App/>',
components: { App }
})<template>
<p>index page</p>
</template>
<script>
export default {
created () {
this.$api.get('topics', null, r => {
console.log(r)
})
}
}
</script>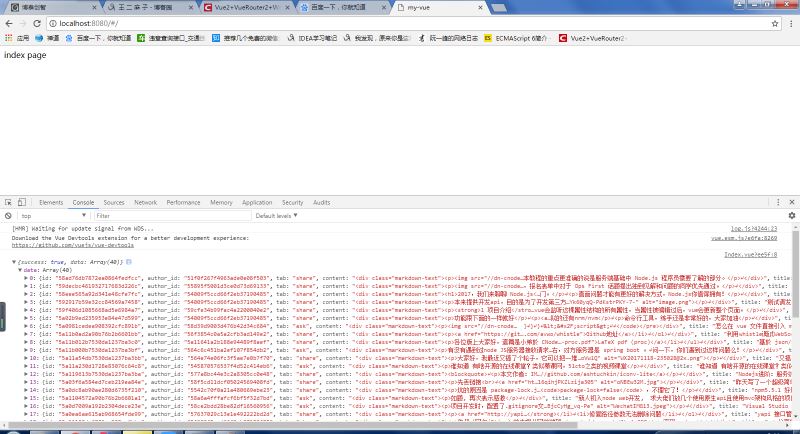
Detailed explanation of vue using axios to request data across domains
About vue2.0 setting proxyTable to use axios for cross-domain Request
The above is the detailed content of Detailed explanation of VueJs building Axios interface request tool example. For more information, please follow other related articles on the PHP Chinese website!


![[Web front-end] Node.js quick start](https://img.php.cn/upload/course/000/000/067/662b5d34ba7c0227.png)


