

This article mainly introduces the use of eventbus to transfer values between vue components. The editor thinks it’s pretty good, so I’d like to share it with you now and give it as a reference. Let’s follow the editor to take a look, I hope it can help everyone.
For us on the front end, writing the interface is not the biggest problem. In many cases, what we need to focus on is data, such as data transfer on js pages, etc., learn vue We also need to know how to use data
Of course, it is also possible to use storage, but it does not have to be cached. Of course, it is recommended in vue that we use vuex for data interaction. Vuex will make your Vue code Flexible and controllable enough, the data is stored in the state in a unified manner, and mutations modifications are only allowed to be triggered through Actions. However, sometimes our projects are not complex enough to require Vuex. , (We will not discuss the abolished vm.$dispatch) In many cases we need to capture an event. At this time we can use vue's eventbus
The method of using eventbus is very simple , we need to do three steps. The first step, we need to create a container to act as our eventbus
The second step, we need to throw, or submit our event
The third step is to listen to our event (maybe this is the second part)
First, we need to define our eventbus globally
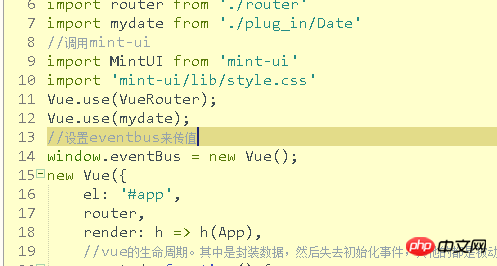
Here we define eventbus. This simply completes our first step. Of course, global variables, I think you should know where they are defined.
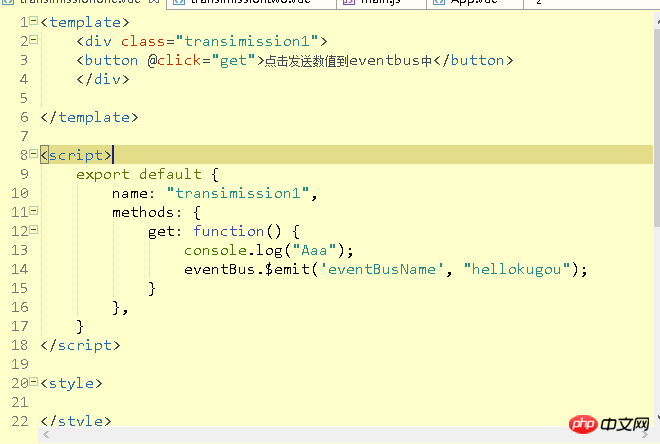
Then let’s throw this event first and use ¥. emit to "submit"
, this is understandable. Next, we go through the third step to monitor
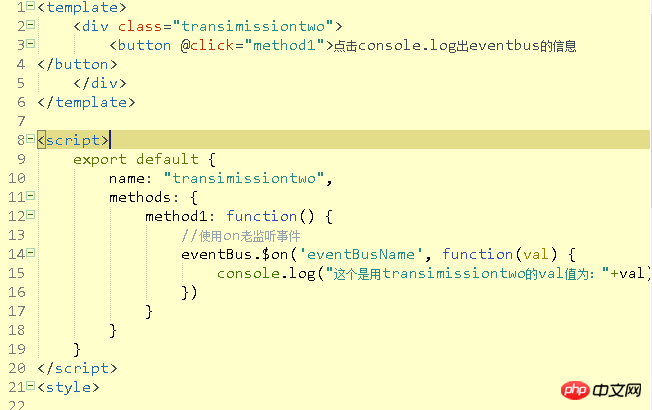
certainly. It's already monitored here. Click events are just a burden,
Next we have to use them in the interface
First, pour in the files we need:
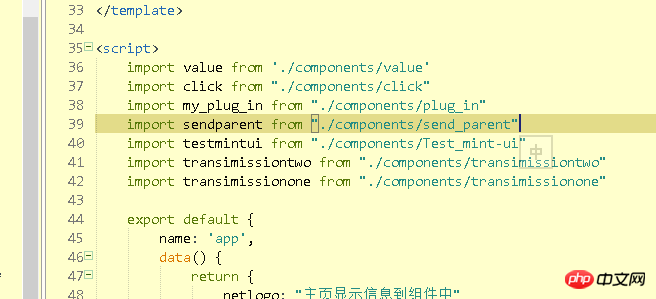
Here I am using two files: transimissionone and transimissiontwo'
Then the definition
Then is the use

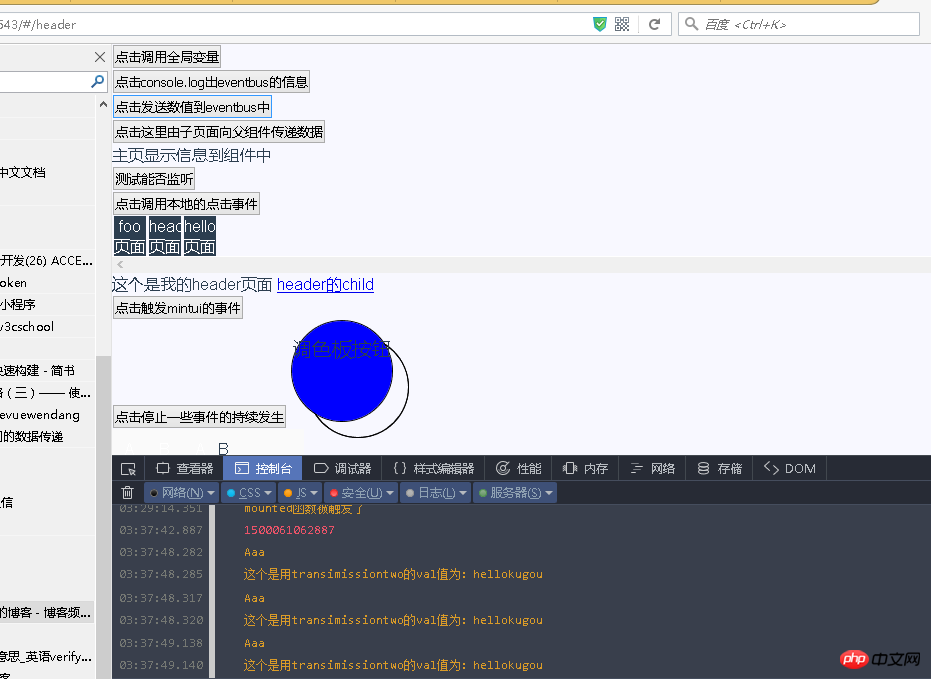
Finally run our project and check the effect
This is mainly for everyone to use, so the code is captive Below, mainly four files
transimissionone. vue (the file that sends the event)
<template>
<p class="transimission1">
<button @click="get">点击发送数值到eventbus中</button>
</p>
</template>
<script>
export default {
name: "transimission1",
methods: {
get: function() {
console.log("Aaa");
eventBus.$emit('eventBusName', "hellokugou");
}
},
}
</script>
<style>
</style>Followed by transittwo (listener)
<template>
<p class="transimissiontwo">
<button @click="method1">点击console.log出eventbus的信息
</button>
</p>
</template>
<script>
export default {
name: "transimissiontwo",
methods: {
method1: function() {
//使用on老监听事件
eventBus.$on('eventBusName', function(val) {
console.log("这个是用transimissiontwo的val值为:"+val)
})
}
}
}
</script>
<style>
</style>Then It's our hub. app. When using
<template>
<p id="app">
<click></click>
<transimissiontwo></transimissiontwo>
<transimissionone></transimissionone>
<sendparent @listenertochildevent="getmessagefromchild"></sendparent>
<value :locallogo="netlogo"></value>
<!--无法监听,说明要在那个组件中-->
<button @listenertochildevent="getmessagefromchild">测试能否监听</button>
<my_plug_in></my_plug_in>
<p class="choose_p">
<ul>
<li>
<router-link to="/foo">foo页面</router-link>
</li>
<li>
<router-link to="/header">header页面</router-link>
</li>
<li>
<router-link to="/hello">hello页面</router-link>
</li>
<li style="clear: both;list-style: none;"></li>
</ul>
</p>
<p class="main">
<router-view class="my_router_iew"></router-view>
</p>
<testmintui></testmintui>
</p>
</template>
<script>
import value from './components/value'
import click from "./components/click"
import my_plug_in from "./components/plug_in"
import sendparent from "./components/send_parent"
import testmintui from "./components/Test_mint-ui"
import transimissiontwo from "./components/transimissiontwo"
import transimissionone from "./components/transimissionone"
export default {
name: 'app',
data() {
return {
netlogo: "主页显示信息到组件中"
}
},
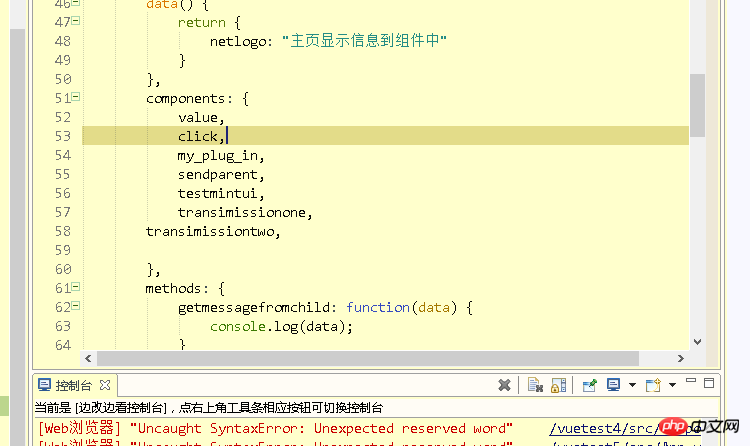
components: {
value,
click,
my_plug_in,
sendparent,
testmintui,
transimissionone,
transimissiontwo,
},
methods: {
getmessagefromchild: function(data) {
console.log(data);
}
}
}
</script>
<style>
body {
background-color: #f8f8ff;
font-family: 'Avenir', Helvetica, Arial, sans-serif;
color: #2c3e50;
}
ul {
width: 12rem;
}
ul li {
list-style: none;
}
ul li:not(:last-child) {
list-style: none;
width: 2rem;
margin-left: 0.1rem;
margin-right: 0.1rem;
float: left;
text-align: center;
background: #2C3E50;
color: white;
}
ul li a {
text-decoration: none;
font-size: 16px;
color: white;
line-height: 1rem;
text-align: center;
}
ul li:nth-child {
list-style: none;
clear: both;
}
.choose_p {
width: 100%;
overflow: scroll;
}
</style>in vue, please ignore the useless code. The next step is to define the eventbus
window.eventBus = new Vue();
That’s it, it’s very simple. Of course, you can use prop for levels, which I’ll talk about next time.
Related recommendations:
How to solve the problem of eventbus being triggered multiple times in vue
detailed explanation of guava eventbus instance code
Sharing the simple implementation method of page reverse transmission value in vue
The above is the detailed content of Detailed explanation of using eventbus to pass values between Vue components. For more information, please follow other related articles on the PHP Chinese website!


![[Web front-end] Node.js quick start](https://img.php.cn/upload/course/000/000/067/662b5d34ba7c0227.png)


