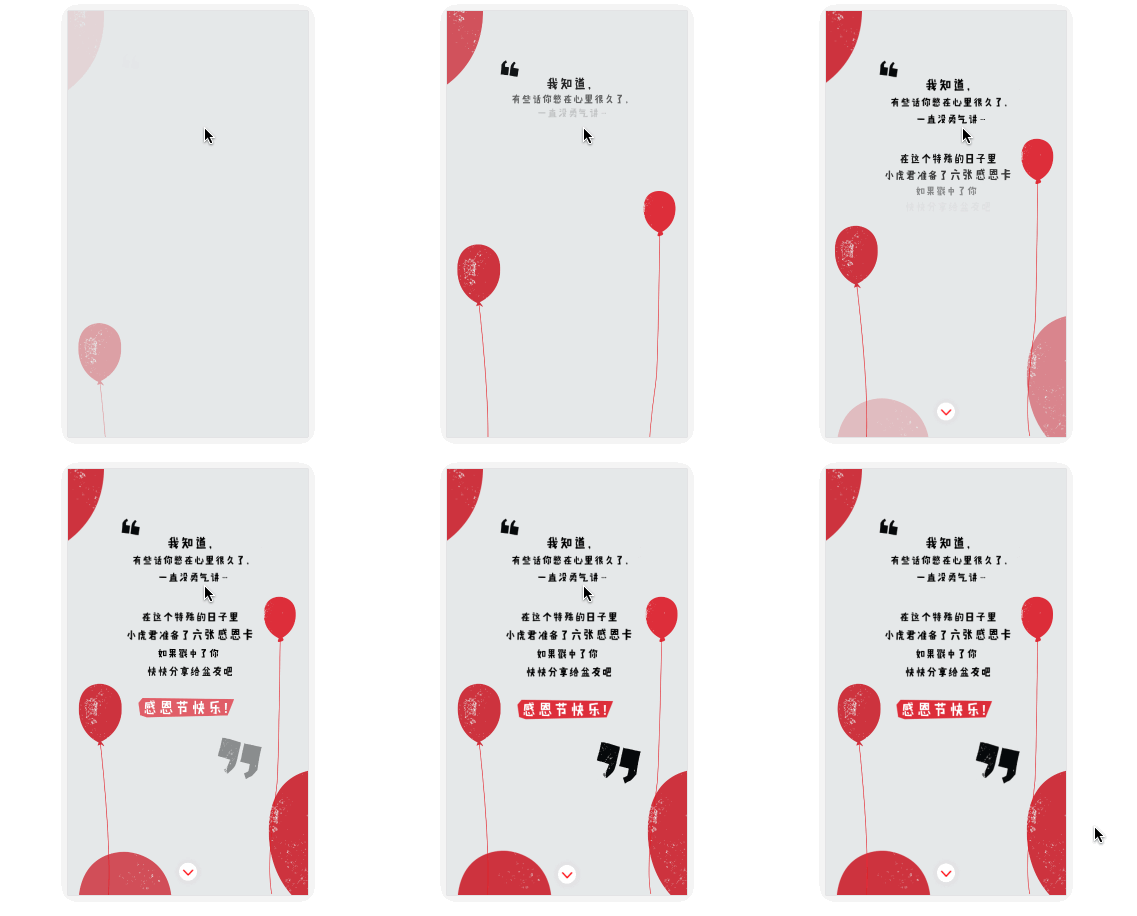
This time I will bring you pure css3 code to realize the display of multiple elements in sequence. What are the things to note with pure css3 code to realize the display of multiple elements in sequence. The following is a practical case, let’s take a look.

@keyframes topIn {
  from { transform: translateY(-50px) }
  to { transform: translateY(0px) }
}<p class="target topIn"></p>
.topIn {
animation: topIn 1s ease;
}@keyframes topIn {
from {
transform: translateY(-50px);
opacity: 0;
}
to {
transform: translateY(0px);
opacity: 1;
}
}btn.addEventListener('click', function() {
document.querySelector('.target').classList.add('topIn');
}, !1);page layout. So before we start, we add a new class to the element.
.aninode {
visibility: hidden;
}.animated .aninode {
visibility: visible;
}.animated .topIn {
animation: topIn 1s ease;
}Example demoThe complete code is as follows:
<p class="container">
<p class="target aninode leftIn"></p>
<button class="btn show">show</button>
<button class="btn hide">hide</button>
</p>
.container {
width: 100px;
margin: 0 auto;
}
.aninode {
visibility: hidden;
}
.animated .aninode {
visibility: visible;
}
.target {
width: 100px;
height: 100px;
background: orange;
border-radius: 4px;
margin: 20px 0;
}
.animated .topIn {
animation: topIn 1s ease;
}
.animated .leftIn {
animation: leftIn 1s ease;
}
.btn {
width: 100px;
height: 30px;
border: 1px solid #ccc;
outline: none;
transition: 0.1s;
}
.btn:active {
border: none;
background: orange;
color: #fff;
}
@keyframes topIn {
  from {
    transform: translateY(-50px);
    opacity: 0;
  }
  to {
    transform: translateY(0px);
    opacity: 1;
  }
}
@keyframes leftIn {
from {
transform: translateX(-50px);
opacity: 0;
}
to {
transform: translateX(0px);
opacity: 1;
}
}
var show = document.querySelector('.show');
var hide = document.querySelector('.hide');
var container = document.querySelector('.container');
show.addEventListener('click', function() {
container.classList.add('animated');
}, !1);
hide.addEventListener('click', function() {
container.classList.remove('animated');
}, !1);See the Pen <a href='https://codepen.io/yangbo5207/pen/NXKrPg/'>NXKrPg</a> by Ormie (<a href='https://codepen.io/yangbo5207'>@yangbo5207</a>) on <a href='https://codepen.io'>CodePen</a>.
.delay200 {
animation-delay: 200ms;
animation-fill-mode: backwards!important;
}
.delay400 {
animation-delay: 400ms;
animation-fill-mode: backwards!important;
}
.delay600 {
animation-delay: 600ms;
animation-fill-mode: backwards!important;
}
.delay800 {
animation-delay: 800ms;
animation-fill-mode: backwards!important;
}See the Pen <a href='https://codepen.io/yangbo5207/pen/mpbEEE/'>mpbEEE</a> by Ormie (<a href='https://codepen.io/yangbo5207'>@yangbo5207</a>) on <a href='https://codepen.io'>CodePen</a>.
<p class="container">
<p class="targets aninode">
<p class="item leftIn">春晓</p>
<p class="item leftIn delay200">春眠不觉晓</p>
<p class="item leftIn delay400">处处蚊子咬</p>
<p class="item leftIn delay600">夜来风雨声</p>
<p class="item leftIn delay800"><此处请留下你们的才华></p>
</p>
<button class="btn show">show</button>
<button class="btn hide">hide</button>
</p>
.container {
width: 200px;
margin: 0 auto;
}
.aninode {
  visibility: hidden;
}
.animated .aninode {
  visibility: visible;
}
.targets {
margin: 20px 0;
}
.targets .item {
border: 1px solid #ccc;
margin: 10px 0;
line-height: 2;
padding: 2px 6px;
border-radius: 4px;
}
.animated .topIn {
  animation: topIn 1s ease;
}
.animated .leftIn {
animation-name: leftIn;
animation-duration: 1s;
}
.btn {
width: 100px;
height: 30px;
border: 1px solid #ccc;
outline: none;
transition: 0.1s;
}
.btn:active {
border: none;
background: orange;
color: #fff;
}
@keyframes topIn {
from { transform: translateY(-50px) }
to { transform: translateY(0px) }
}
@keyframes leftIn {
from {
transform: translateX(-50px);
opacity: 0;
}
to {
transform: translateX(0px);
opacity: 1;
}
}
.delay200 {
    animation-delay: 200ms;
    animation-fill-mode: backwards!important;
}
.delay400 {
    animation-delay: 400ms;
    animation-fill-mode: backwards!important;
}
.delay600 {
    animation-delay: 600ms;
    animation-fill-mode: backwards!important;
}
.delay800 {
    animation-delay: 800ms;
    animation-fill-mode: backwards!important;
}
var show = document.querySelector('.show');
var hide = document.querySelector('.hide');
var container = document.querySelector('.container');
show.addEventListener('click', function() {
container.classList.add('animated');
}, !1);
hide.addEventListener('click', function() {
container.classList.remove('animated');
}, !1);const styleSheet = getSheet();
var delay = 100;
while (delay < 10000) {
styleSheet.insertRule(`.animated .delay${delay}{ animation-delay: ${delay}ms; animation-fill-mode: backwards; }`, styleSheet.cssRules.length);
delay += delay < 3000 ? 100 : 1000;
}
function getSheet() {
var sheets = document.styleSheets;
var len = sheets.length;
for(var i = 0; i <= len; i++) {
var sheet = sheets.item(i);
try {
if (sheet.cssRules) {
return sheet;
}
} catch(e) {}
}
var style = document.createElement('style');
style.type = "text/css";
document.getElementsByTagName('head')[0].appendChild(style);
return style.sheet;
}I believe you have mastered the method after reading the case in this article. For more exciting information, please pay attention to other related articles on the PHP Chinese website! Recommended reading:
CSS weird box model and standard box model How to use
CSS to implement accordion layout
The above is the detailed content of Pure css3 code realizes the display of multiple elements in sequence. For more information, please follow other related articles on the PHP Chinese website!


