Detailed installation process sharing of WAMP

小云云
Release: 2023-03-22 11:48:01
Original
6158 people have browsed it

This article mainly shares with you the detailed installation process of WEB service environment WAMP, hoping to help everyone.

First step, download and install Apache

  1. Go to the official download of Apache

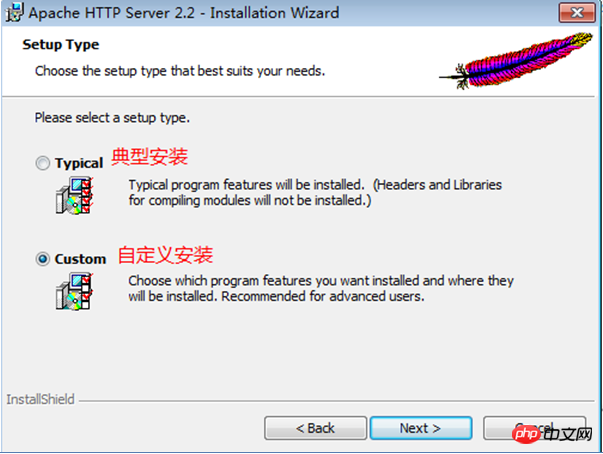
  2. Install Apache: First, you can install it on any disk Create a WEB service environment directory under the WAMP file name, then create the Apache file name under this folder, double-click the downloaded Apache installation package, and then start the installation: Finally, specify the directory we have created (drive letter: \WAMP\Apache ) is the installation directory. The installation steps are as follows:
    Detailed installation process sharing of WAMP
    Detailed installation process sharing of WAMP
    Detailed installation process sharing of WAMP

    1. ## After installation, open the browser and enter: localhost, press Enter. If the following prompt appears, the installation is successful:


      Detailed installation process sharing of WAMP
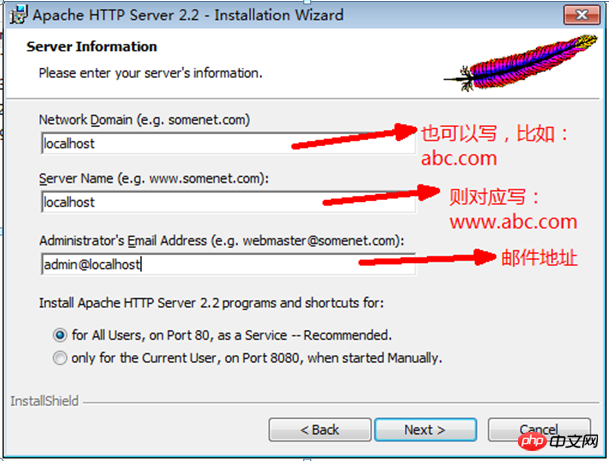
      The default website root directory of Apache is: Apache installation directory/htdocs directory

Second step, download and install the Windows version of PHP and configure apache so that it can process php web files

  1. Go to the official download of the Windows version of PHP

  2. Installing the Windows version of PHP is actually to unzip the PHP package, change the folder name to php and put it in the directory we have created (drive letter:\WAMP\), and then Copy a php.ini php configuration file from the php.ini-development file in the php installation directory.

  3. Configure apache so that it can process files with a .php suffix: First, find the Apache configuration file—apache installation directory/conf/httpd.conf, and load the module location in the file Next - # Dynamic Shared Object (DSO) Support Add the following code:

  4. #加载php语言引擎模块LoadModule  php5_module  "php安装包中的php5apache2_2.dll文件的完整路径"eg: LoadModule  php5_module  "C:/WAMP/php/php5apache2_2.dll"#声明所有后缀为.php的文件,都由php引擎来处理AddType  application/x-httpd-php  .php#指定php.ini配置文件路径,这样在配置php.ini时,重启apache即可生效PHPIniDir  "C:/WAMP/php"
    Copy after login
  1. Finally save the configuration file and restart Apache.

  2. Configure the time zone of php

    Find the php.ini configuration file in the php installation directory, find the [Date] configuration module in the file and modify it:
    data.timezone =PRC. Remember to remove the previous comment symbol; and finally restart Apache to take effect.

The third step, download and install the Windows version of mysql

  1. Go to the official website to download the Windows version of MySQL

  2. Install mysql, create the mysql folder as the mysql installation directory under the WAMP folder we just created. Unzip the installation package and install as follows:


    Detailed installation process sharing of WAMP
    Detailed installation process sharing of WAMP
    Detailed installation process sharing of WAMP
    Detailed installation process sharing of WAMP
    Detailed installation process sharing of WAMP
    Detailed installation process sharing of WAMP
    Detailed installation process sharing of WAMP
    Detailed installation process sharing of WAMP
    Detailed installation process sharing of WAMP
    Detailed installation process sharing of WAMP
    Detailed installation process sharing of WAMP
    Detailed installation process sharing of WAMP
    Detailed installation process sharing of WAMP
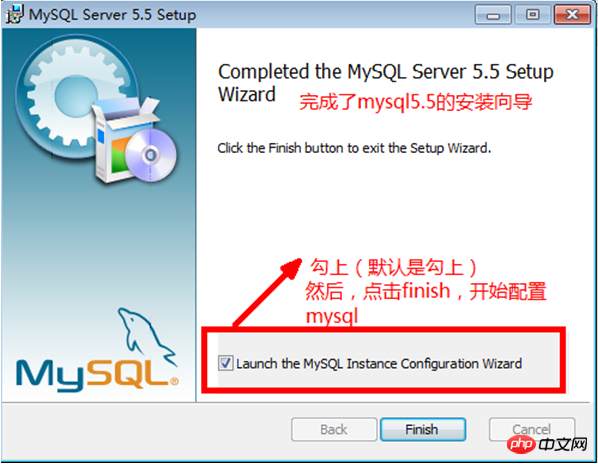
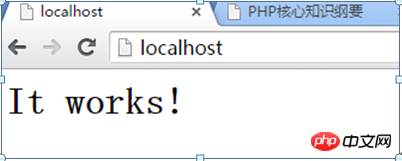
    #Click Finish to complete the installation. Detailed installation process sharing of WAMP

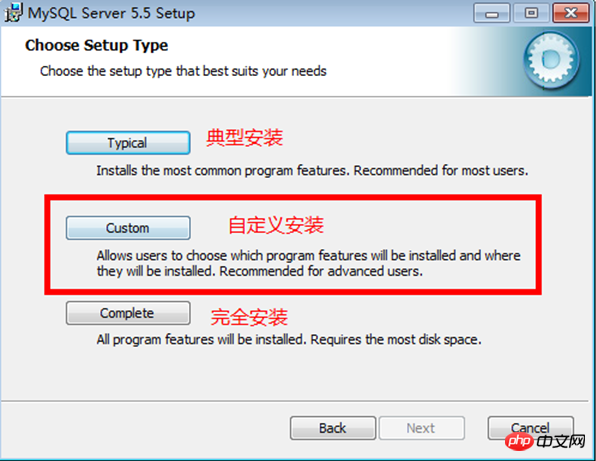
  3. Load the mysql module in the php.ini configuration file to access the mysql database
    Find extension_dir = “ext” in the php.ini configuration file and change it to extension_dir = “C:/WAMP/php /ext". Specify the path where the php module is located
    Then find extension=php_mysql.dll and remove the previous comment symbol;, and finally restart Apache to take effect.

Now the WAMP website server environment is basically set up!

Related recommendations:

Picture and text sharing of building a WAMP environment under windows

Using WAMP to build local development in PHP Environment method

Detailed explanation of wamp building example tutorial

The above is the detailed content of Detailed installation process sharing of WAMP. For more information, please follow other related articles on the PHP Chinese website!

Related labels:
source:php.cn
Statement of this Website
The content of this article is voluntarily contributed by netizens, and the copyright belongs to the original author. This site does not assume corresponding legal responsibility. If you find any content suspected of plagiarism or infringement, please contact admin@php.cn
Popular Tutorials
More>
Latest Downloads
More>
Web Effects
Website Source Code
Website Materials
Front End Template
About us Disclaimer Sitemap
php.cn:Public welfare online PHP training,Help PHP learners grow quickly!