This time I will bring you the steps to implement jQuery Snowflakes Falling (with code), what are the precautions for implementing jQuery Snowflakes Falling, the following is a practical case, let’s take a look.
Preface
I have been free recently, so I planned to write an effect of falling snowflakes. I didn’t write too awesome special effects, which greatly simplified the amount of code. In this way The code is easy to read and easy to use. It is a blessing for those newbies. It is easy to read and learn. Let’s start with the code directly, and then explain it one by one. You can just copy and paste it and use it. It is even easier to change.
<!DOCTYPE html>
<html>
<head>
<meta charset="UTF-8">
<title>雪花飘落</title>
</head>
<style type="text/css">
body{background: black;height: 100%;overflow: hidden;}
.xh{cursor: pointer;}
</style>
<body>
<p class="bk">
</p>
</body>
<script src="jquery-1.8.3.min.js"></script>
<script type="text/javascript">
var minSize = 5; //最小字体
var maxSize = 50;//最大字体
var newOne = 200; //生成雪花间隔
var flakColor = "#fff"; //雪花颜色
var flak = $("<p class='xh'></p>").css({position:"absolute","top":"0px"}).html("❉");//定义一个雪花
var dhight = $(window).height(); //定义视图高度
var dw =$(window).width(); //定义视图宽度
setInterval(function(){
var sizeflak = minSize+Math.random()*maxSize; //产生大小不等的雪花
var startLeft = Math.random()*dw; //雪花生成是随机的left值
var startopcity = 0.7+Math.random()*0.3; //随机透明度
var endpositionTop= dhight-100; //雪花停止top的位置
var endLeft= Math.random()*dw; //雪花停止的left位置
var durationfull = 5000+Math.random()*3000; //雪花飘落速度不同
flak.clone().appendTo($("body")).css({
"left":startLeft ,
"opacity":startopcity,
"font-size":sizeflak,
"color":flakColor
}).animate({
"top":endpositionTop,
"left":endLeft,
"apacity":0.1
},durationfull,function(){
$(this).remove()
});
},newOne);
</script>
</html>The above is the code. Is it very simple? Can you tell me whether it can achieve the desired effect? Let you see the effect below

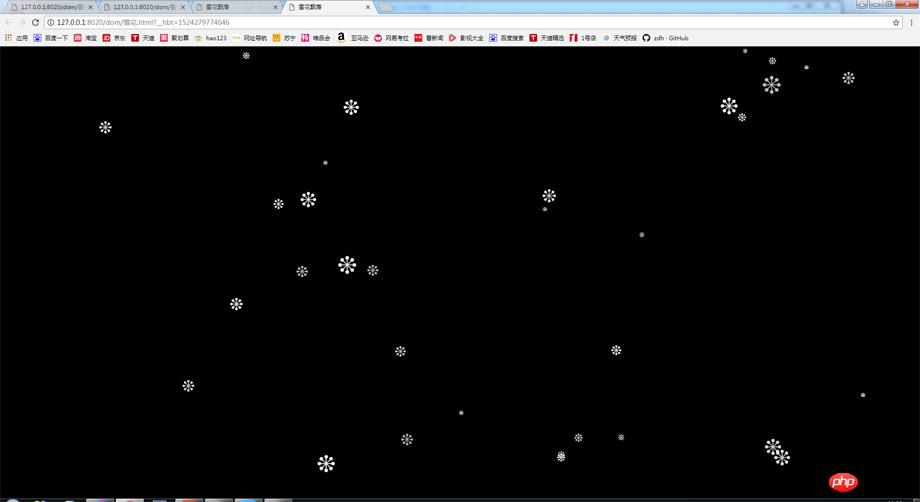
The above is the effect, you can change the snowflakes into money or other things, you can also change the background, and then add a picture of Santa Claus, And others, this is a simple Christmas page, which is actually pretty cool.
Of course we can also add other interactive effects, change the picture into a small airplane, and then make a web game about masturbating. It is actually very simple, just add interaction and some logic to it. . Now I will give you a step-by-step explanation of the entire programming idea.
Premise summary: I used jq for this. Of course, you can also use native writing, but jq is more trouble-free, so I used jq.
First introduce jq: <script src="jquery-1.8.3.min.js"></script> This needs to be based on your own To write in a real directory, pay attention to two points when importing:
1. Remember that it is generally best to put it at the bottom of the entire page when importing, because when the page is loaded, it is loaded from top to bottom. If When jq is introduced, placing it above the style will make the page load slower and affect the user experience. Therefore, placing it below will make the style and pictures load first, which is beneficial to the user experience.
2. When introducing, do not put it below the jq-dependent code, because the page loads from top to bottom. If you put it below, the dependent code will not be able to find jq variables and methods. Report an error.
2. Before writing, think about the variables you need, and then define the variables:

What we are doing is snowflakes falling, so I use * To replace snowflakes, so we need to know how to define a snowflake, var flak = $("<p class='xh'></p>").css({position:"absolute"," top":"0px"}).html("❉"); //Define a snowflake, and then we need to think about the properties of the snowflake and know several properties of the snowflake.
1. We know that the sizes of snowflakes are different when it snows, so when we define the size of snowflakes, we need to use the size of the largest snowflake and the smallest snowflake. In js, we specify the interval execution function setinterval. Random numbers are used to randomly generate snowflakes with sizes between the largest and smallest:
var sizeflak = minSize Math.random()*(maxSize-minSize); // Generate snowflakes of different sizes
2. Define the interval for executing the function. You don’t need to define this. You can just write it directly
3. Define the fixed attribute color of the snowflake. Define the width of the view.
3. Define variables based on the previous and introduce them into the interval loop function:

This step is much simpler, because This function is executed every few seconds, so we only need to take the previously defined things between the maximum and minimum values. Then clone the previously defined snowflake. Here we will talk about the cloning of jq and the cloning of js
The cloning of jq is the node direct.clone(), which is the encapsulated js cloning method. js is the direct node .cloneNode(true) , you only need to know it, so that you will not rely too much on the jq library.
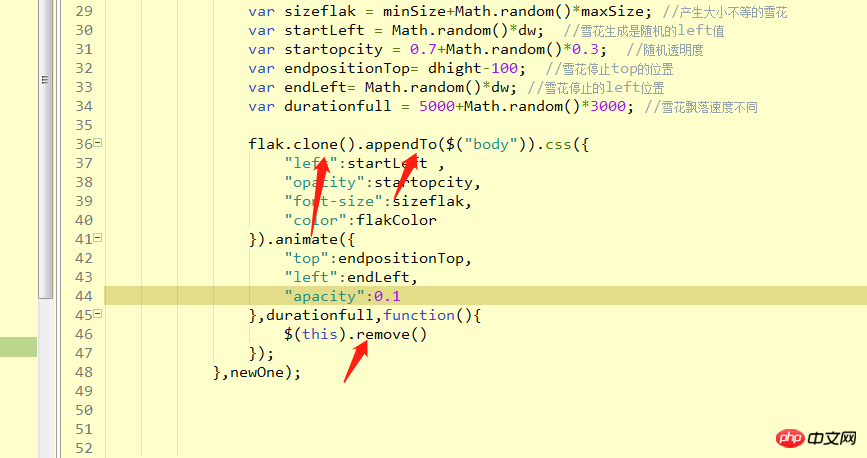
The last step: Put the cloned node into our parent node, which is the view. Our view here is body, so directly appendto (body) , and then jq has an animation API. We directly use this API to make the entire snowflake move from cloning to movement, and then remove the cloned snowflake after the movement is completed, thus achieving the effect of the entire snowflake falling. .

This page does not have much interaction, but it also contains some knowledge points and summarizes the key technologies used. 1. Snowflakes fall randomly and are of random size Math.random() generates random numbers from 0 to 1
2. Use of interval execution functions setInterval (function(){}, time interval)
3. jq’s animation function animate
4. Clone and delete nodes clone() remove()
I believe you have mastered the method after reading the case in this article, more Please pay attention to other related articles on the php Chinese website!
Recommended reading:
Detailed explanation of the use of js injection
##What are the main APIs of jQuery
Detailed explanation of the use of var and let in for loop in jQuery
The above is the detailed content of jQuery snowflakes falling implementation steps (with code). For more information, please follow other related articles on the PHP Chinese website!
 What are the jquery plug-ins?
 How to operate json with jquery
 How to delete elements in jquery
 Use of jQuery hover() method
 jquery implements paging method
 What is a hidden element in jquery
 What is highlighting in jquery
 How to solve the problem that the msxml6.dll file is missing
 How to solve an error in the script of the current page


