

Python uses OpenCV for calibration

This article mainly introduces the use of OpenCV for calibration of Python. It has a certain reference value. Now I share it with you. Friends in need can refer to it.
This article combines the official OpenCV samples and provides an introduction to the official samples. Modify the code in the example so that it can run normally, and conduct experiments and explanations on the data you collected.
1. Preparation
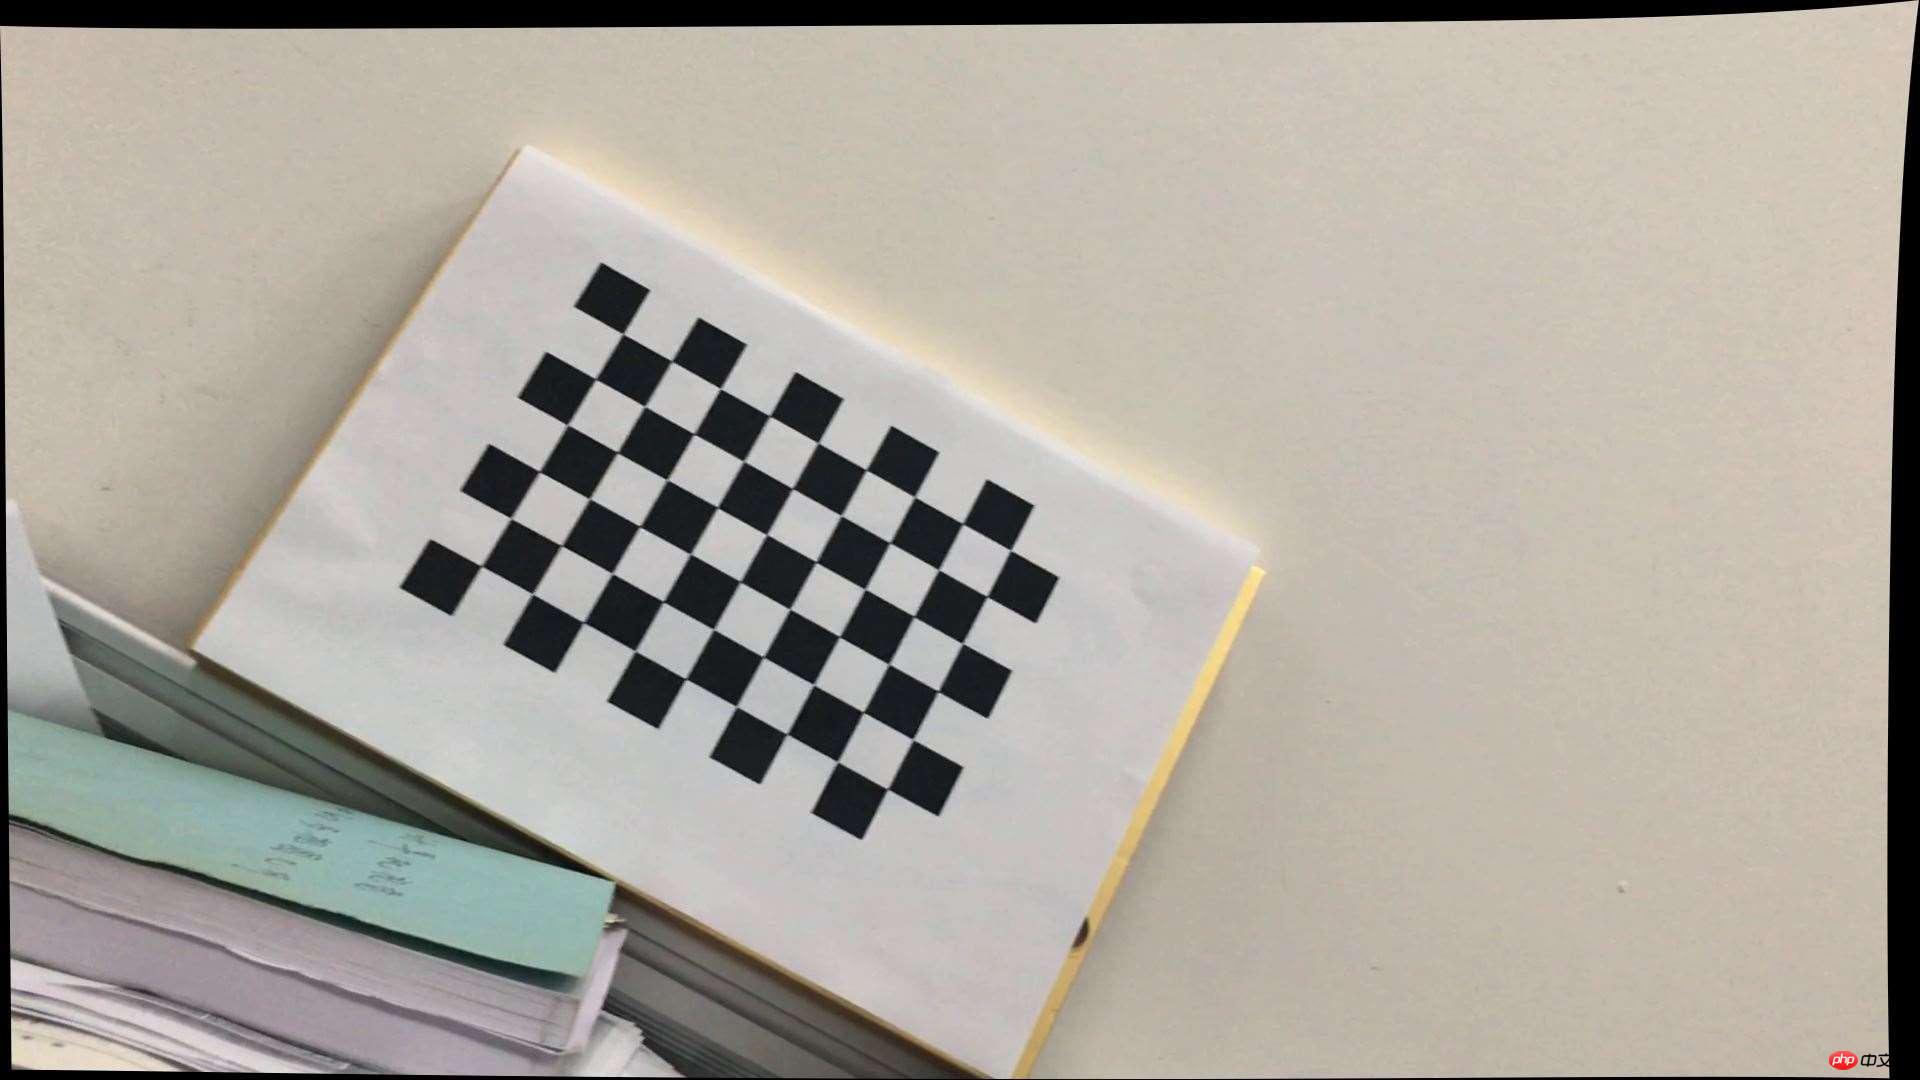
OpenCV uses a checkerboard for calibration, as shown in the figure below. In order to calibrate the camera, we need to input a series of 3D points and their corresponding 2D image points. On a black and white checkerboard, two-dimensional image points are easily found through corner detection. What about three-dimensional points in the real world? During our collection, we placed the camera in one place, moved the checkerboard calibration plate to different positions, and then photographed it. So we need to know the value of (X,Y,Z). But to put it simply, we define the plane where the checkerboard is located as the XY plane, that is, Z=0. For the calibration board, we can know the square size of the checkerboard, such as 30mm, so we can define the corner point coordinates on the checkerboard as (0,0,0), (30,0,0), ( 60,0,0),..., the unit of this result is mm.
3D points are called object points, and 2D image points are called image points.

2. Detect checkerboard corner points
In order to find the checkerboard template, we use openCV The function cv2.findChessboardCorners(). We also need to tell the program what specifications the template we are using is, such as an 8*8 checkerboard or a 5*5 checkerboard. It is recommended to use a checkerboard template with unequal numbers in the x and y directions. In the following experiment, we use a 10*7 checkerboard. Each square has a side length of 20mm, which means it contains 9*6 internal corners. If this function detects the template, it will return the corresponding corner point and return true. Of course, not all images can find the required template, so we can use multiple images for calibration. In addition to using a checkerboard, we can also use a dot matrix, and the corresponding function is cv2.findCirclesGrid().
After finding the corner point, we can use cv2.cornerSubPix() to get more accurate corner pixel coordinates. We can also use cv2.drawChessboardCorners() to draw the corners onto the image for display. As shown in the figure below:

3. Calibration
Through the above steps, we The three-dimensional points used for calibration and the corresponding two-dimensional point pairs on the image are obtained. We use cv2.calibrateCamera() for calibration. This function returns the calibration result, the camera's intrinsic parameter matrix, distortion coefficient, rotation matrix and translation vector.
4. De-distortion
#In the third step, we have obtained the camera intrinsic parameters and distortion coefficients. Before de-distorting the image, we also You can use cv.getOptimalNewCameraMatrix() to optimize the internal parameters and distortion coefficients by setting the free scale factor alpha. When alpha is set to 0, a trimmed inner parameter and distortion coefficient that removes unwanted pixels after dedistortion will be returned; when alpha is set to 1, a trimmed inner parameter containing extra black pixels will be returned. parameters and distortion coefficients, and returns an ROI for cropping it out.
Then we can use the newly obtained internal parameter matrix and distortion coefficient to dedistort the image. There are two ways to remove distortion:
(1) Use cv2.undistort()
This is the most direct method, just call the function directly Obtain the dedistorted image, which can be cropped using the ROI above. The code is as follows:
# undistort
dst = cv2.undistort(img, mtx, dist, None, newcameramtx)

# crop the image
x,y,w,h = roi
dst = dst[y:y+h, x:x+w]
cv2.imwrite('calibresult.png',dst)
The following picture shows the result of de-distorting a picture and retaining black pixels:
(2) Use remmaping
This is a two-step method, first calculate a mapping from the distorted image to the non-distorted image, and then use this mapping The relationship is used to dedistort the image.
The code is as follows:
# undistort
mapx,mapy = cv2.initUndistortRectifyMap(mtx,dist,None,newcameramtx,(w,h),5)
dst = cv2.remap(img,mapx,mapy,cv2.INTER_LINEAR)

# crop the image
x,y,w,h = roi
dst = dst[y:y+h, x:x+w]
cv2.imwrite('calibresult.png',dst)
5. Back-projection error
Through the reverse projection Projection error, we can evaluate the quality of the results. The closer to 0, the more ideal the result is. Using the previously calculated internal parameter matrix, distortion coefficient, rotation matrix and translation vector, use cv2.projectPoints() to calculate the projection of the three-dimensional point to the two-dimensional image, and then calculate the error between the point obtained by back-projection and the point detected on the image, Finally, calculate an average error for all calibration images, and this value is the back-projection error.
Code
The code for all steps is as follows:
#coding:utf-8
import cv2
import numpy as np
import glob

# 找棋盘格角点
# 阈值
criteria = (cv2.TERM_CRITERIA_EPS + cv2.TERM_CRITERIA_MAX_ITER, 30, 0.001)
#棋盘格模板规格
w = 9
h = 6
# 世界坐标系中的棋盘格点,例如(0,0,0), (1,0,0), (2,0,0) ....,(8,5,0),去掉Z坐标,记为二维矩阵
objp = np.zeros((w*h,3), np.float32)
objp[:,:2] = np.mgrid[0:w,0:h].T.reshape(-1,2)
# 储存棋盘格角点的世界坐标和图像坐标对
objpoints = [] # 在世界坐标系中的三维点
imgpoints = [] # 在图像平面的二维点

images = glob.glob('calib/*.png')
for fname in images:
 img = cv2.imread(fname)
 gray = cv2.cvtColor(img,cv2.COLOR_BGR2GRAY)
 # 找到棋盘格角点
 ret, corners = cv2.findChessboardCorners(gray, (w,h),None)
 # 如果找到足够点对,将其存储起来
 if ret == True:
  cv2.cornerSubPix(gray,corners,(11,11),(-1,-1),criteria)
  objpoints.append(objp)
  imgpoints.append(corners)
  # 将角点在图像上显示
  cv2.drawChessboardCorners(img, (w,h), corners, ret)
  cv2.imshow('findCorners',img)
  cv2.waitKey(1)
cv2.destroyAllWindows()

# 标定
ret, mtx, dist, rvecs, tvecs = cv2.calibrateCamera(objpoints, imgpoints, gray.shape[::-1], None, None)

# 去畸变
img2 = cv2.imread('calib/00169.png')
h, w = img2.shape[:2]
newcameramtx, roi=cv2.getOptimalNewCameraMatrix(mtx,dist,(w,h),0,(w,h)) # 自由比例参数
dst = cv2.undistort(img2, mtx, dist, None, newcameramtx)
# 根据前面ROI区域裁剪图片
#x,y,w,h = roi
#dst = dst[y:y+h, x:x+w]
cv2.imwrite('calibresult.png',dst)

# 反投影误差
total_error = 0
for i in xrange(len(objpoints)):
 imgpoints2, _ = cv2.projectPoints(objpoints[i], rvecs[i], tvecs[i], mtx, dist)
 error = cv2.norm(imgpoints[i],imgpoints2, cv2.NORM_L2)/len(imgpoints2)
 total_error += error
print "total error: ", total_error/len(objpoints)
Related recommendations:
The data in OpenCVcv::Mat is written to the txt file
OpenCV cv.Mat and .txt file data reading and writing operations
The above is the detailed content of Python uses OpenCV for calibration. For more information, please follow other related articles on the PHP Chinese website!

Hot AI Tools

Undresser.AI Undress
AI-powered app for creating realistic nude photos

AI Clothes Remover
Online AI tool for removing clothes from photos.

Undress AI Tool
Undress images for free

Clothoff.io
AI clothes remover

AI Hentai Generator
Generate AI Hentai for free.

Hot Article
Hot Tools

Notepad++7.3.1
Easy-to-use and free code editor

SublimeText3 Chinese version
Chinese version, very easy to use

Zend Studio 13.0.1
Powerful PHP integrated development environment

Dreamweaver CS6
Visual web development tools

SublimeText3 Mac version
God-level code editing software (SublimeText3)
Hot Topics
 1386
1386
 52
52

 PHP and Python: Code Examples and Comparison
Apr 15, 2025 am 12:07 AM
PHP and Python: Code Examples and Comparison
Apr 15, 2025 am 12:07 AM
PHP and Python have their own advantages and disadvantages, and the choice depends on project needs and personal preferences. 1.PHP is suitable for rapid development and maintenance of large-scale web applications. 2. Python dominates the field of data science and machine learning.
 Python vs. JavaScript: Community, Libraries, and Resources
Apr 15, 2025 am 12:16 AM
Python vs. JavaScript: Community, Libraries, and Resources
Apr 15, 2025 am 12:16 AM
Python and JavaScript have their own advantages and disadvantages in terms of community, libraries and resources. 1) The Python community is friendly and suitable for beginners, but the front-end development resources are not as rich as JavaScript. 2) Python is powerful in data science and machine learning libraries, while JavaScript is better in front-end development libraries and frameworks. 3) Both have rich learning resources, but Python is suitable for starting with official documents, while JavaScript is better with MDNWebDocs. The choice should be based on project needs and personal interests.
 Detailed explanation of docker principle
Apr 14, 2025 pm 11:57 PM
Detailed explanation of docker principle
Apr 14, 2025 pm 11:57 PM
Docker uses Linux kernel features to provide an efficient and isolated application running environment. Its working principle is as follows: 1. The mirror is used as a read-only template, which contains everything you need to run the application; 2. The Union File System (UnionFS) stacks multiple file systems, only storing the differences, saving space and speeding up; 3. The daemon manages the mirrors and containers, and the client uses them for interaction; 4. Namespaces and cgroups implement container isolation and resource limitations; 5. Multiple network modes support container interconnection. Only by understanding these core concepts can you better utilize Docker.
 Can visual studio code be used in python
Apr 15, 2025 pm 08:18 PM
Can visual studio code be used in python
Apr 15, 2025 pm 08:18 PM
VS Code can be used to write Python and provides many features that make it an ideal tool for developing Python applications. It allows users to: install Python extensions to get functions such as code completion, syntax highlighting, and debugging. Use the debugger to track code step by step, find and fix errors. Integrate Git for version control. Use code formatting tools to maintain code consistency. Use the Linting tool to spot potential problems ahead of time.
 How to run programs in terminal vscode
Apr 15, 2025 pm 06:42 PM
How to run programs in terminal vscode
Apr 15, 2025 pm 06:42 PM
In VS Code, you can run the program in the terminal through the following steps: Prepare the code and open the integrated terminal to ensure that the code directory is consistent with the terminal working directory. Select the run command according to the programming language (such as Python's python your_file_name.py) to check whether it runs successfully and resolve errors. Use the debugger to improve debugging efficiency.
 Can vs code run in Windows 8
Apr 15, 2025 pm 07:24 PM
Can vs code run in Windows 8
Apr 15, 2025 pm 07:24 PM
VS Code can run on Windows 8, but the experience may not be great. First make sure the system has been updated to the latest patch, then download the VS Code installation package that matches the system architecture and install it as prompted. After installation, be aware that some extensions may be incompatible with Windows 8 and need to look for alternative extensions or use newer Windows systems in a virtual machine. Install the necessary extensions to check whether they work properly. Although VS Code is feasible on Windows 8, it is recommended to upgrade to a newer Windows system for a better development experience and security.
 Is the vscode extension malicious?
Apr 15, 2025 pm 07:57 PM
Is the vscode extension malicious?
Apr 15, 2025 pm 07:57 PM
VS Code extensions pose malicious risks, such as hiding malicious code, exploiting vulnerabilities, and masturbating as legitimate extensions. Methods to identify malicious extensions include: checking publishers, reading comments, checking code, and installing with caution. Security measures also include: security awareness, good habits, regular updates and antivirus software.
 Python: Automation, Scripting, and Task Management
Apr 16, 2025 am 12:14 AM
Python: Automation, Scripting, and Task Management
Apr 16, 2025 am 12:14 AM
Python excels in automation, scripting, and task management. 1) Automation: File backup is realized through standard libraries such as os and shutil. 2) Script writing: Use the psutil library to monitor system resources. 3) Task management: Use the schedule library to schedule tasks. Python's ease of use and rich library support makes it the preferred tool in these areas.
