
This time I will show you how to use vue-cli to quickly build a project. What are the precautions for using vue-cli to quickly build a project. The following is a practical case, let's take a look.
1. Preface to avoid pitfalls
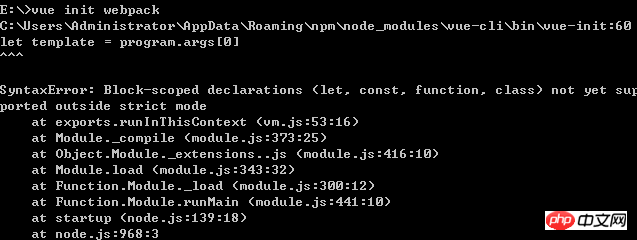
In fact, the process of using vue-cli this time was not smooth. I tried several times and encountered the following This error:
Error when creating a vue-cli project
After checking a lot of information on the Internet, I found out that the problem was that the node version was too low. Although there is no official explanation for this "too low" problem, according to the experience of foreign netizens, at least node6 should be used. After I updated node4 to node8, there was indeed no error and the setup was successful. Related Q&A post: https://github.com/vuejs/vue-cli/issues/618

Confirm the version of node and npm
Replace this I put it at the top because I hope everyone should make sure to update node to 6 or above before building it, so as to avoid some detours. Let's start with a formal introduction to the entire construction process.
2. Use vue-cli to build the project
The entire process below is based on the installation of node.js and cnpm, node. I won’t go into details here about how to install js. How to install cnpm globally, here is a brief mention:
npm install cnpm -g --registry=https://registry.npm.taobao.org
In fact, for installing vue-cli, you can use both the npm command and the cnpm command. Personally, I feel that using npm to install is slower, and it is likely to cause problems. The error occurred due to network problems, so I still feel that using cnpm is more stable.
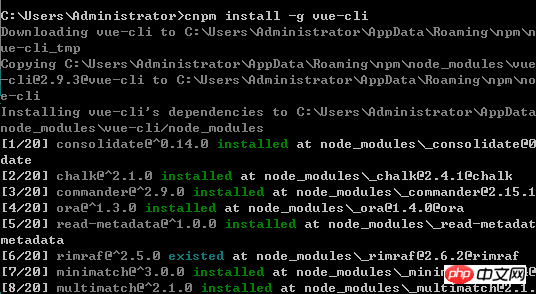
(1) Install vue-cli globally and execute in the command prompt window:
cnpm install -g vue-cli
Install vue-cli
The above prompt appears Indicates that vue-cli has been installed successfully and the vue-cli project can be officially created.
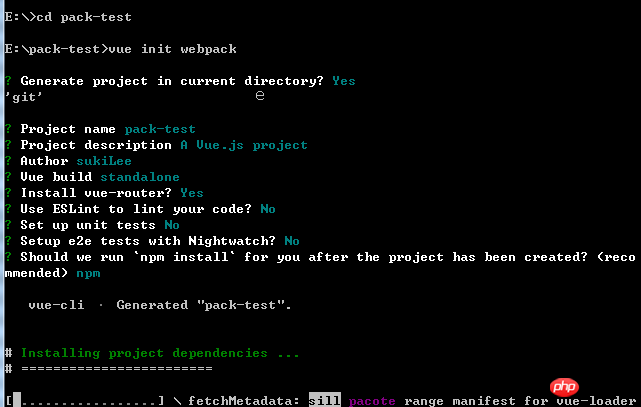
(2) After successfully installing vue-cli, use the cd command to enter the folder where you want to place the project, and execute the command to create the vue-cli project in the command prompt window:
vue init webpack
Create vue-cli project
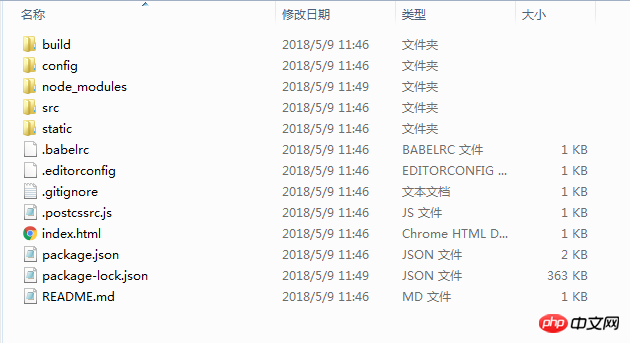
ConfirmCreate projectAfter that, you need to enter the project name, project description, author, packaging method, and whether to use ESLint Specification codes, etc., see the picture above for details. After the installation is successfully executed, the following file directory will be generated:
Generate file directory
(3) After generating the file directory, use cnpm to install dependencies:
cnpm install

Installation dependencies
(4) Finally, you need to execute the command: npm run dev to start the project. After the startup is completed, the default will pop up automatically. Web page:
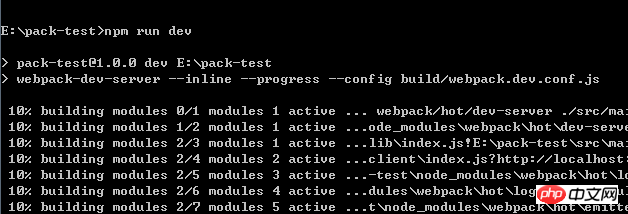
Start project
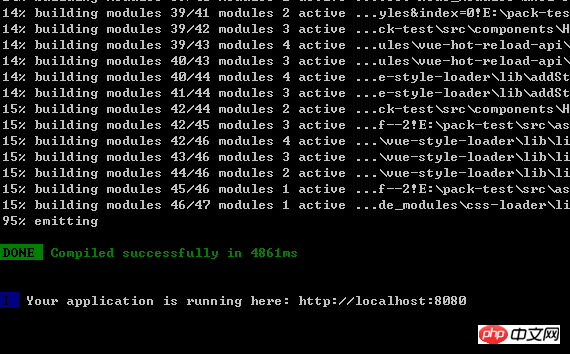
Start project
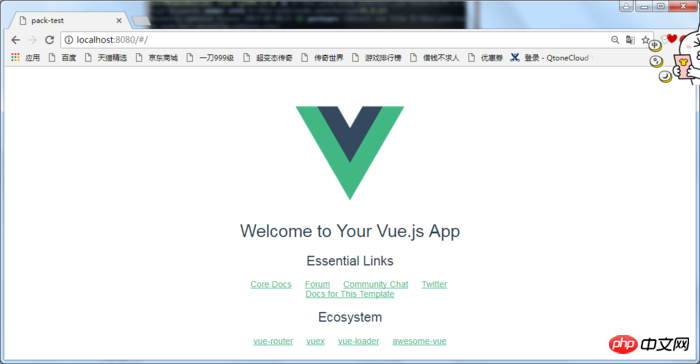
3.Directory structure and their corresponding functions
Building a vue project through vue-cli will automatically generate a series of files. You can take a look at the specific structure of these files and the corresponding functions of the files. The following explanation:├── build/ # webpack 编译任务配置文件: 开发环境与生产环境 │ └── ... ├── config/ │ ├── index.js # 项目核心配置 │ └── ... ├ ── node_module/ #项目中安装的依赖模块 ── src/ │ ├── main.js # 程序入口文件 │ ├── App.vue # 程序入口vue组件 │ ├── components/ # 组件 │ │ └── ... │ └── assets/ # 资源文件夹,一般放一些静态资源文件 │ └── ... ├── static/ # 纯静态资源 (直接拷贝到dist/static/里面) ├── test/ │ └── unit/ # 单元测试 │ │ ├── specs/ # 测试规范 │ │ ├── index.js # 测试入口文件 │ │ └── karma.conf.js # 测试运行配置文件 │ └── e2e/ # 端到端测试 │ │ ├── specs/ # 测试规范 │ │ ├── custom-assertions/ # 端到端测试自定义断言 │ │ ├── runner.js # 运行测试的脚本 │ │ └── nightwatch.conf.js # 运行测试的配置文件 ├── .babelrc # babel 配置文件 ├── .editorconfig # 编辑配置文件 ├── .gitignore # 用来过滤一些版本控制的文件,比如node_modules文件夹 ├── index.html # index.html 入口模板文件 └── package.json # 项目文件,记载着一些命令和依赖还有简要的项目描述信息 └── README.md #介绍自己这个项目的,可参照github上star多的项目。 build/
Recommended reading:
JS implements the simplest search, sorting, and deduplication algorithm
How to use jQuery to obtain random colors
The above is the detailed content of How to use vue-cli to quickly build a project. For more information, please follow other related articles on the PHP Chinese website!


