
This time I will bring you the actual combat of the highslide.js plug-in project (with code). What are the precautions for the actual implementation of the highslide.js plug-in project? The following is a practical case, let's take a look.
Preface
Today I used a picture display plug-in, highslide.js. It feels very comfortable to use and there is almost no need to write code. , you just need to know how to write parameters.
So how should we use such an awesome plug-in? I will explain it to you below.
1. Introduction
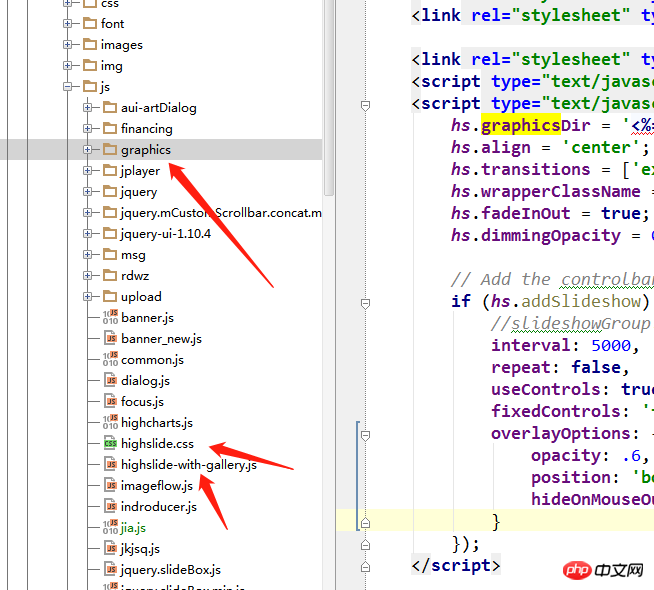
First we use the absolute path to introduce. This is usually a method cited in actual projects. When we download There is a file package that contains style files and script files.
My project is a jsp file, so the way to introduce the root directory is different. Friends can specify how to introduce it according to their own projects. 
##2. Configuration parameters
The above is my parameter configuration diagram
<link rel="stylesheet" type="text/css" href="<%=controller.getStaticPath(request)%>/js/highslide.css" rel="external nofollow" />
<script type="text/javascript" src="<%=controller.getStaticPath(request)%>/js/highslide-with-gallery.js"></script>
3. How to display
Once the plug-in is equipped, how can we display our pictures? This is simpler.The directions indicated by the arrows in the above picture must be configured. 1. If the class name of the outermost layer p is highslide-gallery, then the image display we complete will display all the pictures in this layer of p in a carousel.
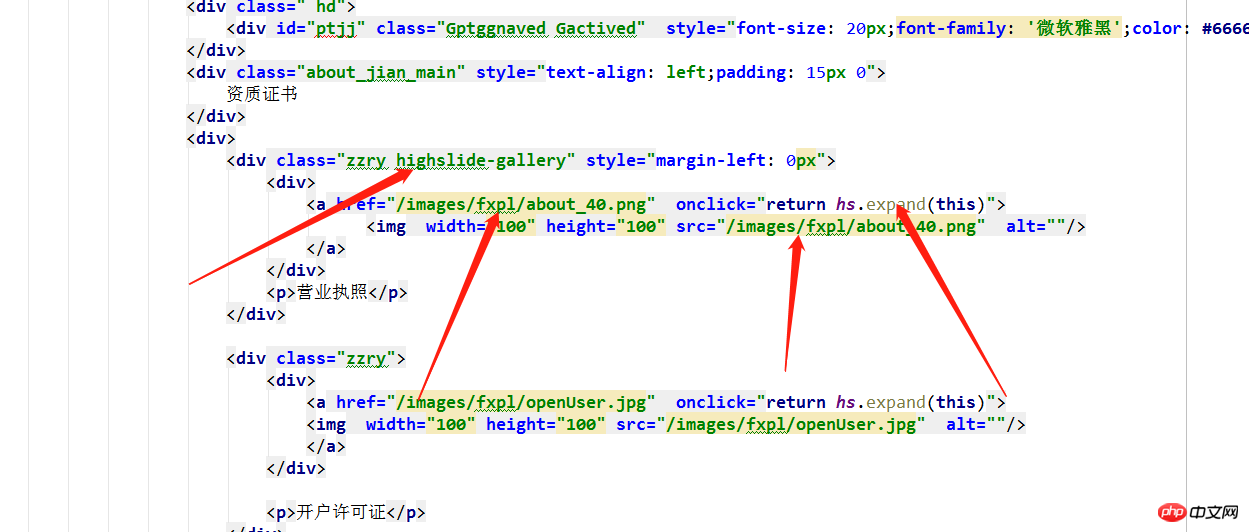 #2. The outer layer of the picture should be wrapped with an A tag, and the address of the A tag should be the address of the real big picture, that is, the address of the picture to be displayed. Then give A price click event
, if not added, the click will have no effect.
 Remember The way to write the click event is
. In fact, this can complete the interactive effect of clicking on a small picture to display the playback of the large picture. Of course, you can also change the picture into text or other words, so that It can complete the click display function. Let me show you the final effect below.
4. Display effect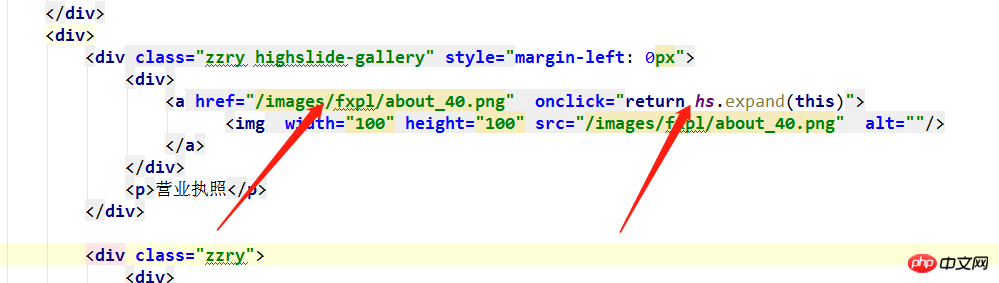
This is before clicking
I believe you have mastered the method after reading the case in this article. For more exciting information, please pay attention to other related articles on the php Chinese website!  Recommended reading:

The above is the detailed content of highslide.js plug-in project practice (with code). For more information, please follow other related articles on the PHP Chinese website!


![[Web front-end] Node.js quick start](https://img.php.cn/upload/course/000/000/067/662b5d34ba7c0227.png)


