On many websites, you can see JS effects that allow pictures to follow the movement of the mouse. In fact, the method is very simple, so I will share it with you here.
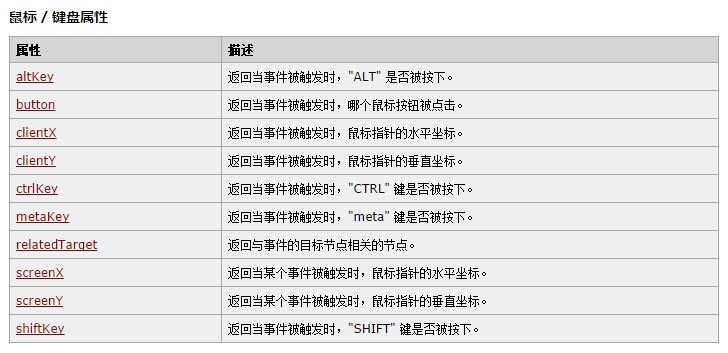
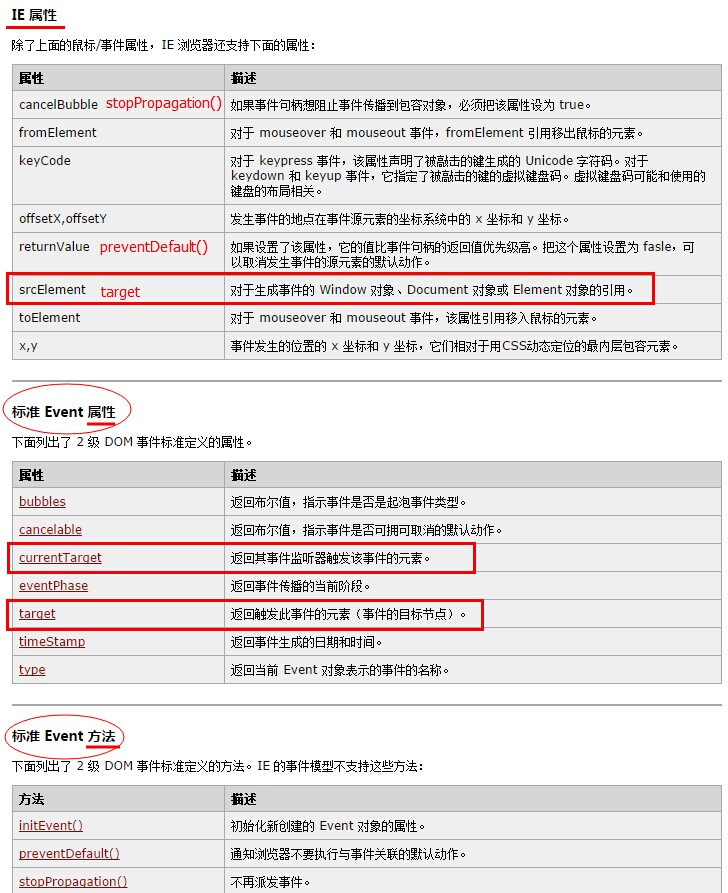
Before implementing this special effect, you need to understand an object in JS, event (event object). Yes, you only need to understand this object. I won’t go into details about its method properties. If you want to know more about it, click here, http://www.jb51.net/article/17266.htm.
We only use two properties of this object, clientX and clientY, which are the X and Y coordinates of the mouse in the window area (they are both It is a read-only attribute, so it can only be get, not set). At this point, many children's shoes may already know how to do it. Yes, that's it! Just assign the obtained coordinates to the Left and Top in the image positioning attribute. It is very easy. Keep it simple! A small demo of the implementation is provided below.
Materials: Two pictures you like, name them here as "MUp.png" and "MDown.png". Why are there two pictures? Here we also realize the effect of changing the picture by pressing the mouse.
HTML Code is Here:
<div id="Main">
   <img src="MUp.png" id="Img"/>
 </div>
CSS Code is Here:
 *{ margin:px; padding:px;}
 #Img{ position:absolute; top:px; left:px;}
 #Main{ background-color:#F; width:px; height:px;}
JS Code is Here:
 window.onload=Main;
 //全局坐标变量
  var x="";
  var y="";
  //定位图片位置
  function GetMouse(oEvent)
  {
   x=oEvent.clientX;
   y=oEvent.clientY;
  document.getElementById("Img").style.left=(parseInt(x)-)+"px";
  document.getElementById("Img").style.top=y+"px";
  }
 //入口
 function Main()
 {
  var ele=document.getElementById("Main");
  //注册鼠标移动事件
  ele.onmousemove=function(){GetMouse(event);}
  // 注册鼠标按下事件
  ele.onmousedown=function(){ChangeBg("Img","MUp.png");}
  //注册鼠标弹回事件
  ele.onmouseup=function(){ChangeBg("Img","MDown.png");}
  }
 //图片变化
 function ChangeBg(id,url)
 {
  document.getElementById(id).src=url;
 }


