This article mainly introduces cube-ui, a mobile component library based on Vue.js. Now I share it with you and give it as a reference.
cube-ui is an exquisite mobile component library implemented by Didi's technical team based on Vue.js. It's great. Although there are not many components, it is enough for basic scenarios. Thanks for the open source!
First create a vue project
vue init webpack my-project
cd my-project
npm install
Install cube-ui
npm install cube-ui -S
The official recommendation is to use the babel-plugin-transform-modules plug-in, which can introduce component modules and corresponding modules more elegantly style.
npm install babel-plugin-transform-modules -D
Then configure this plug-in and modify .babelrc: (Add to plugins)
{
 "plugins": [
 ["transform-modules", {
  "cube-ui": {
  "transform": "cube-ui/lib/${member}",
  "kebabCase": true,
  "style": {
   "ignore": ["create-api", "better-scroll"]
  }
  }
 }]
 ]
}Introduction method 1: Import all
General In the entry file main.js:
import Vue from 'vue'
import Cube from 'cube-ui' // 一般直接放在这个位置
Vue.use(Cube)
After all are introduced, it is equivalent to global registration, and you can use it directly. There is no need to import {…} (local reference) in each .vue file, and components{…} are locally registered.
Introduction method 2: Import on demand
import {
 /* eslint-disable no-unused-vars */
 Style, // 必需
 Button
} from 'cube-ui'Note: If imported on demand, the basic style part will not be packaged, so you need to introduce style when using it module.
Registration methodOptional global registration or local registration:
// 全局注册
Vue.use(Button) // 在入口文件中
// 或者局部注册
// 某个组件中
{
 components: {
 CubeButton: Button
 }
}All components that can be introduced on demand:
import {
 Button,
 Checkbox,
 Loading,
 Tip,
 Toast,
 Picker,
 TimePicker,
 Dialog,
 ActionSheet,
 Scroll,
 Slide,
 IndexList
} from 'cube-ui'can also be introduced create-api and better-scroll modules:
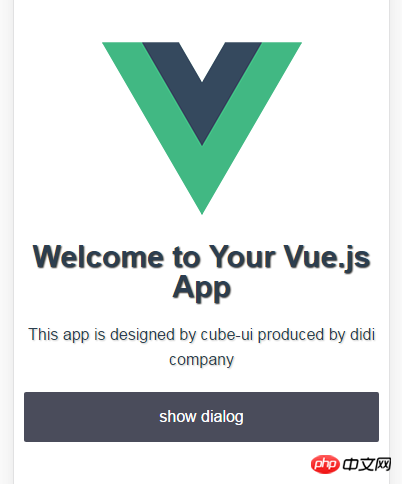
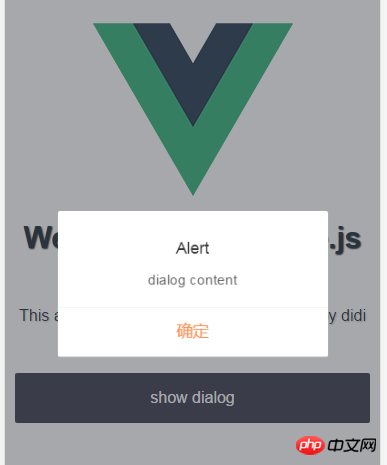
import { createAPI, BetterScroll } from 'cube-ui'Example
<template>
<cube-button @click="showDiaog">show dialog<cube-button>
</template>
<script>
export default {
methods: {
showDialog() {
this.$createDialog({
type: 'alert',
title: 'Alert',
content: 'dialog content'
}).show()
}
}
}
</script>Do not use post-compilation
Note: cube-ui with webpack 2 will use post-compile by default, but Post-compilation requires some dependencies and configurations (see the end of this page); if you don’t want to use post-compilation, you can directly modify the webpack configuration:
// webpack.config.js
module.exports = {
 // ...
 resolve: {
 // ...
 alias: {
  // ...
  'cube-ui': 'cube-ui/lib'
  // ...
 }
 // ...
 }
 // ...
}Use post-compile
cube-ui combination After webpack 2, post-compilation will be used by default, so the application needs to be compatible with cube-ui's dependencies and configuration.
1. Modify package.json
{
 // webpack-post-compile-plugin 依赖 compileDependencies
 "compileDependencies": ["cube-ui"],
 "devDependencies": {
 "babel-plugin-transform-modules": "^0.0.2",
 // 新增 stylus 相关依赖 (都需要额外安装:npm install … -D)
 // stylus 类似于 sass,less
 "stylus": "^0.54.5",
 "stylus-loader": "^2.1.1",
 "webpack-post-compile-plugin": "^0.1.2"
 }
}2. Modify .babelrc and still rely on babel-plugin-transform-modules:
"plugins": [
 ["transform-runtime"],
 ["transform-modules", {
 "cube-ui": {
  // 注意: 这里的路径需要修改到 src/modules 下
  "transform": "./node_modules/cube-ui/src/modules/${member}",
  "kebabCase": true
 }
 }]
]3. Modify webpack.base.conf .js
var PostCompilePlugin = require('webpack-post-compile-plugin')
module.exports = {
 // ...
 plugins: [
 // ...
 new PostCompilePlugin()
 ]
 // ...
}4. Modify the exports.cssLoaders function in build/utils.js
exports.cssLoaders = function (options) {
 // ...
 const stylusOptions = {
 'resolve url': true
 }
 // https://vue-loader.vuejs.org/en/configurations/extract-css.html
 return {
 css: generateLoaders(),
 postcss: generateLoaders(),
 less: generateLoaders('less'),
 sass: generateLoaders('sass', { indentedSyntax: true }),
 scss: generateLoaders('sass'),
 stylus: generateLoaders('stylus', stylusOptions),
 styl: generateLoaders('stylus', stylusOptions)
 }
}Run and see the results:
npm run dev


The above is what I compiled for everyone. I hope it will be helpful to everyone in the future.
Related articles:
How to implement high-performance loading sequence in javascript
##How to implement global registration in axios
How to implement login verification jump using Vue Flask (detailed tutorial)
About usage of connect decorator in react-redux
The above is the detailed content of How to use mobile component library in Vue.js (detailed tutorial). For more information, please follow other related articles on the PHP Chinese website!


