

How to deploy https using nginx + node
This article mainly introduces you to the steps of deploying https in Alibaba Cloud using nginx node. The article introduces it in great detail through pictures, texts and sample codes. It has certain reference learning value for everyone's study or work. It is needed Friends, come and study together.
Origin
Recently I am writing the node mongodb version of Lingxi Micro Mall, so I have to deploy my own https certificate to the Alibaba server. The following will give you a complete summary of the implementation process. Without further ado, let’s take a look at the detailed introduction.
The main differences between HTTPS and HTTP are as follows:
1. The https protocol requires applying for a certificate from ca. Generally, there are fewer free certificates, so a certain fee is required.
2. http is a hypertext transfer protocol, and information is transmitted in plain text, while https is a secure SSL encrypted transmission protocol.
3. http and https use completely different connection methods and use different ports. The former is 80 and the latter is 443.
4. The http connection is very simple and stateless; the HTTPS protocol is a network protocol built from the SSL HTTP protocol that can perform encrypted transmission and identity authentication, and is more secure than the http protocol.
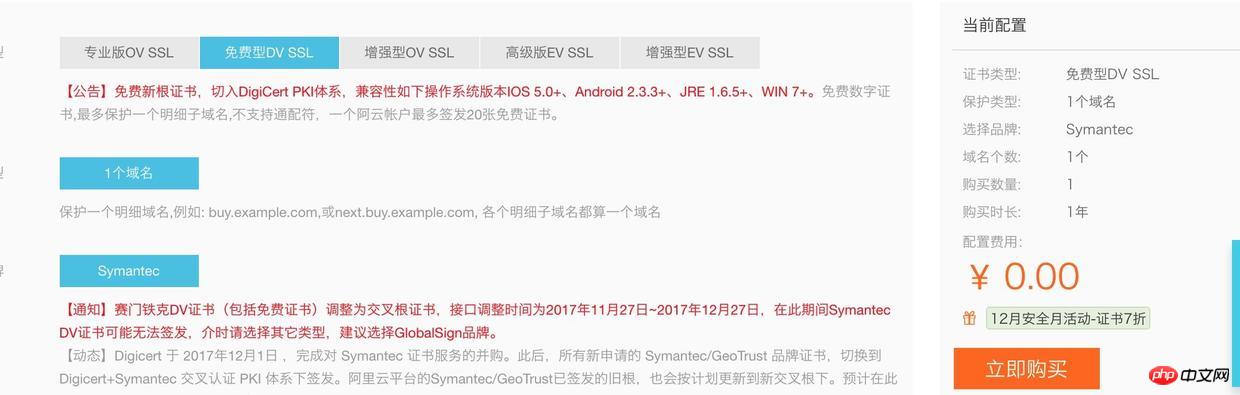
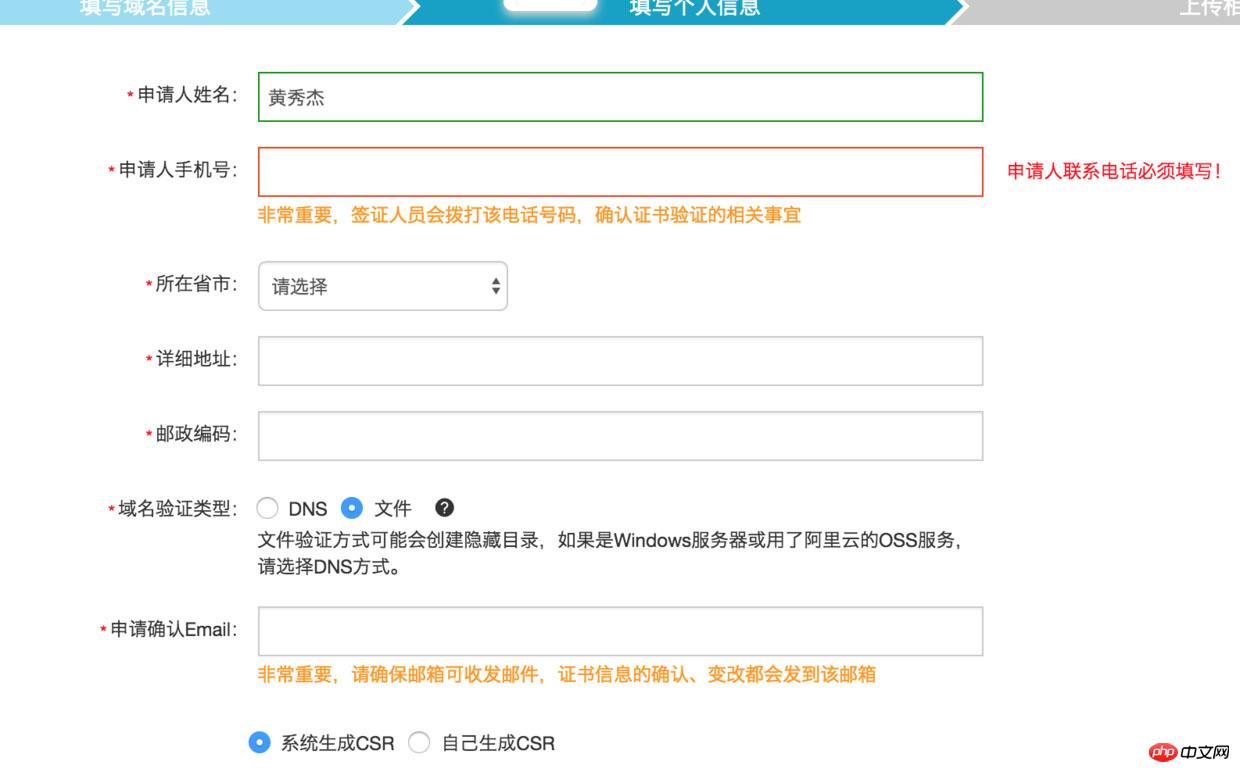
Application
I waited for 2 days to get the free https certificate. It always shows that it is sold out on Ali. Is it because of the recent popularity of https? Demand exceeds supply.


deploy
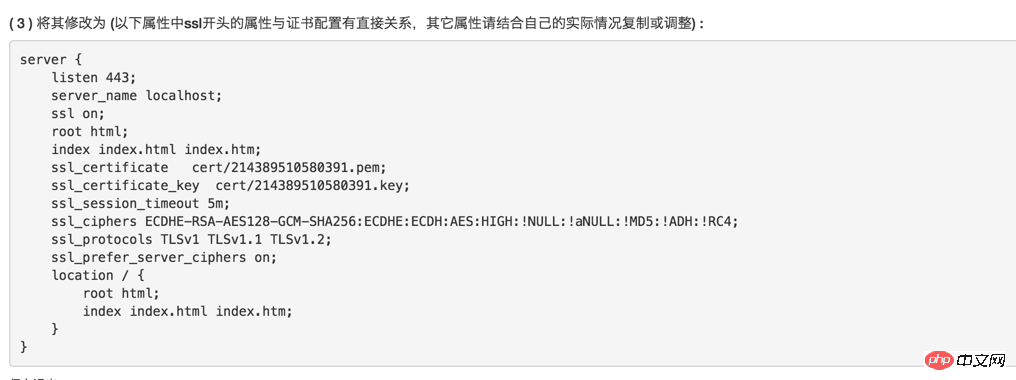
Uploaded fileauth.txt to the specified directory. After a few minutes, the review was passed. During this period, no review calls came in. The operation and deployment instructions provided by Alibaba are very detailed. You can just copy it, but be careful to put the cert folder under conf instead of the nginx root directory as mentioned in the instructions. When you operate it locally according to Alibaba, you will see this error, fopen:No such file or directory:fopen('/usr/local/nginx/conf/cert/214389510580391.pem','r') error: 2006D080:BIO routines:BIO_new_file:no such file), which means that there is a problem with the cert directory.
node reverse proxy
location / {
   proxy_pass http://127.0.0.1:4001;
   proxy_set_header Host $host;
   proxy_set_header X-Real-IP $remote_addr;
   proxy_set_header X-Forwarded-For $proxy_add_x_forwarded_for;
}node still runs as usual, it doesn’t matter https or http, it is completed by nginx. The first proxy_pass is a reverse proxy, and the next three proxy_set_headers take over the request completely from mall.it577.net. Although it can be requested by the front end without adding it, req.originUrl will still be resolved to http://127.0.0.1 :4001, this affects the decoupling of WeChat payment callback notify_url, so these 3 lines are added.
Result
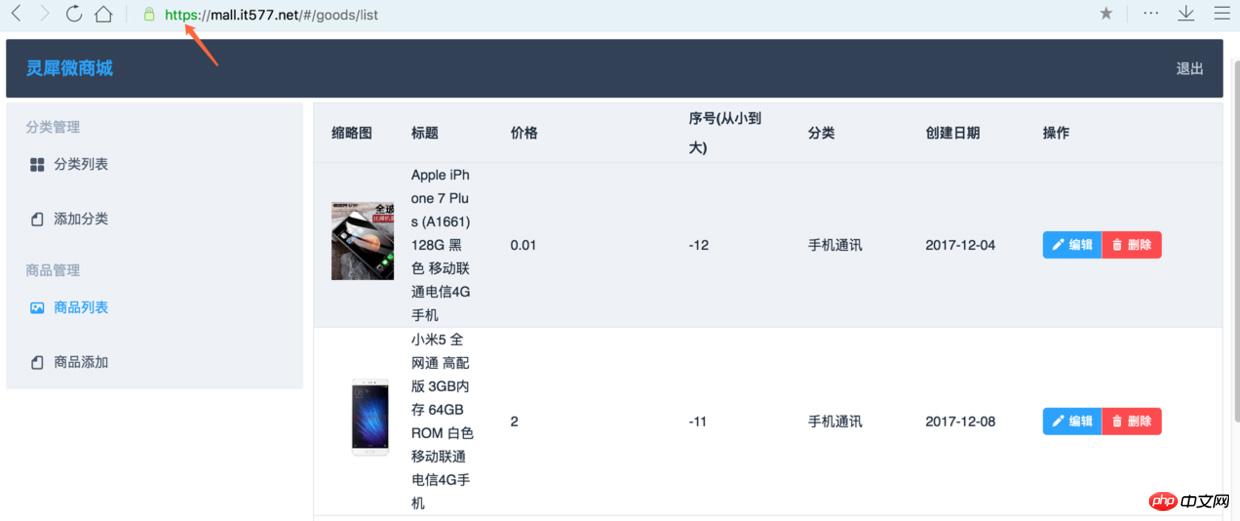
You can see from the address bar that https is supported.
pits
The above process is very simple and can basically be configured. Let me talk about the pitfalls I encountered. Because my Alibaba pre-installed nginx does not include the https module, I have to manually download the installation package and recompile it. Finally, copy the newly compiled nginx execution file, replace it and restart the service.
Error reporting, prompting that the ssl module cannot be found
nginx: [emerg] unknown directive "ssl" in /usr/local/nginx/conf/nginx.conf:123
Download the corresponding version of the ngix compressed package
wget http://nginx.org/download/nginx-1.12.1.tar.gz
Unzip
tar zxvf nginx-1.12.1.tar.gz
Compile with parameters to get the ssl module
./configure --with-http_ssl_module

make
Stop nginx
/usr/local/nginx/sbin/nginx -s stop
Of course you can kill the process, what I found online is let 3 ways to kill
Replace the old nginx
cp /usr/local/nginx/sbin/nginx /usr/local/nginx/sbin/nginx.bak
cp ./objs/nginx /usr/local/nginx/sbin/
Restart nginx and reload the conf configuration file
/usr/local/nginx/sbin/nginx -c /usr/local/nginx/conf/nginx.conf
/usr/local/nginx/sbin/nginx -s reload
The above is I compiled it for everyone, I hope it will be helpful to everyone in the future.
Related articles:
How to implement secondary linkage in js
##How should webpack handle styles?
How to generate word images in js
What are the reference methods for libraries in jQuery
The above is the detailed content of How to deploy https using nginx + node. For more information, please follow other related articles on the PHP Chinese website!

Hot AI Tools

Undresser.AI Undress
AI-powered app for creating realistic nude photos

AI Clothes Remover
Online AI tool for removing clothes from photos.

Undress AI Tool
Undress images for free

Clothoff.io
AI clothes remover

AI Hentai Generator
Generate AI Hentai for free.

Hot Article
Hot Tools

Notepad++7.3.1
Easy-to-use and free code editor

SublimeText3 Chinese version
Chinese version, very easy to use

Zend Studio 13.0.1
Powerful PHP integrated development environment

Dreamweaver CS6
Visual web development tools

SublimeText3 Mac version
God-level code editing software (SublimeText3)
Hot Topics
 1377
1377
 52
52

 How to allow external network access to tomcat server
Apr 21, 2024 am 07:22 AM
How to allow external network access to tomcat server
Apr 21, 2024 am 07:22 AM
To allow the Tomcat server to access the external network, you need to: modify the Tomcat configuration file to allow external connections. Add a firewall rule to allow access to the Tomcat server port. Create a DNS record pointing the domain name to the Tomcat server public IP. Optional: Use a reverse proxy to improve security and performance. Optional: Set up HTTPS for increased security.
 Alibaba Cloud announced that the 2024 Yunqi Conference will be held in Hangzhou from September 19th to 21st. Free application for free tickets
Aug 07, 2024 pm 07:12 PM
Alibaba Cloud announced that the 2024 Yunqi Conference will be held in Hangzhou from September 19th to 21st. Free application for free tickets
Aug 07, 2024 pm 07:12 PM
According to news from this website on August 5, Alibaba Cloud announced that the 2024 Yunqi Conference will be held in Yunqi Town, Hangzhou from September 19th to 21st. There will be a three-day main forum, 400 sub-forums and parallel topics, as well as nearly four Ten thousand square meters of exhibition area. Yunqi Conference is free and open to the public. From now on, the public can apply for free tickets through the official website of Yunqi Conference. An all-pass ticket of 5,000 yuan can be purchased. The ticket website is attached on this website: https://yunqi.aliyun.com/2024 /ticket-list According to reports, the Yunqi Conference originated in 2009 and was originally named the First China Website Development Forum. In 2011, it evolved into the Alibaba Cloud Developer Conference. In 2015, it was officially renamed the "Yunqi Conference" and has continued to successful move
 How to generate URL from html file
Apr 21, 2024 pm 12:57 PM
How to generate URL from html file
Apr 21, 2024 pm 12:57 PM
Converting an HTML file to a URL requires a web server, which involves the following steps: Obtain a web server. Set up a web server. Upload HTML file. Create a domain name. Route the request.
 Pi Node Teaching: What is a Pi Node? How to install and set up Pi Node?
Mar 05, 2025 pm 05:57 PM
Pi Node Teaching: What is a Pi Node? How to install and set up Pi Node?
Mar 05, 2025 pm 05:57 PM
Detailed explanation and installation guide for PiNetwork nodes This article will introduce the PiNetwork ecosystem in detail - Pi nodes, a key role in the PiNetwork ecosystem, and provide complete steps for installation and configuration. After the launch of the PiNetwork blockchain test network, Pi nodes have become an important part of many pioneers actively participating in the testing, preparing for the upcoming main network release. If you don’t know PiNetwork yet, please refer to what is Picoin? What is the price for listing? Pi usage, mining and security analysis. What is PiNetwork? The PiNetwork project started in 2019 and owns its exclusive cryptocurrency Pi Coin. The project aims to create a one that everyone can participate
 How to deploy and maintain a website using PHP
May 03, 2024 am 08:54 AM
How to deploy and maintain a website using PHP
May 03, 2024 am 08:54 AM
To successfully deploy and maintain a PHP website, you need to perform the following steps: Select a web server (such as Apache or Nginx) Install PHP Create a database and connect PHP Upload code to the server Set up domain name and DNS Monitoring website maintenance steps include updating PHP and web servers, and backing up the website , monitor error logs and update content.
 How to use Fail2Ban to protect your server from brute force attacks
Apr 27, 2024 am 08:34 AM
How to use Fail2Ban to protect your server from brute force attacks
Apr 27, 2024 am 08:34 AM
An important task for Linux administrators is to protect the server from illegal attacks or access. By default, Linux systems come with well-configured firewalls, such as iptables, Uncomplicated Firewall (UFW), ConfigServerSecurityFirewall (CSF), etc., which can prevent a variety of attacks. Any machine connected to the Internet is a potential target for malicious attacks. There is a tool called Fail2Ban that can be used to mitigate illegal access on the server. What is Fail2Ban? Fail2Ban[1] is an intrusion prevention software that protects servers from brute force attacks. It is written in Python programming language
 Come with me to learn Linux and install Nginx
Apr 28, 2024 pm 03:10 PM
Come with me to learn Linux and install Nginx
Apr 28, 2024 pm 03:10 PM
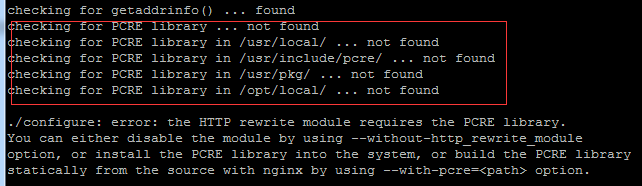
Today, I will lead you to install Nginx in a Linux environment. The Linux system used here is CentOS7.2. Prepare the installation tools 1. Download Nginx from the Nginx official website. The version used here is: 1.13.6.2. Upload the downloaded Nginx to Linux. Here, the /opt/nginx directory is used as an example. Run "tar-zxvfnginx-1.13.6.tar.gz" to decompress. 3. Switch to the /opt/nginx/nginx-1.13.6 directory and run ./configure for initial configuration. If the following prompt appears, it means that PCRE is not installed on the machine, and Nginx needs to
 Several points to note when building high availability with keepalived+nginx
Apr 23, 2024 pm 05:50 PM
Several points to note when building high availability with keepalived+nginx
Apr 23, 2024 pm 05:50 PM
After yum installs keepalived, configure the keepalived configuration file. Note that in the keepalived configuration files of master and backup, the network card name is the network card name of the current machine. VIP is selected as an available IP. It is usually used in high availability and LAN environments. There are many, so this VIP is an intranet IP in the same network segment as the two machines. If used in an external network environment, it does not matter whether it is on the same network segment, as long as the client can access it. Stop the nginx service and start the keepalived service. You will see that keepalived pulls the nginx service to start. If it cannot start and fails, it is basically a problem with the configuration files and scripts, or a prevention problem.
