This article mainly introduces the effect of using vue-i18n to switch between Chinese and English. It is very good and has certain reference value. Friends in need can refer to
vue-i18n warehouse address: https:// github.com/kazupon/vue-i18n
Compatibility:
Supports Vue.js 2.x or above
Installation method: (this Only npm is demonstrated everywhere)
npm install vue-i18n
Usage:
1. Introduce vue-i18n in main.js (the premise is that vue must be introduced first)
import VueI18n from 'vue-i18n'
Vue.use(VueI18n)
2. Prepare local translation information
const messages = {
 zh: {
  message: {
  hello: '好好学习,天天向上!'
  }
 },
 en: {
  message: {
  hello: 'good good study, day day up!'
  }
 }
}3. Create a VueI18n instance with options
const i18n = new VueI18n({
 locale: 'en', // 语言标识
 messages
})4. Mount i18n to the vue root instance
const app = new Vue({
 router,
 i18n,
 ...App
}).$mount('#app')5. Use
<p id="app">
 <h1 style="font-size: 16px; text-align: center;">{{ $t("message.hello") }}</h1>
</p>in the HTML template to check the running effect:

The language identifier we just selected is "en" English, now change it to "zh" Chinese, and check the effect
const i18n = new VueI18n({
 locale: 'zh', // 语言标识
 messages
})
This way you can easily achieve internationalization. In actual development, there must be a lot of page content. We can put the corresponding language Information is saved as different json objects
const i18n = new VueI18n({
 locale: 'en', // 语言标识
 messages: {
  'zh': require('./common/lang/zh'),
  'en': require('./common/lang/en')
 }
})zh.js
// 注意:一定是 exports,不是 export,否则会报错,报错信息是下列的中的内容不是 string
module.exports = {
 message: {
  title: '运动品牌'
 },
 placeholder: {
  enter: '请输入您喜欢的品牌'
 },
 brands: {
  nike: '耐克',
  adi: '阿迪达斯',
  nb: '新百伦',
  ln: '李宁'
 }
}en.js
module.exports = {
 message: {
  title: 'Sport Brands'
 },
 placeholder: {
  enter: 'Please type in your favorite brand'
 },
 brands: {
  nike: 'Nike',
  adi: 'Adidas',
  nb: 'New Banlance',
  ln: 'LI Ning'
 }
}Next, when using it in the HTML template, pay special attention to the International writing
// HTML
<p id="app">
<p style="margin: 20px;">
<h1>{{$t("message.title")}}</h1>
<input style="width: 300px;" class="form-control" :placeholder="$t('placeholder.enter')">
<ul>
<li v-for="brand in brands">{{brand}}</li>
</ul>
</p>
</p>
// JS
data () {
return {
brands: [this.$t('brands.nike'), this.$t('brands.adi'), this.$t('brands.nb'), this.$t('brands.ln')]
}
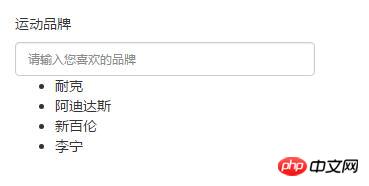
},Check the compilation effect:

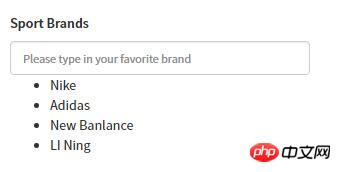
Now change to English:

In the above operations, we switch languages by manually modifying the locale attribute value. In fact, we prefer that the browser automatically recognizes it. Here we can use cookie
1 to create a new cookie.js file. Used to read cookies
function getCookie(name,defaultValue) {
 var arr, reg = new RegExp("(^| )" + name + "=([^;]*)(;|$)");
 if (arr = document.cookie.match(reg))
 return unescape(arr[2]);
 else
 return defaultValue;
}
export {
 getCookie
}2. Introduce this js in main.js and obtain the browser language through the PLAY_LANG attribute
const i18n = new VueI18n({
 locale: getCookie('PLAY_LANG','zh'), // 语言标识
 messages: {
  'zh': require('./common/lang/zh'),
  'en': require('./common/lang/en')
 }
})You need to pay attention to two extremely error-prone places here. :
(1). Write $t() as $()

(2). There are attributes with the same name in the same object in json

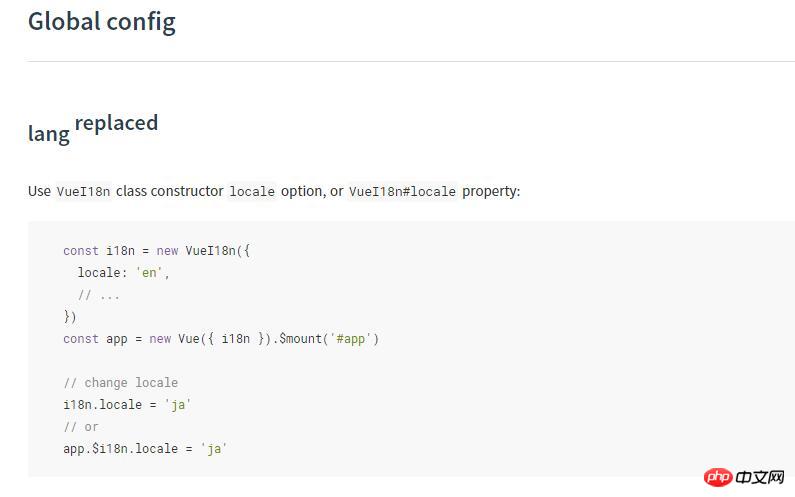
vue-i18n provides a global configuration parameter called "locale". By changing the value of locale, you can switch between different languages

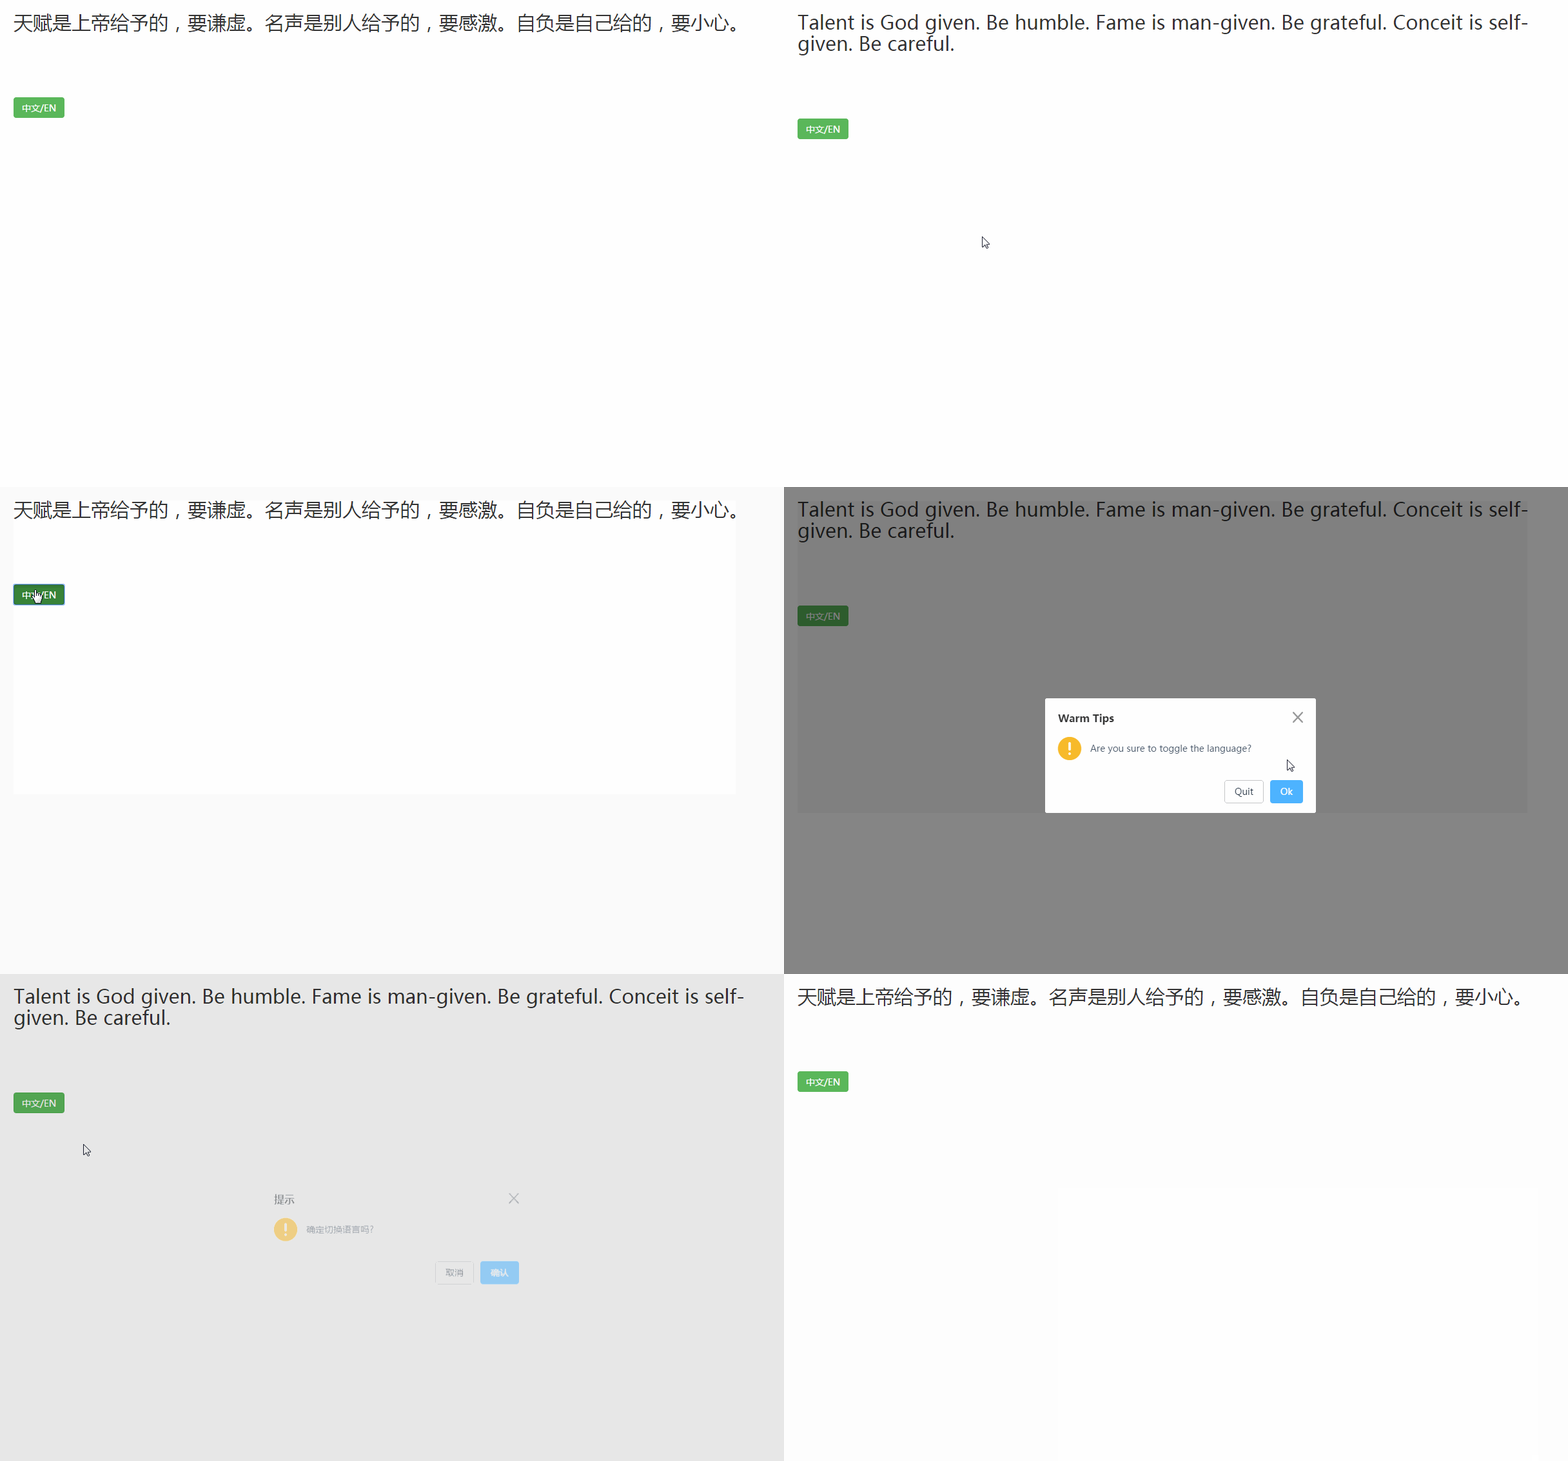
The following case borrows the pop-up window style of Element UI. The above steps will not be described in detail. Just go to the core code.
// template
<h2>{{$t('test')}}</h2>
<button type="button" class="btn btn-success" @click="changeLocale">中文/EN</button>
// js方法
changeLocale () {
this.$confirm(this.$t('layer.toggle'), this.$t('layer.tips'), {
confirmButtonText: this.$t('button.ok'),
cancelButtonText: this.$t('button.cancel'),
type: 'warning'
}).then(() => {
let locale = this.$i18n.locale
locale === 'zh' ? this.$i18n.locale = 'en' : this.$i18n.locale = 'zh'
}).catch(() => {
this.$message({
type: 'info',
})
})
},Effect:

The above is the entire content of this article. I hope it will be helpful to everyone's study. For more related content, please pay attention to the PHP Chinese website!
Related recommendations:
Introduction to vue route interception and page jump settings
The above is the detailed content of Use vue-i18n to switch between Chinese and English. For more information, please follow other related articles on the PHP Chinese website!


