This article mainly introduces how to use the swiper component to realize the carousel function of the mini program. It has a certain reference value. Now I share it with you. Friends in need can refer to it
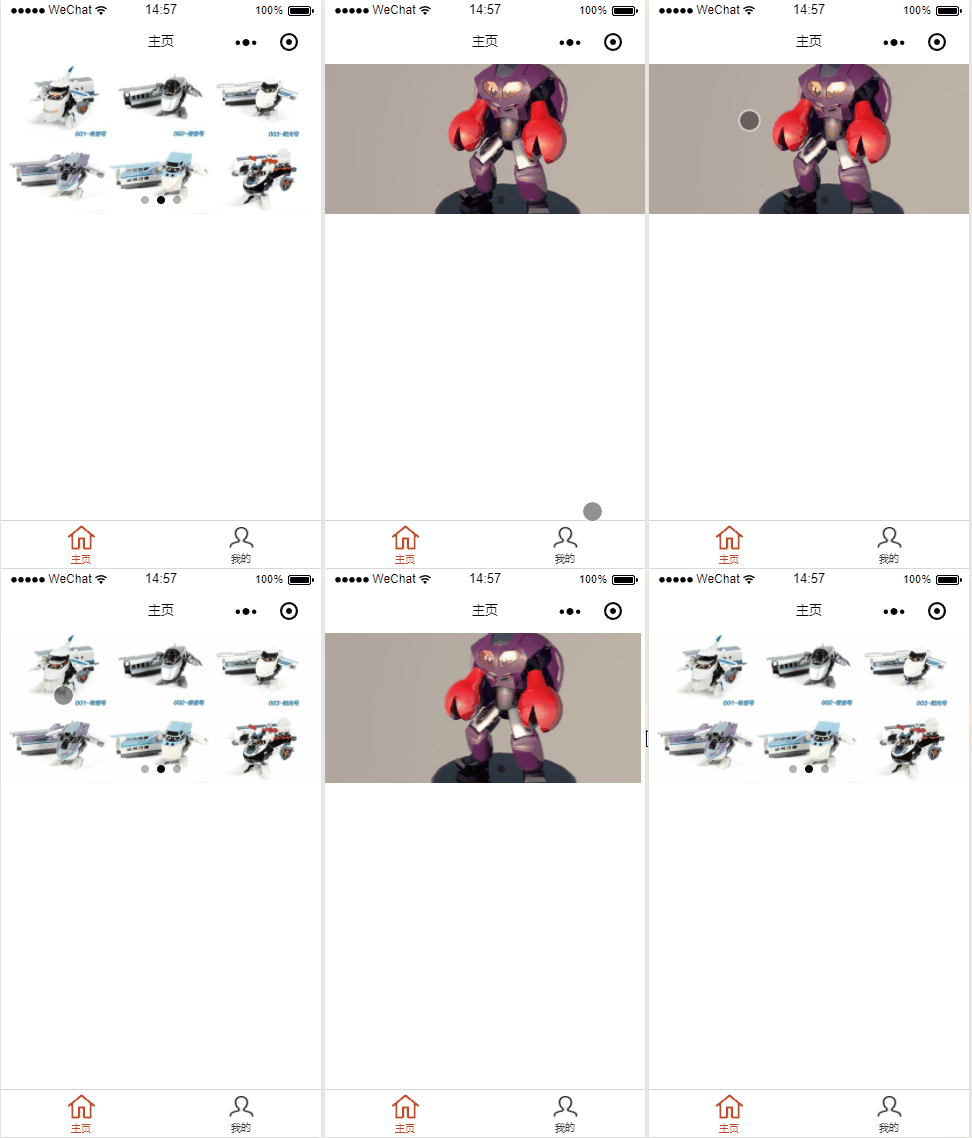
Rendering:

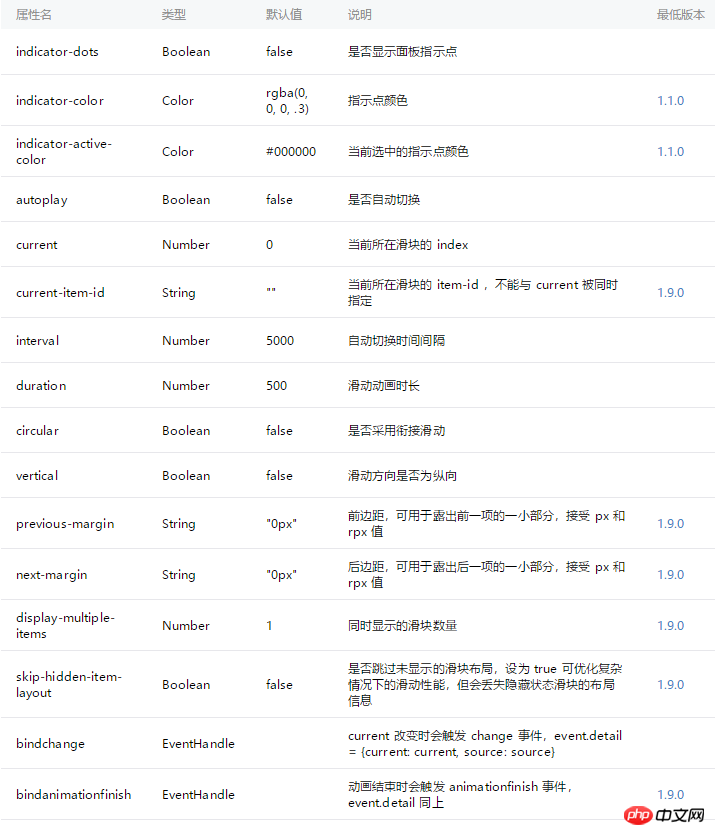
First look at the attributes supported by swiper:

Specific implementation of the carousel function:
1. Add carousel picture material
In the project root directory Create a new directory to store image resources. The directory name can be arbitrary

Add the imgs list in the data attribute. The list item is the position of the image in the project (key: the red bold part of the code)
Page({  /**
   * 页面的初始数据   */
  data: {    imgs:["../../images/aaa.jpg","../../images/bbb.jpg","../../images/ccc.jpg"]
  },  /**
   * 生命周期函数--监听页面加载   */
  onLoad: function (options) {

  },  /**
   * 生命周期函数--监听页面初次渲染完成   */
  onReady: function () {

  },  /**
   * 生命周期函数--监听页面显示   */
  onShow: function () {

  },  /**
   * 生命周期函数--监听页面隐藏   */
  onHide: function () {

  },  /**
   * 生命周期函数--监听页面卸载   */
  onUnload: function () {

  },  /**
   * 页面相关事件处理函数--监听用户下拉动作   */
  onPullDownRefresh: function () {

  },  /**
   * 页面上拉触底事件的处理函数   */
  onReachBottom: function () {

  },  /**
   * 用户点击右上角分享   */
  onShareAppMessage: function () {

  }
})3. View file construction
1. Write code in the wxml file in the page directory
Knowledge points used: list rendering, swiper component
<view class="container">
<view >
<swiper indicator-dots='true' autoplay='true' interval='3000' duration='200' circular='true' bindtap='clickSwiper'>
<block wx:for="{{imgs}}" wx:key:="*this">
<swiper-item>
<image src="{{item}}" class="slide-image" mode='aspectFill' data-index="{{index}}"></image>
</swiper-item>
</block>
</swiper>
</view>
</view>4. About swiper Click event
Click on each item, you can know which one you clicked and take the corresponding operation
As you can see from the third step, for the
Add the corresponding click method to the .js file under the page:
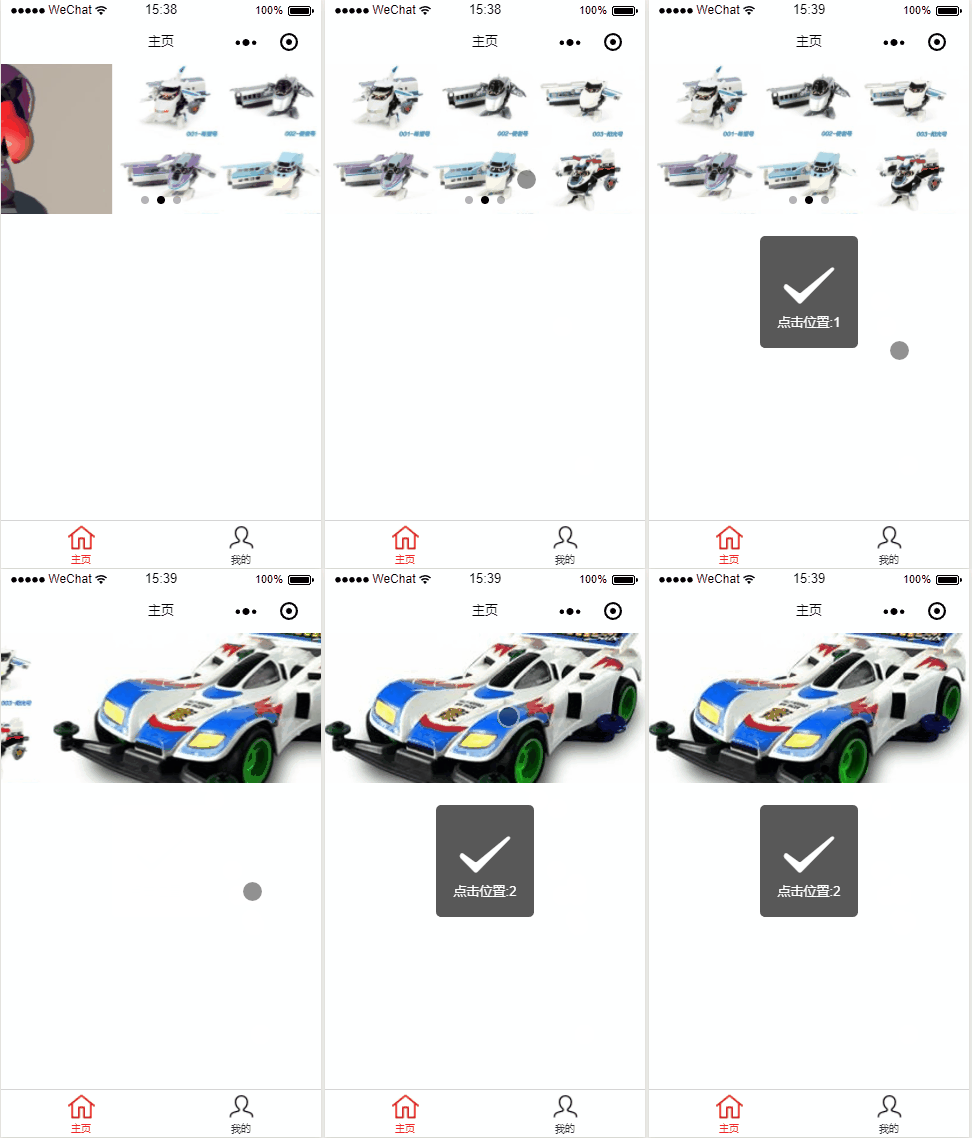
 Rendering:
 The above is the entire content of this article. I hope it will be helpful to everyone’s study. For more related content, please pay attention to the PHP Chinese website!
Related recommendations:
How to use the swiper component to realize the carousel function of the appletThe above is the detailed content of How to use the swiper component to implement the carousel function in the mini program. For more information, please follow other related articles on the PHP Chinese website!
 How to turn off win10 upgrade prompt
 The difference between lightweight application servers and cloud servers
 CMD close port command
 The difference between external screen and internal screen broken
 How to jump with parameters in vue.js
 Cell sum
 How to intercept harassing calls
 virtual digital currency


