
Learn PS with me
Day 02: Blur Tool
In photography, use DC with a large aperture When taking photos, you can get an effect of blurring the background, presenting a picture with clear priorities and a hazy beauty. But if the subject and the background are very close, it will be difficult to achieve the blur effect. At this time, I started to use the blur tool in PS to manually blur the blur, so as to achieve a fake and real effect.
Photoshop's blur tool contains three tools, they are the blur tool, sharpen tool, and smudge tool. The shortcut key for this tool is the letter R.
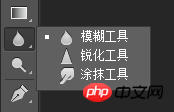
Blur tool: A tool that blurs the color of an image. It reduces the contrast between pixels and changes the image from clear to blurry. ;
Sharpen tool: Contrary to the blur tool, it is a tool that transforms blurry pictures into clear pictures and increases the contrast between pixels;
Smear tool: When you use the smear tool to wipe the picture material, it will deform and move in the direction you wipe with the mouse (for deformation processing, not often used)
Next, let’s look at a small case to see specifically how to use the blur tool.
Original picture
 Rendering
 Next, we Take a look at the specific steps.
1. First open this picture in Photoshop, then Ctrl J to copy the background layer to get layer 1;
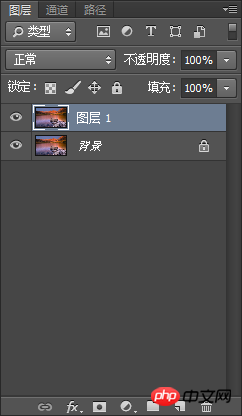
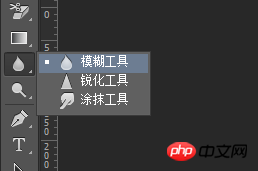
2. In layer 1, select the blur tool
#Then set the blur tool properties in the upper toolbar, as shown in the figure below
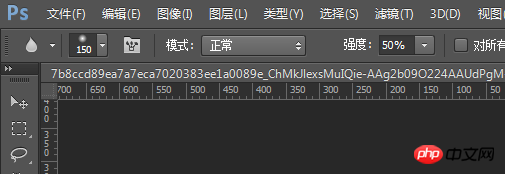
Hardness is equivalent to opacity. The greater the hardness, the more unnatural the transition will be, and the easier it will be for the image to be distorted. Everyone should pay attention to this aspect
3. Click Left-click the mouse, drag the mouse and smear on the area that needs to be blurred
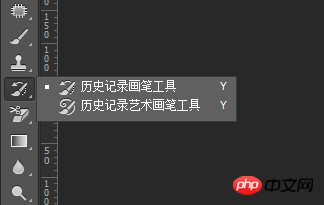
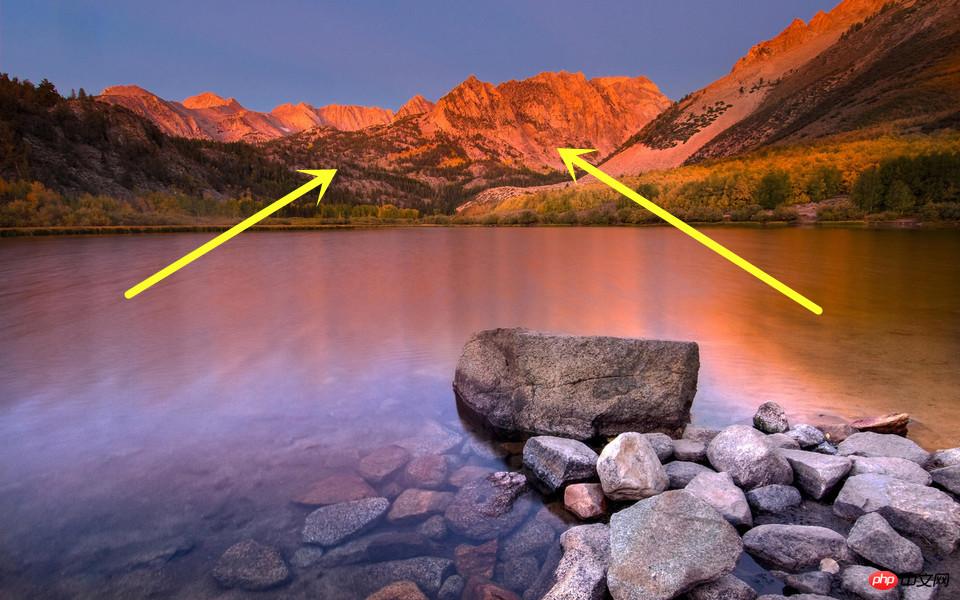 4. What should I do if I accidentally smear it on the stone? Don’t worry, just open the “History Brush Tool” in the menu bar and erase the excess area
5. The sharpening tool can brighten the smeared area. The picture does not need to be processed in this way. Here is just a simple demonstration of the effect (observe the stone part)
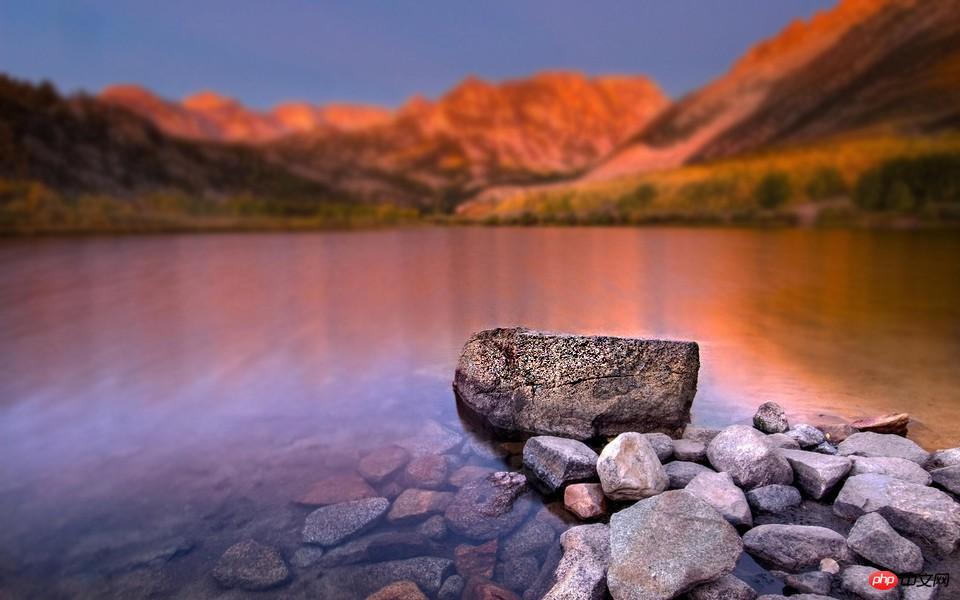 Okay, today we will briefly introduce the use of the blur tool, and we will have more cases in the future I will use this tool and will introduce it one by one when the time comes.
The above is the detailed content of Follow me to learn PS Day 02: Blur Tool. For more information, please follow other related articles on the PHP Chinese website!


