The content of this article is about how to install XAMMP under MAC and what needs to be paid attention to. It has certain reference value. Friends in need can refer to it. I hope it will be helpful to you.
Background knowledge:
xampp is a multi-platform PHP integrated environment installation package, where a represents Apache, m represents Mysql, and p represents PHP and Perl. This article will introduce the installation of xampp under the mac platform and the download of XAMMP multi-platform.
1. Download the dmg installation package and double-click to install.
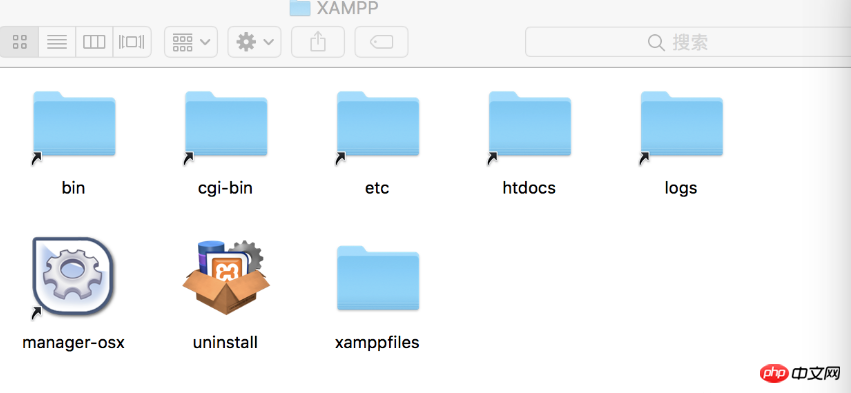
2. After installation, enter localhost to run, which means the installation is successful. The XAMPP folder can be found in the application. The internal file structure is as follows

3. Next, configure the virtual host. First open httpd.conf in the etc directory and modify it as follows :
<Directory />
   #AllowOverride none
   #Require all denied
   #注视掉上面两句,添加如下两句
   Order deny,allow
   Allow from all
</Directory>
#htdocs相当于web的目录,要运行的web项目都是要放在htdocs中才能运行的
#这里我们修改这个目录到桌面的www目录
#DocumentRoot "/Application/XAMPP/htdocs"
DocumentRoot "/Users/weixin/Desktop/www"
#同理修改目录到桌面的www目录
#<Directory "/Application/XAMPP/htdocs">
<Directory "/Users/weixin/Desktop/www">
    Options Indexes FollowSymLinks ExecCGI Includes
    AllowOverride All
    Require all granted
    #增加下面两句话
    Order deny,allow
    Allow from all
</Directory>
#找到vhosts
# Virtual hosts
# Include etc/extra/httpd-vhosts.conf  去掉前面的#
#至此httpd配置文件修改完成4. Regarding the usage of Order deny and allow, you can view this blog post: Click here to view
5. Next, open the httpd-vhosts.conf file in the extra directory under etc , modify as follows:
<VirtualHost *:80>
    #ServerAdmin webmaster@dummy-host.example.com
    #DocumentRoot用来设置当前这个虚拟主机指向的项目地址,
    #我在www目录下创建了一个test目录,用来做测试,因此当前这个虚拟主机指向这个test目录
    #DocumentRoot "/Application/XAMPP/htdocs"
    DocumentRoot "/Users/weixin/Desktop/www/test"
    #ServerName用来这是域名,这里可以随便取
    #ServerName dummy-host2.example.com
    ServerName test.cn
    #ServerAlias test.cn
    #一般后面的两句无须改动
    ErrorLog "logs/dummy-host.example.com-error.log"
    CustomLog "logs/dummy-host.example.com-access.log" common
</VirtualHost>

至此,我们设置了test.cn这个域名指向桌面www目录下的test目录6. Hold down the command space, enter /private/etc/, press Enter to enter the etc directory, find the hosts file, drag it to the desktop, make the following modifications, and drag it back again etc directory:
127.0.0.1 test.cn #注意test.cn这个值,需要和第五步中设置的域名对应
7. Create a new index.php file in the test directory and enter:
<?php
phpinfo();
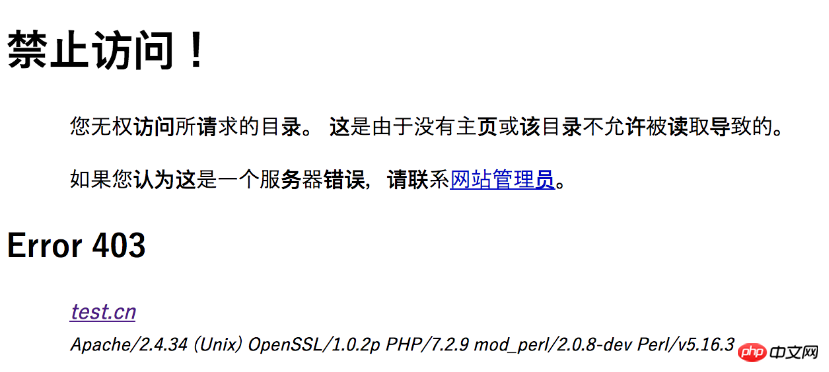
8. After restarting apache, when accessing test.cn, the following error will generally appear:

9. According to the above configuration, it can generally run smoothly under the windows platform, but there is one more place that needs to be modified under max. Open the httpd file and modify it as follows:
#修改用户名,修改为当前使用者的用户名
#User daemon
User weixin
#修改组,这里只需要把它注释就好
#Group daemon
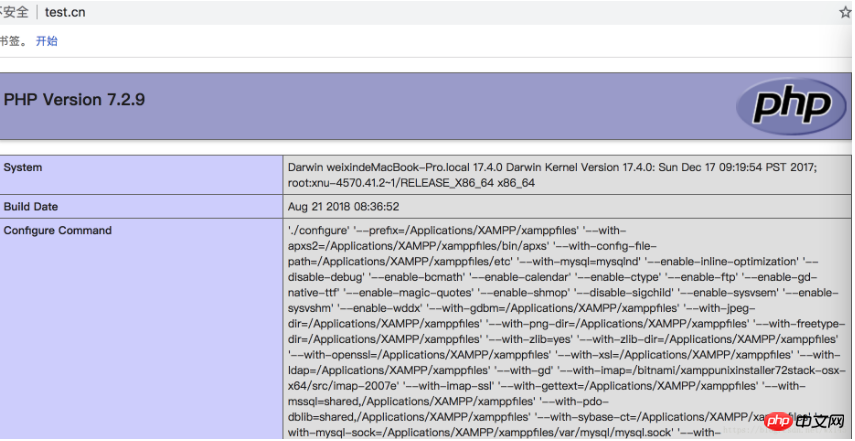
10. Restart apache and visit test.cn again:

11. At this point, we have successfully configured XAMPP under mac. After that, we can write PHP code. Go to the www directory on your desktop
The above is the detailed content of Installation of XAMMP in MAC environment and what needs to be paid attention to. For more information, please follow other related articles on the PHP Chinese website!
 Open home folder on mac
 The eight most commonly used functions in excel
 The role of php probe
 okx trading platform official website entrance
 Introduction to the framework used by vscode
 How to solve the problem of 400 bad request when the web page displays
 GameProtectNet solution
 The purpose of memcpy in c
 How to open jar files