 Web Front-end
 JS Tutorial
 Introduction to the implementation of front-end routing and its basic principles (with examples)
Introduction to the implementation of front-end routing and its basic principles (with examples)
This article brings you an introduction to the implementation of front-end routing and its basic principles (with examples). It has certain reference value. Friends in need can refer to it. I hope it will be helpful to you. .
1. Front-end routing
The most popular page model in modern front-end development is the SPA single-page application architecture. A single-page application refers to an application that has only one main page. It simulates the effect of a multi-page application by dynamically replacing the DOM content and simultaneously modifying the URL address. The function of switching pages is completed directly by the front-end script, rather than by the back-end after rendering. The front end is only responsible for display. The front-end troika Angular, Vue, and React all run based on this model. SPA can simulate the effect of multi-page applications thanks to its front-end routing mechanism.
Front-end routing, as the name suggests, is a state manager for different front-end pages. It can directly achieve the effects of multiple pages through front-end technology without sending requests to the background. The ui-router in angularjs, the vue-router in vue, and the react-router in react are all specific implementations of this function.
Since front-end routing is so awesome, we must study it carefully.
2. Two implementation methods and their principles
Both methods are supported and can be switched in common routing plug-ins. For example, in angularjs1.x, you can use the following code to switch from Hash mode to Switch to H5 mode:
$locationProvider.html5Mode(true);
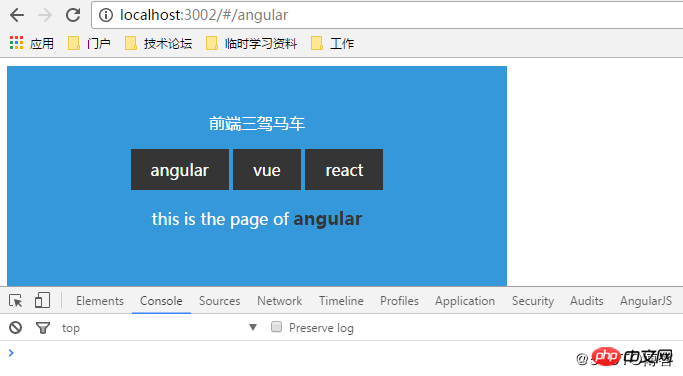
Switch to HTML5 routing mode, which is mainly used to avoid problems caused by # contained in the URL address.
1.HashChange
1.1 Principle
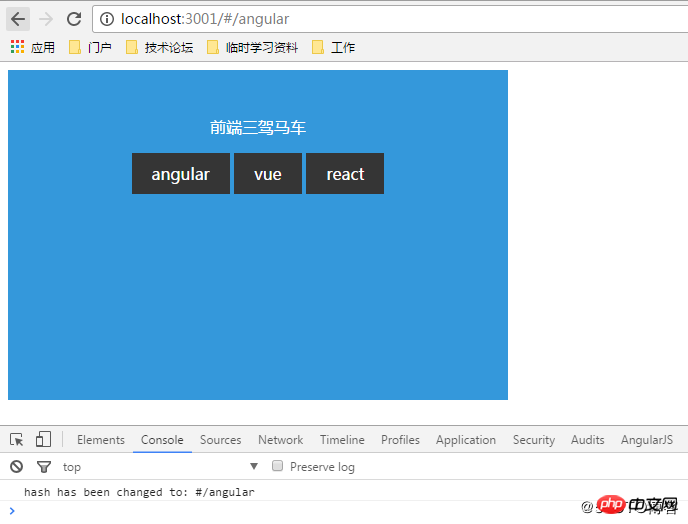
The HTML page can be redirected without refreshing through the anchor point positioning principle. After triggering, there will be more # in the url address. 'XXX' part, and trigger the hashChange event on the global window object at the same time. In this way, when the page anchor hash changes to a certain preset value, the corresponding page DOM change is triggered through the code, and basic routing can be implemented. Routing based on anchor hash is relatively intuitive and is also the most commonly used method in general front-end routing plug-ins.
1.2 Application
Let’s take a look at an example. When you click on the angularjs connection, you can see that the console prints out the corresponding information. 

2.HTML5 HistoryAPI
2.1 Principle
The History API of HTML5 is an extension method added to the global history object of the browser. Generally used to solve the problem that ajax requests cannot return to the state before the request through the back button.
In HTML4, the window.history object is already supported to control the page history jump. Commonly used methods include:
history.forward(); //Go one step forward in history
##history.back(); //Go one step back in history
history.go(n): //Jump n steps in the history, n=0 means refreshing this page, n=-1 means going back one page.
window.history object has been extended, and the new APIs include:
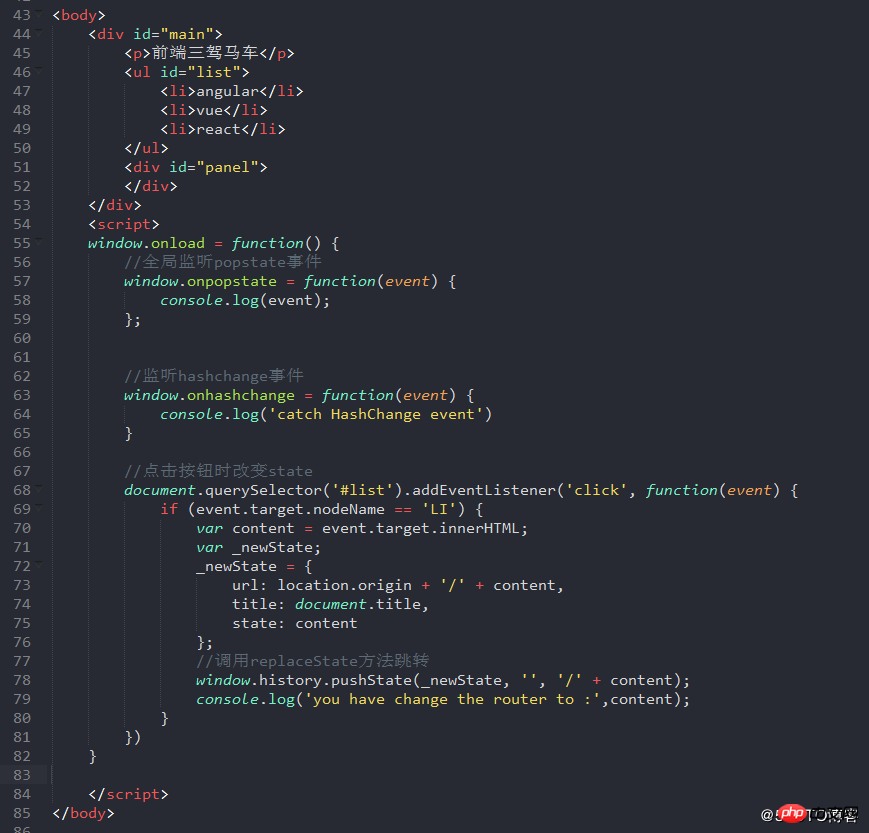
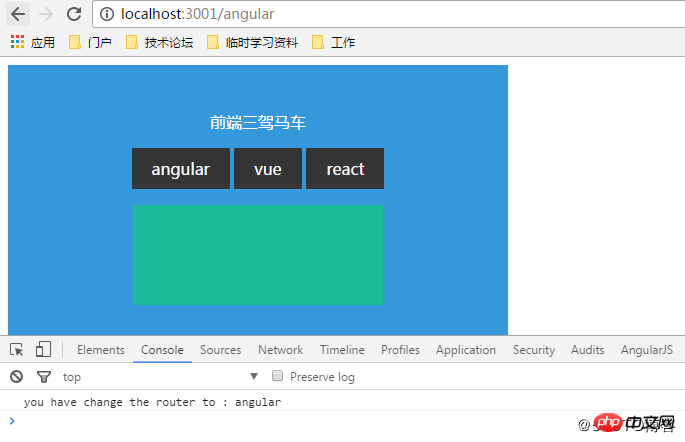
history.pushState(data[,title][,url]);//Append a record to the history record
history.replaceState(data[, title][,url]);//Replace the information of the current page in the history record.
history.state;//It is an attribute that can get the state information of the current page.
window.onpopstate;//It is an event that is triggered when the browser back button is clicked or js calls forward(), back(), go() . An event object can be passed in to the listening function, and event.state is the data parameter passed in through the pushState() or replaceState() method.


| hash route | History API route | |
|---|---|---|
| ugly | normal | |
| Usually can only be changed under the same | document | The url address can be defined by yourself, as long as it is the same domain name It can be downloaded, and the degree of freedom is greater|
| will change | can be changed or not | |
| There is no built-in method, the status information of the page needs to be saved separately | When the page information is pushed into the history stack, it can be accompanied by customized information | |
| is limited by the total length of the url, | can be accompanied by customized information when pushing page information into the history stack | |
| Can be used directly | Usually the server needs to modify the code to achieve | |
| IE8 and above | IE10 and above |
The above is the detailed content of Introduction to the implementation of front-end routing and its basic principles (with examples). For more information, please follow other related articles on the PHP Chinese website!

Hot AI Tools

Undresser.AI Undress
AI-powered app for creating realistic nude photos

AI Clothes Remover
Online AI tool for removing clothes from photos.

Undress AI Tool
Undress images for free

Clothoff.io
AI clothes remover

Video Face Swap
Swap faces in any video effortlessly with our completely free AI face swap tool!

Hot Article

Hot Tools

Notepad++7.3.1
Easy-to-use and free code editor

SublimeText3 Chinese version
Chinese version, very easy to use

Zend Studio 13.0.1
Powerful PHP integrated development environment

Dreamweaver CS6
Visual web development tools

SublimeText3 Mac version
God-level code editing software (SublimeText3)

Hot Topics
 1386
1386
 52
52
 What should I do if I encounter garbled code printing for front-end thermal paper receipts?
Apr 04, 2025 pm 02:42 PM
Frequently Asked Questions and Solutions for Front-end Thermal Paper Ticket Printing In Front-end Development, Ticket Printing is a common requirement. However, many developers are implementing...
 Who gets paid more Python or JavaScript?
Apr 04, 2025 am 12:09 AM
There is no absolute salary for Python and JavaScript developers, depending on skills and industry needs. 1. Python may be paid more in data science and machine learning. 2. JavaScript has great demand in front-end and full-stack development, and its salary is also considerable. 3. Influencing factors include experience, geographical location, company size and specific skills.
 How to merge array elements with the same ID into one object using JavaScript?
Apr 04, 2025 pm 05:09 PM
How to merge array elements with the same ID into one object in JavaScript? When processing data, we often encounter the need to have the same ID...
 Demystifying JavaScript: What It Does and Why It Matters
Apr 09, 2025 am 12:07 AM
JavaScript is the cornerstone of modern web development, and its main functions include event-driven programming, dynamic content generation and asynchronous programming. 1) Event-driven programming allows web pages to change dynamically according to user operations. 2) Dynamic content generation allows page content to be adjusted according to conditions. 3) Asynchronous programming ensures that the user interface is not blocked. JavaScript is widely used in web interaction, single-page application and server-side development, greatly improving the flexibility of user experience and cross-platform development.
 The difference in console.log output result: Why are the two calls different?
Apr 04, 2025 pm 05:12 PM
In-depth discussion of the root causes of the difference in console.log output. This article will analyze the differences in the output results of console.log function in a piece of code and explain the reasons behind it. �...
 How to achieve parallax scrolling and element animation effects, like Shiseido's official website?
or:
How can we achieve the animation effect accompanied by page scrolling like Shiseido's official website?
Apr 04, 2025 pm 05:36 PM
Discussion on the realization of parallax scrolling and element animation effects in this article will explore how to achieve similar to Shiseido official website (https://www.shiseido.co.jp/sb/wonderland/)...
 Can PowerPoint run JavaScript?
Apr 01, 2025 pm 05:17 PM
JavaScript can be run in PowerPoint, and can be implemented by calling external JavaScript files or embedding HTML files through VBA. 1. To use VBA to call JavaScript files, you need to enable macros and have VBA programming knowledge. 2. Embed HTML files containing JavaScript, which are simple and easy to use but are subject to security restrictions. Advantages include extended functions and flexibility, while disadvantages involve security, compatibility and complexity. In practice, attention should be paid to security, compatibility, performance and user experience.
 Is JavaScript hard to learn?
Apr 03, 2025 am 12:20 AM
Learning JavaScript is not difficult, but it is challenging. 1) Understand basic concepts such as variables, data types, functions, etc. 2) Master asynchronous programming and implement it through event loops. 3) Use DOM operations and Promise to handle asynchronous requests. 4) Avoid common mistakes and use debugging techniques. 5) Optimize performance and follow best practices.


