The content of this article is to introduce how to achieve the slide effect with css? How to implement slideshow (code example). It has certain reference value. Friends in need can refer to it. I hope it will be helpful to you.
Below we will use code to implement the effect of slide switching (fade in and out) step by step:
1. Create an html file and write demo
First we need to set the image list on the page, contained in a div box. Something like the following:
<div id="stage">
	<a href="img/How to achieve slide effect with css? How to implement slideshow (code example)"><img  src="/static/imghw/default1.png"  data-src="img/2.jpg"  class="lazy"      style="max-width:90%"  style="max-width:90%" alt="How to achieve slide effect with css? How to implement slideshow (code example)" ></a>
	<a href="img/2.jpg"><img  src="/static/imghw/default1.png"  data-src="img/2.jpg"  class="lazy"      style="max-width:90%"  style="max-width:90%" alt="How to achieve slide effect with css? How to implement slideshow (code example)" ></a>
	<a href="img/3.jpg"><img  src="/static/imghw/default1.png"  data-src="img/3.jpg"  class="lazy"      style="max-width:90%"  style="max-width:90%" alt="How to achieve slide effect with css? How to implement slideshow (code example)" ></a>
	<a href="img/4.jpg"><img  src="/static/imghw/default1.png"  data-src="img/4.jpg"  class="lazy"      style="max-width:90%"  style="max-width:90%" alt="How to achieve slide effect with css? How to implement slideshow (code example)" ></a>
	<a href="img/5.jpg"><img  src="/static/imghw/default1.png"  data-src="img/5.jpg"  class="lazy"      style="max-width:90%"  style="max-width:90%" alt="How to achieve slide effect with css? How to implement slideshow (code example)" ></a>
	<a href="img/6.jpg"><img  src="/static/imghw/default1.png"  data-src="img/6.jpg"  class="lazy"      style="max-width:90%"  style="max-width:90%" alt="How to achieve slide effect with css? How to implement slideshow (code example)" ></a>
	<a href="img/7.jpg"><img  src="/static/imghw/default1.png"  data-src="img/7.jpg"  class="lazy"      style="max-width:90%"  style="max-width:90%" alt="How to achieve slide effect with css? How to implement slideshow (code example)" ></a>
	<a href="img/8.jpg"><img  src="/static/imghw/default1.png"  data-src="img/8.jpg"  class="lazy"      style="max-width:90%"  style="max-width:90%" alt="How to achieve slide effect with css? How to implement slideshow (code example)" ></a>
</div>
In this example, all images have links, but this is not required. If you remove the link, you just need to change some CSS and JavaScript to reference 'img' instead of 'a'.
2. Use CSS to overlay images
Here is the CSS code we used for the following demo:
#stage {
    margin: 1em auto;
    width: 382px;
    height: 292px;
  }

  #stage a {
    position: absolute;
  }
  #stage a img {
    padding: 10px;
    border: 1px solid #ccc;
    background: #fff;
  }

  #stage a:nth-of-type(1) {
    animation-name: fader;
    animation-delay: 4s;
    animation-duration: 1s;
    z-index: 20;
  }
  #stage a:nth-of-type(2) {
    z-index: 10;
  }
  #stage a:nth-of-type(n+3) {
    display: none;
  }

  @keyframes fader {
    from { opacity: 1.0; }
    to   { opacity: 0.0; }
}By setting the link For position:absolute, we take all images out of the document stream and stack them together. We then need to specify a width and height for the #stage to reserve space on the page for the slide show. This is equal to the image dimensions plus padding (10px each side) and borders (1px each side).
We then use some nth-of-type() selectors to put the first image on top of the stack, the second image at the back of the stack, and the rest of the images hidden from the display.
Finally, we assign an animation keyframe to the top image, telling it to wait 4 seconds before fading out, setting opacity:0. All that's missing now is a bit of JavaScript to move the facing image to the bottom of the stack so that the next image can appear and fade out in sequence.
3. Use JavaScript to trigger the effect
All you need here is to assign an event handler to the image that is triggered when the keyframe animation ends. It takes the most important photo and moves it to the back:
window.addEventListener("DOMContentLoaded", function(e) {
    var stage = document.getElementById("stage");
    var fadeComplete = function(e) { stage.appendChild(arr[0]); };
    var arr = stage.getElementsByTagName("a");
    for(var i=0; i < arr.length; i++) {
      arr[i].addEventListener("animationend", fadeComplete, false);
    }

}, false);The new image on top is now assumed to be the nth-of-type(1) attribute, including keyframe animation --fader, and so on Other images.
That's it! No bloated code, no plugins, no libraries, just a few lines of vanilla JavaScript that works in all modern browsers.
4. Rendering:
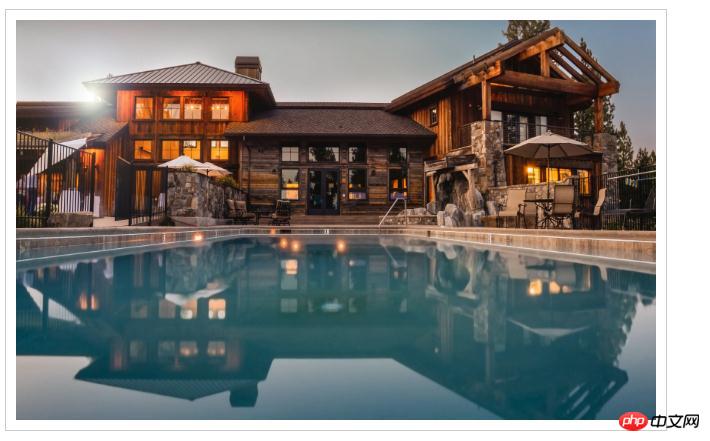
Run the above code to get a simple fade-in and fade-out slideshow:

Summary : The above is the fade-in and fade-out slide effect achieved in this article. You can try it yourself to deepen your understanding. I hope it will be helpful to your study.
The above is the detailed content of How to achieve slide effect with css? How to implement slideshow (code example). For more information, please follow other related articles on the PHP Chinese website!
 css3 tutorial
 What are the css3 gradient properties?
 Usage of MySQL datediff function
 Methods for reading and writing java dbf files
 ajax tutorial
 What programs can be developed with php
 What should I do if the docker container cannot access the external network?
 javac is not recognized as an internal or external command or an operable program. How to solve the problem?
 The server cannot be found on the computer solution