The
textarea tag is used to define a multi-line text input control. Text of any length can be entered in the text input field. You can also use programs such as PHP to send the value entered here to the server. In this article, we will introduce in detail the usage of the textarea tag in HTML.

Let’s first take a brief look at the difference between input tags and textarea tags
By setting the type attribute to text, The input tag can achieve similar effects to the textarea tag.
However, you can only enter one line of text using the input tag. If you want to enter multiple lines of text, we can use the textarea tag.
How to use textarea tag?
We can use the textarea tag to specify the number of rows and columns
The code is as follows
<Detailed explanation of the usage of textarea tag in HTML>
    <form action="/form.php" method="post">
        <div>
            <label for="message">内容</label>
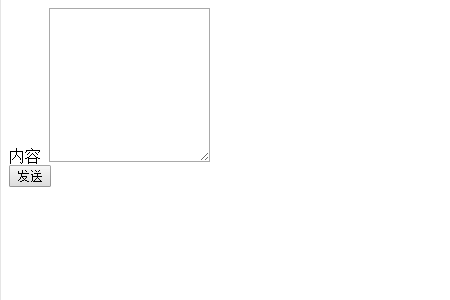
            <textarea id="message" name="message" cols="50" rows="10"></textarea>
        </div>
        <input type="submit" value="发送">
    </form>
</Detailed explanation of the usage of textarea tag in HTML>The running effect is as follows

In the textarea tag, the size is determined in the cols attribute (horizontal direction) and rows attribute (vertical direction) respectively.
Determine the maximum number of characters
The sample code is as follows
<Detailed explanation of the usage of textarea tag in HTML>
    <form action="/form.php" method="post">
        <div>
            <label for="message">内容</label>
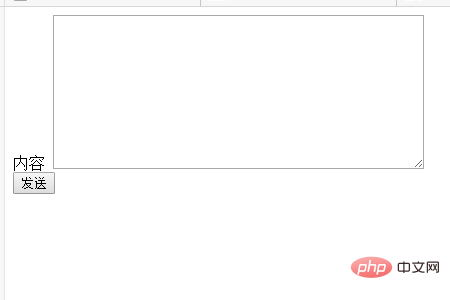
            <textarea id="message" name="message" cols="50" rows="10" maxlength="20"></textarea>
        </div>
        <input type="submit" value="发送">
    </form>
</Detailed explanation of the usage of textarea tag in HTML>The running results are as follows

In this case, in addition to the above code, the maximum number of characters is set using the maxlength attribute.
Finally we can also set the textarea tag so that it cannot change the pre-written text
The code is as follows
<Detailed explanation of the usage of textarea tag in HTML>
    <form action="/form.php" method="post">
        <div>
            <label for="message">内容</label>
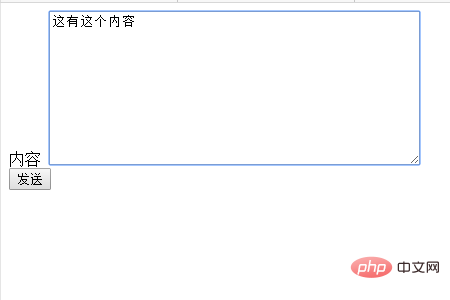
            <textarea id="message" name="message" cols="50" rows="10" maxlength="20" readonly>这有这个内容</textarea>
        </div>
        <input type="submit" value="发送">
    </form>
</Detailed explanation of the usage of textarea tag in HTML>The running results are as follows

In this case, by setting the readonly attribute, I set it so that what has been added cannot be changed.
The above is the entire content of this article. For more exciting content, you can pay attention to the relevant column tutorials on the php Chinese website! ! !
The above is the detailed content of Detailed explanation of the usage of textarea tag in HTML. For more information, please follow other related articles on the PHP Chinese website!
 How to set textarea read-only
 How to create an index in word
 Why disabling automatic updates in Windows 11 is invalid
 What is the reason for failure to connect to the server?
 How to set top text on WeChat
 Can windows.old be deleted?
 Introduction to the usage of rowid in oracle
 How to shut down your computer quickly