How to wire the network socket
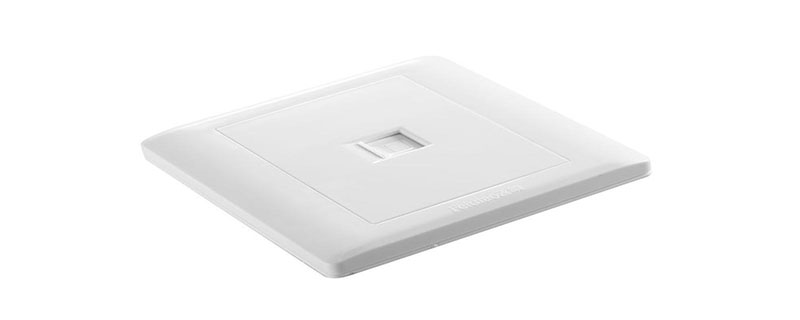
Today’s families are increasingly inseparable from the Internet. Not to mention the mobile phones that are in our hands every day, the increasing number of smart home appliances pouring into the family has left families without network coverage with no place to stay. So, in the process of setting up our home network, in addition to choosing a suitable router and laying reasonable network cables, what else is necessary - of course, the wall network socket.

You still need a network cable plier to make the crystal head. Connecting the network socket is even simpler than this, and you don’t even need tools. The first step is to peel off the cable sheath - 10~15cm from the top of the network cable in the wall, peel off the outer insulation of the network cable. Be careful not to use excessive force to avoid damaging the insulation layer of the thin wire. (Recommended learning: PHP video tutorial)
After peeling it off, you can see that there are four strands of thin wires intersecting in pairs. In each twisted pair, there is one White wires, they all have their own names - named after the color of the network cable they are twisted with. For example, a white wire twisted with a green wire is called a white-green wire. The next step we need to do is to disassemble the four twisted pairs into eight separate thin wires - do not mix up the white wires during the disassembly process, it is best to mark them in advance.
Start to cut it all - peel off the wire sheath, leaving only 8~10cm, pinch all the thin wires, and cut them all with one knife.
The following is the most critical step, sorting-
There are two wiring sequences for sockets: T568A-white-green, green, white-orange, orange, white-blue, blue, white rice dumpling , brown; T568B - white orange, orange, white green, green, white blue, blue, white rice dumpling, brown.
Here is the difference between the network socket connection method and the crystal head connection method. The two orders of the crystal head are: T568A - white green, green, white orange, blue, white blue, orange, white brown , brown; T568B - white orange, orange, white green, blue, white blue, green, white brown, brown.
Under the wiring module of the socket, two standard colors are also marked. For general home network use, the T568B standard is used. Arrange the eight wires according to the color of the color block below each wiring slot.
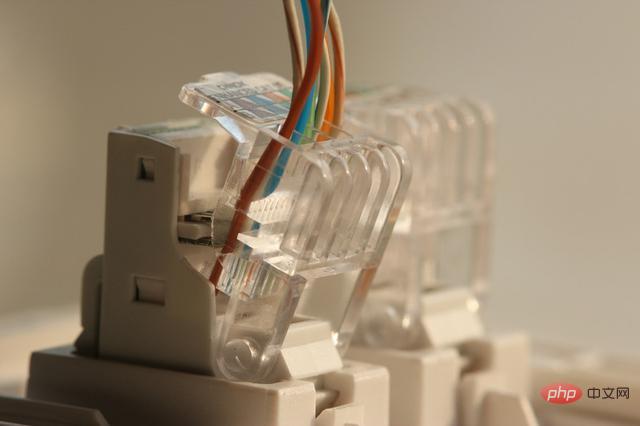
The next step is wiring. First open the crimping plate behind the socket, which is the transparent part in the picture below. Pull it upward▼

Put each wire into the corresponding wiring slot (make sure each wire reaches the top), and press the wire pressing plate firmly. It may take some effort to press the wiring board. For those with weak strength, you can press the wiring board once each time you insert a wire. (During the process of crimping, the network cable will be punctured and fixed, so we do not need to peel off the inner layer of cable in advance.)
For more PHP related technical articles, please visit PHP graphic tutorial column to learn!
The above is the detailed content of How to wire the network socket. For more information, please follow other related articles on the PHP Chinese website!

Hot AI Tools

Undresser.AI Undress
AI-powered app for creating realistic nude photos

AI Clothes Remover
Online AI tool for removing clothes from photos.

Undress AI Tool
Undress images for free

Clothoff.io
AI clothes remover

AI Hentai Generator
Generate AI Hentai for free.

Hot Article

Hot Tools

Notepad++7.3.1
Easy-to-use and free code editor

SublimeText3 Chinese version
Chinese version, very easy to use

Zend Studio 13.0.1
Powerful PHP integrated development environment

Dreamweaver CS6
Visual web development tools

SublimeText3 Mac version
God-level code editing software (SublimeText3)

Hot Topics
 1386
1386
 52
52


