

How to create a new navigation menu in WordPress

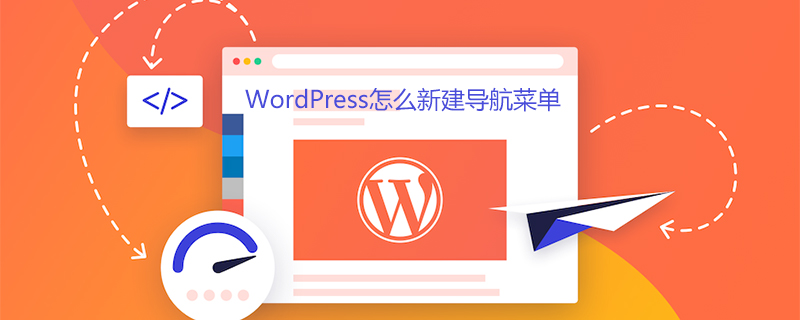
#How to create a new navigation menu in WordPress?
Where is the WordPress menu setting?
If you want to set up the WordPress navigation menu, you must first find where it is.
Open the dashboard and select Appearance – Menu


Enter the menu setting interface, you can see that there are 2 areas here, the left side is the content of the website, including pages , articles, categories, custom links, the right side is the specific menu setting interface, used to adjust and edit the menu
Create a new WordPress menu
There is no menu by default in WordPress, so we must first create a menu before setting it

Set the name of the new menu
Click Create above New menu link, then enter a name in the text box on the right, for example, you can set a "Navigation Menu", and then click Create Menu

Menu created successfully
Such a new menu has been created successfully, but there is no content in the menu at this time. Next, the menu will be set up.
Setting up the WordPress menu
Next, set up the navigation menu
Add items to the menu
Find the item you want to add to the menu on the left and check it with the mouse. Then click Add to Menu

wordpress to add menu items
You will see that the content you just added will appear in the menu structure on the right
In the menu, you can add all included content on the left, pages, custom links, etc. can be added to the menu. This is the flexibility of WordPress
Adjust the order of the menu
Sometimes we need some menus to be placed at the front and unimportant menus at the end. At this time, we can adjust the order of the menus
Use the mouse to Press and hold the item you want to change the order on the right side, and then drag it to the correct position

Adjust WordPress menu order
Let the menu be displayed in the front desk of the website
The menu has been set up. Some friends may have saved it, but found that there has been no change in the front desk of the website
So how to make it The menu is displayed in the foreground

Set the wordpress menu display position
Under the menu settings, there is an option to display the position. Here is the display position for the menu. Where, the default theme can be selected from the top menu. If it is other themes, the name may be different.
After setting, click Save Menu
If there are multiple menus in the display location area, just You need to find a suitable location to add. Some themes will include navigation menus in multiple areas such as top menu, navigation menu, bottom menu, etc. At this time, you need to add a menu to fill these locations.
After the wordpress menu is set Effect

#The final front desk display effect is as shown in the picture, so our menu has been set up
For more WordPress technical articles, please visit WordPress tutorial column!
The above is the detailed content of How to create a new navigation menu in WordPress. For more information, please follow other related articles on the PHP Chinese website!

Hot AI Tools

Undresser.AI Undress
AI-powered app for creating realistic nude photos

AI Clothes Remover
Online AI tool for removing clothes from photos.

Undress AI Tool
Undress images for free

Clothoff.io
AI clothes remover

AI Hentai Generator
Generate AI Hentai for free.

Hot Article
Hot Tools

Notepad++7.3.1
Easy-to-use and free code editor

SublimeText3 Chinese version
Chinese version, very easy to use

Zend Studio 13.0.1
Powerful PHP integrated development environment

Dreamweaver CS6
Visual web development tools

SublimeText3 Mac version
God-level code editing software (SublimeText3)
Hot Topics
 1379
1379
 52
52

 PHP vs. Flutter: The best choice for mobile development
May 06, 2024 pm 10:45 PM
PHP vs. Flutter: The best choice for mobile development
May 06, 2024 pm 10:45 PM
PHP and Flutter are popular technologies for mobile development. Flutter excels in cross-platform capabilities, performance and user interface, and is suitable for applications that require high performance, cross-platform and customized UI. PHP is suitable for server-side applications with lower performance and not cross-platform.
 How to change page width in wordpress
Apr 16, 2024 am 01:03 AM
How to change page width in wordpress
Apr 16, 2024 am 01:03 AM
You can easily modify your WordPress page width by editing your style.css file: Edit your style.css file and add .site-content { max-width: [your preferred width]; }. Edit [your preferred width] to set the page width. Save changes and clear cache (optional).
 In which folder are wordpress articles located?
Apr 16, 2024 am 10:29 AM
In which folder are wordpress articles located?
Apr 16, 2024 am 10:29 AM
WordPress posts are stored in the /wp-content/uploads folder. This folder uses subfolders to categorize different types of uploads, including articles organized by year, month, and article ID. Article files are stored in plain text format (.txt), and the filename usually includes its ID and title.
 How to create a product page in wordpress
Apr 16, 2024 am 12:39 AM
How to create a product page in wordpress
Apr 16, 2024 am 12:39 AM
Create a product page in WordPress: 1. Create the product (name, description, pictures); 2. Customize the page template (add title, description, pictures, buttons); 3. Enter product information (stock, size, weight); 4 . Create variations (different colors, sizes); 5. Set visibility (public or hidden); 6. Enable/disable comments; 7. Preview and publish the page.
 Where is the wordpress template file?
Apr 16, 2024 am 11:00 AM
Where is the wordpress template file?
Apr 16, 2024 am 11:00 AM
WordPress template files are located in the /wp-content/themes/[theme name]/ directory. They are used to determine the appearance and functionality of the website, including header (header.php), footer (footer.php), main template (index.php), single article (single.php), page (page.php), Archive (archive.php), category (category.php), tag (tag.php), search (search.php) and 404 error page (404.php). By editing and modifying these files, you can customize the appearance of your WordPress website
 How to search for authors in WordPress
Apr 16, 2024 am 01:18 AM
How to search for authors in WordPress
Apr 16, 2024 am 01:18 AM
Search for authors in WordPress: 1. Once logged in to your admin panel, navigate to Posts or Pages, enter the author name using the search bar, and select Author in Filters. 2. Other tips: Use wildcards to broaden your search, use operators to combine criteria, or enter author IDs to search for articles.
 What language is used to develop WordPress?
Apr 16, 2024 am 12:03 AM
What language is used to develop WordPress?
Apr 16, 2024 am 12:03 AM
WordPress is developed using PHP language as its core programming language for handling database interactions, form processing, dynamic content generation, and user requests. PHP was chosen for reasons including cross-platform compatibility, ease of learning, active community, and rich library and frameworks. Apart from PHP, WordPress also uses languages like HTML, CSS, JavaScript, SQL, etc. to enhance its functionality.
 Which version of wordpress is stable?
Apr 16, 2024 am 10:54 AM
Which version of wordpress is stable?
Apr 16, 2024 am 10:54 AM
The most stable WordPress version is the latest version because it contains the latest security patches, performance enhancements, and introduces new features and improvements. In order to update to the latest version, log into your WordPress dashboard, go to the Updates page and click Update Now.
