How to create a menu in WordPress

Specific steps to create a menu in wordpress:
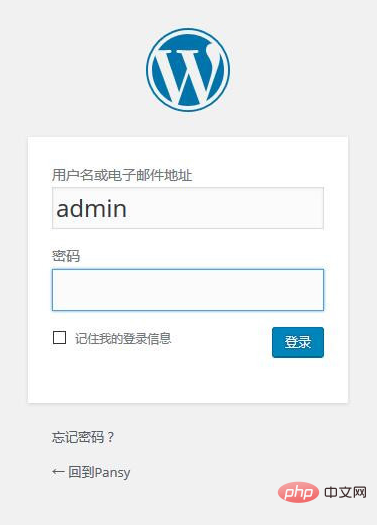
First, log in to our wordpress website backend.
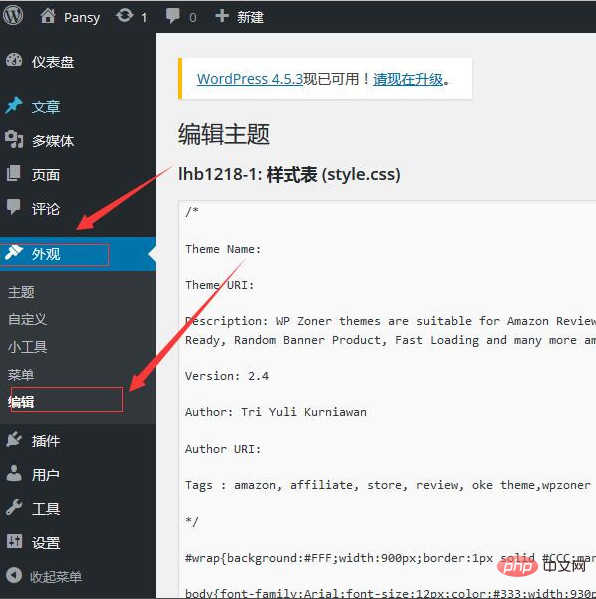
Find our appearance in the background and click to enter the editing interface.
Related recommendations: "WordPress Tutorial"
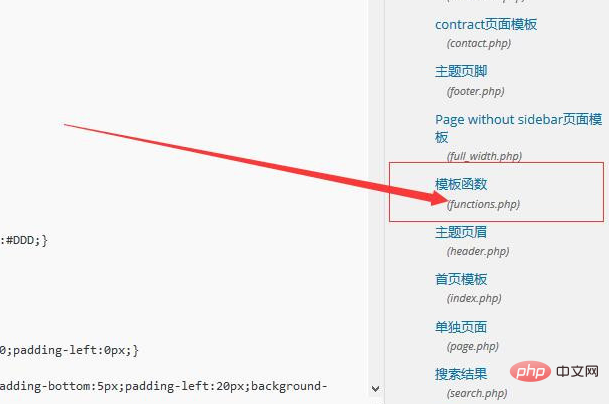
Find the functions.php file in the editing interface and click to open it.
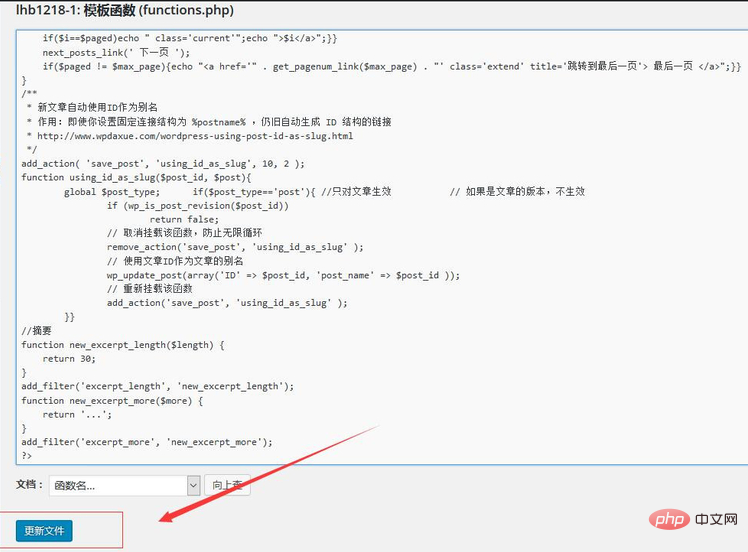
Add the following code between:
if (function_exists('register_nav_menus'))
{
register_nav_menus(array(    //主键key调用nav时使用,值value为后台菜单显示名称
'primary' => 'Primary Navigation'
));
}Then click to update the file
Now a menu column appears under our appearance, click to enter the settings menu.
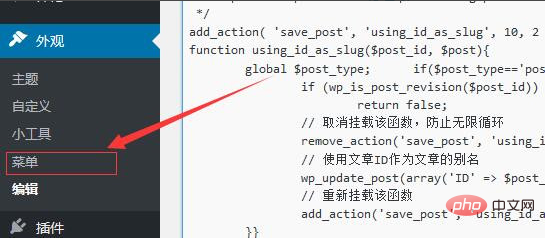
Click to create a menu, then select the items to add to the menu, and then click to save the menu.
Now that our menu is set up, how to call it? Where you need to call the menu, add the following code
<div id="menu"><?php wp_nav_menu(array( 'theme_location' => 'primary',//register_nav_menus()中指定的主键key,跟后台的菜单相对应 'container'=> 'ul',//指定导航菜单的最外层包裹元素,可取值为 div 和 nav ; 若不需要该包裹元素可设置其值为false 即可 'container_class' => 'nav-menu', 'container_id'=> '', 'menu_id'=>'dropdownmenu', //菜单ul标签id 'menu_class' => '' )); ?></div> 然后就完成菜单的调用了
Notes
It is recommended to use pages or categories for custom menus in wordpress
The above is the detailed content of How to create a menu in WordPress. For more information, please follow other related articles on the PHP Chinese website!

Hot AI Tools

Undresser.AI Undress
AI-powered app for creating realistic nude photos

AI Clothes Remover
Online AI tool for removing clothes from photos.

Undress AI Tool
Undress images for free

Clothoff.io
AI clothes remover

Video Face Swap
Swap faces in any video effortlessly with our completely free AI face swap tool!

Hot Article

Hot Tools

Notepad++7.3.1
Easy-to-use and free code editor

SublimeText3 Chinese version
Chinese version, very easy to use

Zend Studio 13.0.1
Powerful PHP integrated development environment

Dreamweaver CS6
Visual web development tools

SublimeText3 Mac version
God-level code editing software (SublimeText3)

Hot Topics
 1387
1387
 52
52
 How to add comments to WordPress
Apr 20, 2025 am 11:42 AM
The steps to add a comment in WordPress are as follows: Enable Comments: Check "Allow Comments" to enable comments for a specific article or all articles. Set comment options: Customize comment approval, paging, nested comments and other settings. Add Comment Form: Use the provided code to add the Comment Form to the desired location. Show Comments: Use the provided code to display submitted comments. Reply to comments: Reply to a single comment through the Reply link, or reply to multiple comments using a batch operation. Manage comments: View, delete, approve, and tag comments in the Comments tab.
 How to cancel the editing date of wordpress
Apr 20, 2025 am 10:54 AM
WordPress editing dates can be canceled in three ways: 1. Install the Enable Post Date Disable plug-in; 2. Add code in the functions.php file; 3. Manually edit the post_modified column in the wp_posts table.
 How to make your own theme by wordpress
Apr 20, 2025 am 11:18 AM
You can use the WordPress theme editor or seek third-party help, such as a pre-built theme, theme generator, or hire a developer to create or customize your own WordPress theme. By understanding the basics of topics, using subtopics, testing changes and optimizing performance, you can create a unique and effective online presence.
 What to do if there is an error in wordpress
Apr 20, 2025 am 11:57 AM
WordPress Error Resolution Guide: 500 Internal Server Error: Disable the plug-in or check the server error log. 404 Page not found: Check permalink and make sure the page link is correct. White Screen of Death: Increase the server PHP memory limit. Database connection error: Check the database server status and WordPress configuration. Other tips: enable debug mode, check error logs, and seek support. Prevent errors: regularly update WordPress, install only necessary plugins, regularly back up your website, and optimize website performance.
 How to copy wordpress code
Apr 20, 2025 pm 12:00 PM
How to copy WordPress code? Copy from the admin interface: Log in to the WordPress website, navigate to the destination, select the code and press Ctrl C (Windows)/Command C (Mac) to copy the code. Copy from a file: Connect to the server using SSH or FTP, navigate to the theme or plug-in file, select the code and press Ctrl C (Windows)/Command C (Mac) to copy the code.
 How to display wordpress comments
Apr 20, 2025 pm 12:06 PM
Enable comments in WordPress website: 1. Log in to the admin panel, go to "Settings" - "Discussions", and check "Allow comments"; 2. Select a location to display comments; 3. Customize comments; 4. Manage comments, approve, reject or delete; 5. Use <?php comments_template(); ?> tags to display comments; 6. Enable nested comments; 7. Adjust comment shape; 8. Use plugins and verification codes to prevent spam comments; 9. Encourage users to use Gravatar avatar; 10. Create comments to refer to
 How to write a header of a wordpress
Apr 20, 2025 pm 12:09 PM
The steps to create a custom header in WordPress are as follows: Edit the theme file "header.php". Add your website name and description. Create a navigation menu. Add a search bar. Save changes and view your custom header.
 How to add a comment box to WordPress
Apr 20, 2025 pm 12:15 PM
Enable comments on your WordPress website to provide visitors with a platform to participate in discussions and share feedback. To do this, follow these steps: Enable Comments: In the dashboard, navigate to Settings > Discussions, and select the Allow Comments check box. Create a comment form: In the editor, click Add Block and search for the Comments block to add it to the content. Custom Comment Form: Customize comment blocks by setting titles, labels, placeholders, and button text. Save changes: Click Update to save the comment box and add it to the page or article.


