

How to draw curves with the ps pen tool?
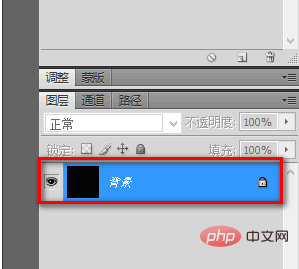
First open PS, create a new layer, and then double-click on the background layer to unlock it.
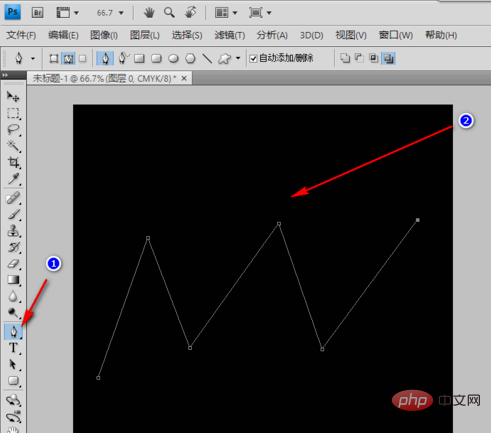
Then select the Pen Tool and draw the rough shape of the curve with a straight line on the layer.
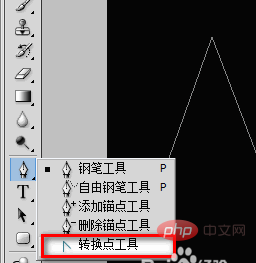
Right-click the mouse on the Pen Tool and select the Convert Point Tool.
Press and hold the left mouse button at the anchor point, and then pull horizontally to the right (or left) until a proper arc is drawn.
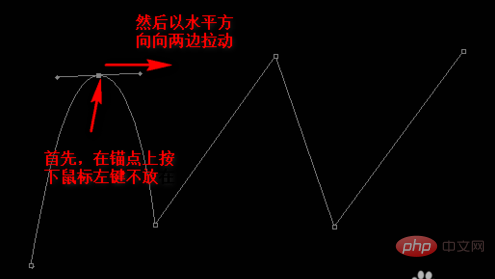
Use the same method with several other anchor points until you draw a smooth curve. After the adjustment is completed, click the mouse anywhere outside the screen to eliminate the anchor point control line.

If you feel that the current anchor point cannot achieve the effect you need, you can also add an anchor point. The method is to right-click on the Pen Tool and select the Add Anchor Point Tool.
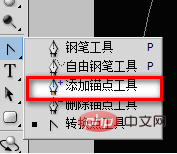
Then move the mouse to the current curve. At this time, the shape of the mouse will change into a pen tip with a " " sign. Press the mouse and drag it to both sides. Can.
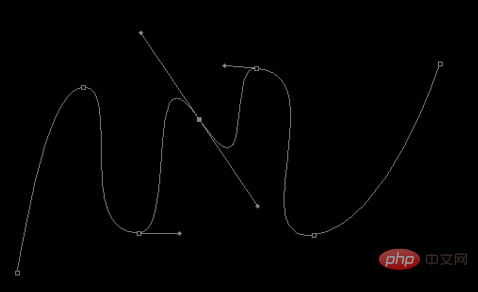
#After completion, click outside the screen to eliminate those control lines to see the final effect.

Note
When adding an anchor point, be sure to wait until the cursor changes to a pen tip with a " " sign before clicking the mouse (that is, make sure it is Click on the curve).
The above is the detailed content of How to draw curves with PS pen tool. For more information, please follow other related articles on the PHP Chinese website!