用ps简单制作心电图gif动图效果图
May 21, 2016 am 09:13 AM这篇教程是向脚本之家的朋友分享用ps简单制作心电图gif动图效果图方法,教程制作出来的效果非常漂亮,难度不是很大,一起来看看吧
今天为大家分享用photoshop软件制作心电图gif动图方法,感兴趣的朋友快快来学习吧!
方法/步骤
首先新建参考线,新建图层,画一个心,已经画了很多心,不想再写怎么画了。
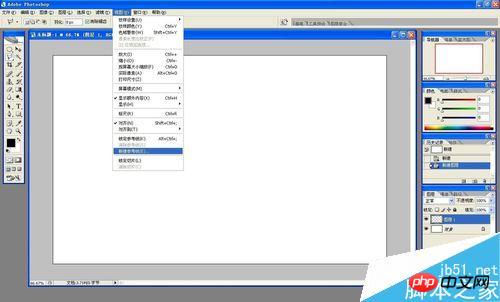
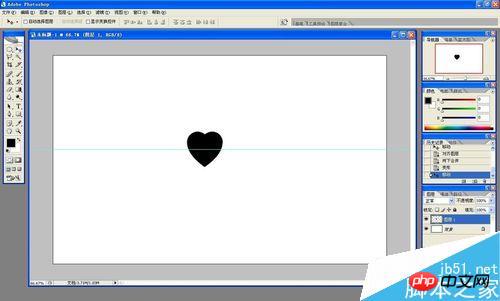
新建图层,用多边形选框像图中一样框出选区。
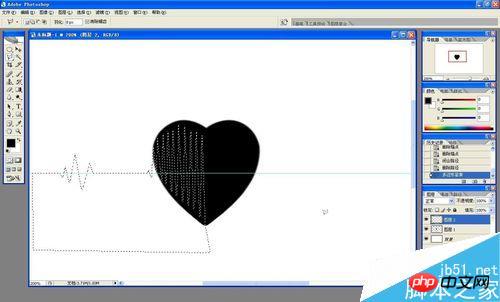
然后为选区描边,心应该没用了。
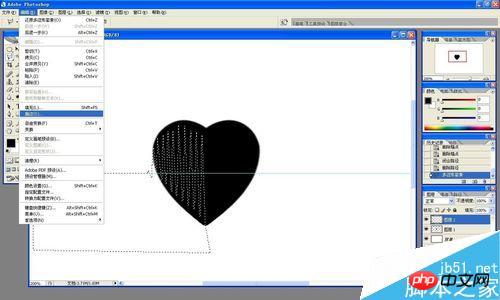
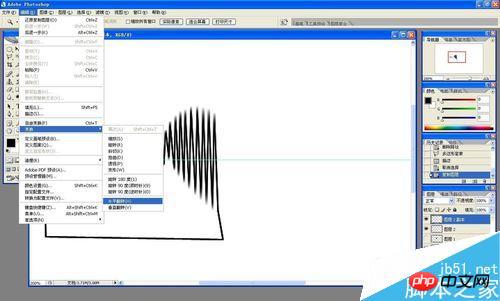
复制图层,并水平翻转,擦除多余的部分,将图形填充为红色。
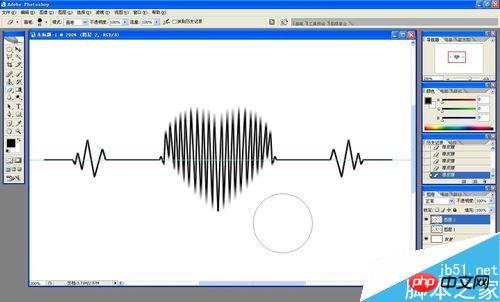
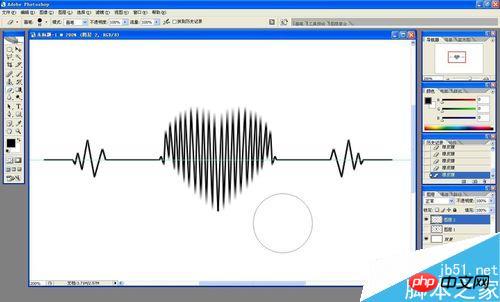
新建图层,填充为白色。
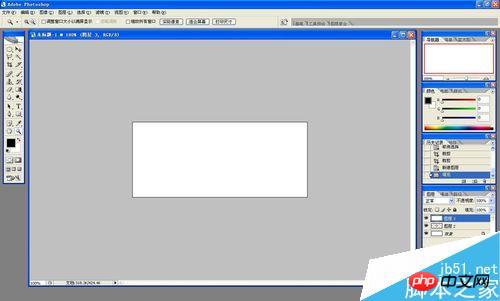
打开动画窗口,一边移动白色图层,一边为每一个帧显示需要显示的部分。
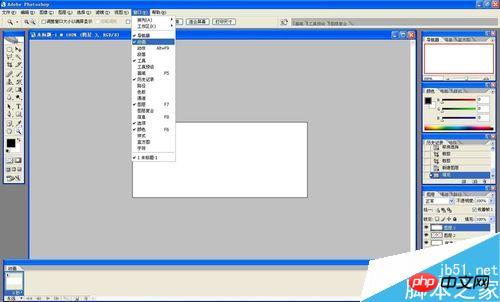
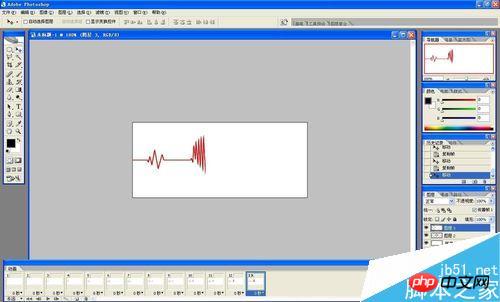
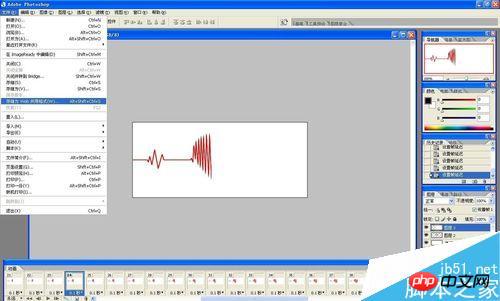
最后设置好秒数,存储为web所用格式即可。

以上就是用ps简单制作心电图gif动图效果图方法介绍,操作真的很不错,值得大家学习,推荐到脚本之家,来看看吧!

Hot Article

Hot tools Tags

Hot Article

Hot Article Tags

Notepad++7.3.1
Easy-to-use and free code editor

SublimeText3 Chinese version
Chinese version, very easy to use

Zend Studio 13.0.1
Powerful PHP integrated development environment

Dreamweaver CS6
Visual web development tools

SublimeText3 Mac version
God-level code editing software (SublimeText3)

Hot Topics
 ps serial number cs5 permanently free 2020
Jul 13, 2023 am 10:06 AM
ps serial number cs5 permanently free 2020
 Introduction to the process of extracting line drawings in PS
Apr 01, 2024 pm 12:51 PM
Introduction to the process of extracting line drawings in PS
 How to automate tasks using PowerShell
Feb 20, 2024 pm 01:51 PM
How to automate tasks using PowerShell
 What should I do if the PS interface font is too small?
Dec 01, 2022 am 11:31 AM
What should I do if the PS interface font is too small?
 What to do if ps installation cannot write registry value error 160
Mar 22, 2023 pm 02:33 PM
What to do if ps installation cannot write registry value error 160
 Record an EKG on Apple Watch: Step-by-Step Tutorial
Apr 13, 2023 pm 12:16 PM
Record an EKG on Apple Watch: Step-by-Step Tutorial
 How to use Java Websocket to implement real-time ECG display?
Dec 02, 2023 pm 01:14 PM
How to use Java Websocket to implement real-time ECG display?


