

用ps制作QQ表情GIF动态图之方脸猪wink

这篇教程是向脚本之家介绍用photoshop软件制作QQ表情动图之方脸猪wink方法,教程很不错,很值得大家学习,一起来看看吧。

方法/步骤
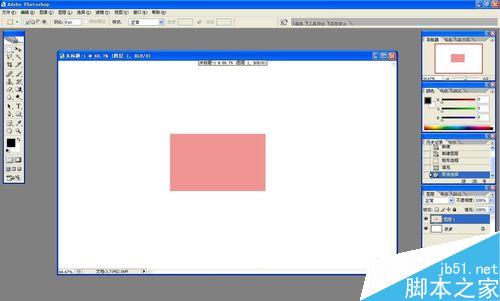
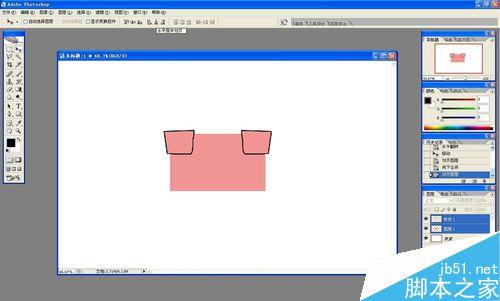
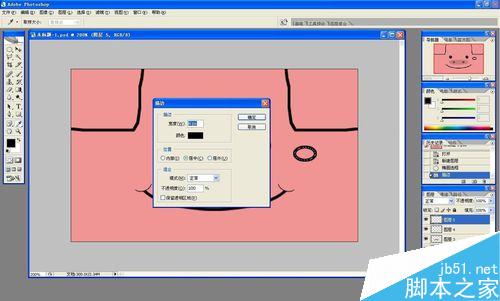
首先新建图层,画一个粉色的矩形,作为猪脸。
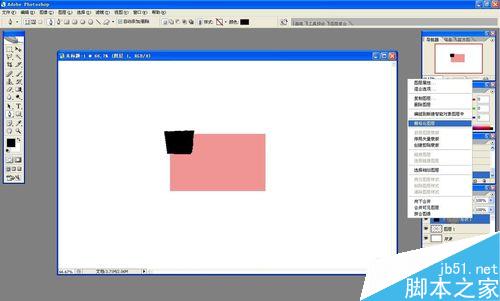
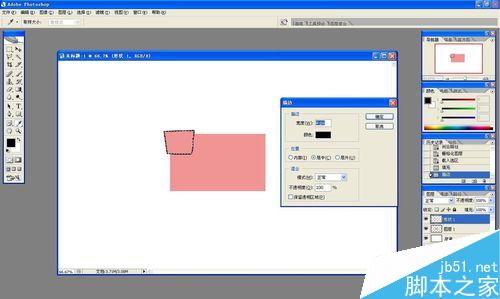
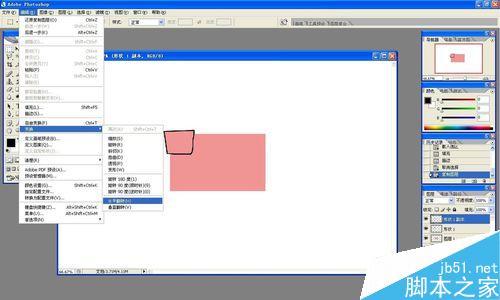
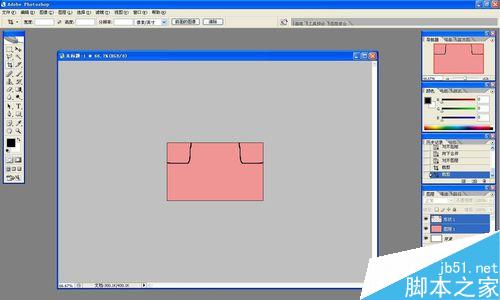
用钢笔画出耳朵,栅格化图层,填充为粉色,描边为黑色,复制耳朵图层,水平翻转,按住shift键移动到水平对面,并合并两个耳朵图层。裁剪图像,只剩矩形大小。

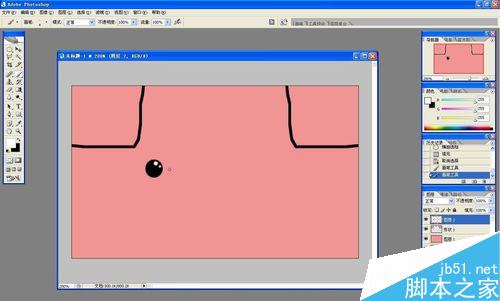
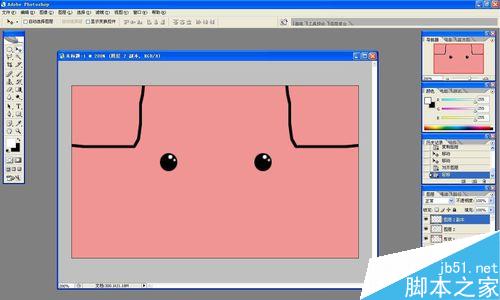
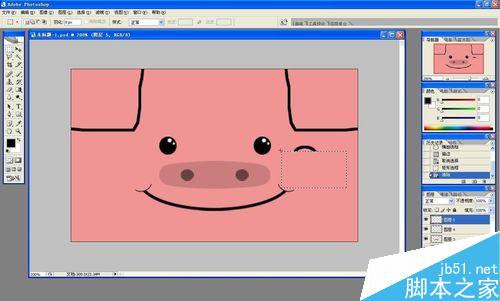
新建图层,画眼睛,同样复制眼睛图层,但是不要合并,后面要改动。
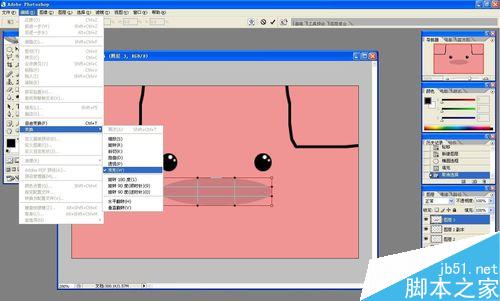
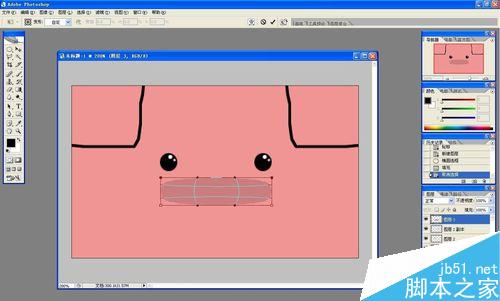
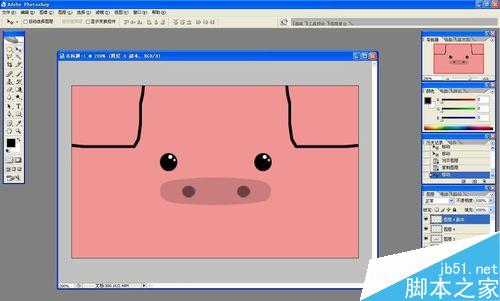
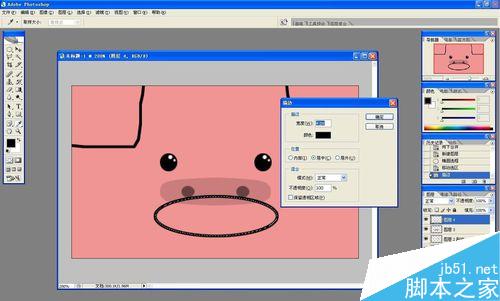
新建图层,画猪鼻子,通过变形让鼻子略扁一些,还有别忘了鼻孔。
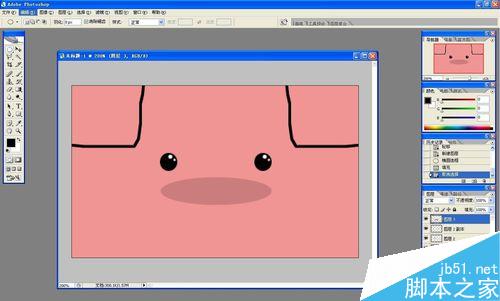
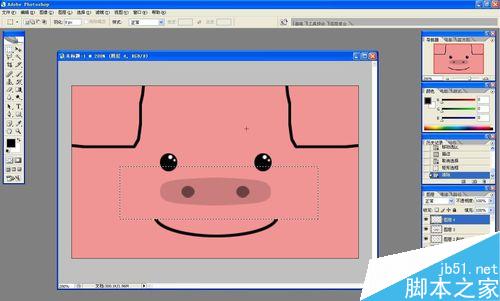
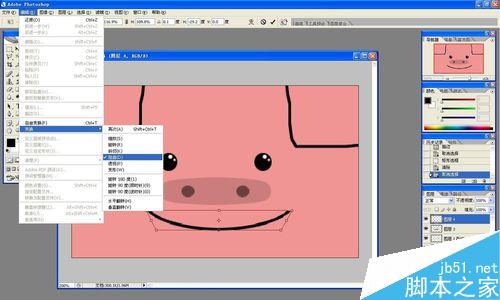
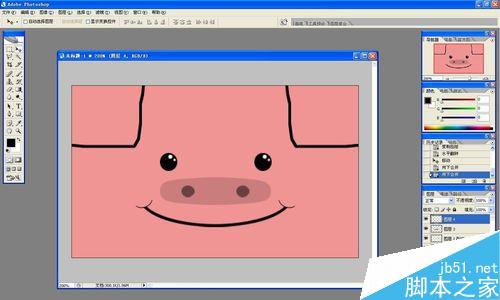
新建图层,画嘴巴,也就是一条弧线,再在弧线两端加两个弧线,显得猪胖胖的肉多点。
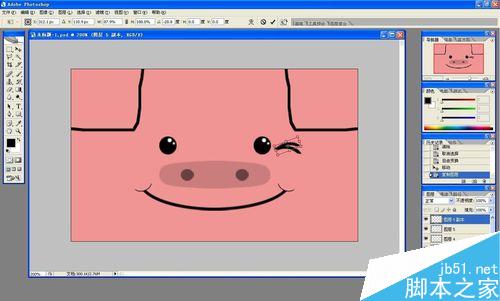
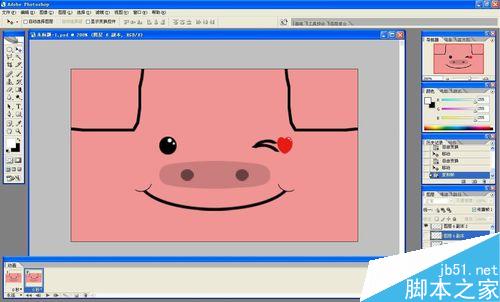
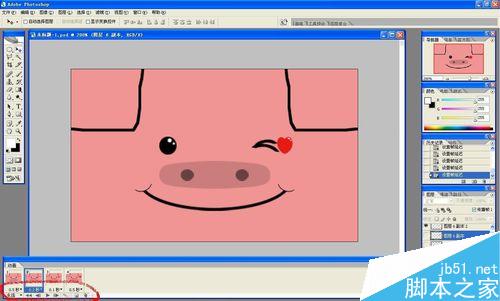
新建图层,画两条弧线,组成一个眯眯眼,并移动到右边那只眼的位置上。

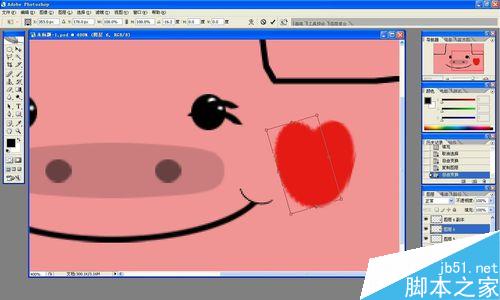
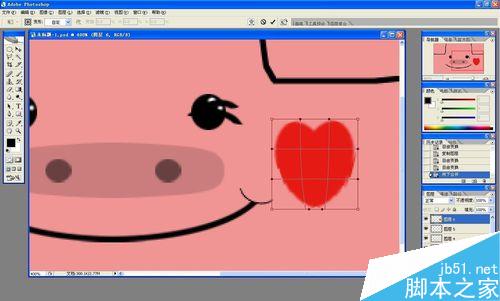
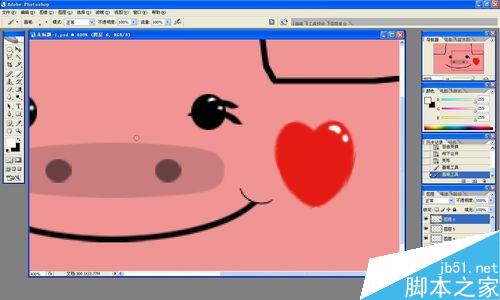
新建图层,画两个红色的椭圆,通过旋转角度和变形,组成一个红心,再用白色画笔画点高光。多复制几个红心,这里共3个,从小到大,按图中的样子排列好。
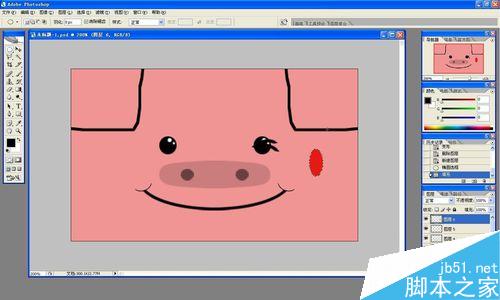

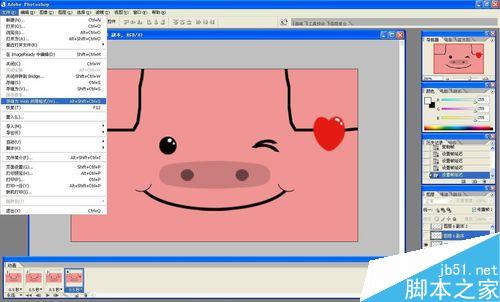
点窗口-动画,在动画设置栏里,添加多个帧,使每个帧只显示需要显示的图层,并设置好秒数。最后存储为web所用格式即gif图片格式即可。

以上就是用ps制作QQ表情GIF动态图之方脸猪wink方法介绍,操作不是很难,大家学会了吗?希望能对大家有所帮助!

Hot AI Tools

Undresser.AI Undress
AI-powered app for creating realistic nude photos

AI Clothes Remover
Online AI tool for removing clothes from photos.

Undress AI Tool
Undress images for free

Clothoff.io
AI clothes remover

Video Face Swap
Swap faces in any video effortlessly with our completely free AI face swap tool!

Hot Article
Hot Tools

Notepad++7.3.1
Easy-to-use and free code editor

SublimeText3 Chinese version
Chinese version, very easy to use

Zend Studio 13.0.1
Powerful PHP integrated development environment

Dreamweaver CS6
Visual web development tools

SublimeText3 Mac version
God-level code editing software (SublimeText3)
Hot Topics
 1386
1386
 52
52

 ps serial number cs5 permanently free 2020
Jul 13, 2023 am 10:06 AM
ps serial number cs5 permanently free 2020
Jul 13, 2023 am 10:06 AM
PS serial numbers cs5 permanent free 2020 include: 1. 1330-1384-7388-4265-2355-8589 (Chinese); 2. 1330-1409-7892-5799-0412-7680 (Chinese); 3. 1330-1616-1993 -8375-9492-6951 (Chinese); 4. 1330-1971-2669-5043-0398-7801 (Chinese), etc.
 What to do if ps installation cannot write registry value error 160
Mar 22, 2023 pm 02:33 PM
What to do if ps installation cannot write registry value error 160
Mar 22, 2023 pm 02:33 PM
Solution to error 160 when ps installation cannot write registry value: 1. Check whether there is 2345 software on the computer, and if so, uninstall the software; 2. Press "Win+R" and enter "Regedit" to open the system registry, and then Find "Photoshop.exe" and delete the Photoshop item.
 How to delete selected area in ps
Aug 07, 2023 pm 01:46 PM
How to delete selected area in ps
Aug 07, 2023 pm 01:46 PM
Steps to delete the selected area in PS: 1. Open the picture you want to edit; 2. Use the appropriate tool to create a selection; 3. You can use a variety of methods to delete the content in the selection, use the "Delete" key, use the "Healing Brush Tool" , use "Content-Aware Fill", use the "Stamp Tool", etc.; 4. Use tools to repair any obvious traces or defects to make the picture look more natural; 5. After completing editing, click "File" > in the menu bar "Save" to save the editing results.
 Introduction to the process of extracting line drawings in PS
Apr 01, 2024 pm 12:51 PM
Introduction to the process of extracting line drawings in PS
Apr 01, 2024 pm 12:51 PM
1. Open the software and import a piece of material, as shown in the picture below. 2. Then ctrl+shift+u to remove color. 3. Then press ctrl+J to copy the layer. 4. Then reverse ctrl+I, and then set the layer blending mode to Color Dodge. 5. Click Filter--Others--Minimum. 6. In the pop-up dialog box, set the radius to 2 and click OK. 7. Finally, you can see the line draft extracted.
 What should I do if the PS interface font is too small?
Dec 01, 2022 am 11:31 AM
What should I do if the PS interface font is too small?
Dec 01, 2022 am 11:31 AM
How to fix the PS interface font that is too small: 1. Open PS, click the "Edit" button on the top menu bar of PS to expand the editing menu; 2. Click the "Preferences" button in the expanded editing menu, and then click "Interface. .." button; 3. In the interface settings, set the user interface font size to "Large", set the UI scaling to "200%" and save the settings, then restart PS to take effect.
 How to automate tasks using PowerShell
Feb 20, 2024 pm 01:51 PM
How to automate tasks using PowerShell
Feb 20, 2024 pm 01:51 PM
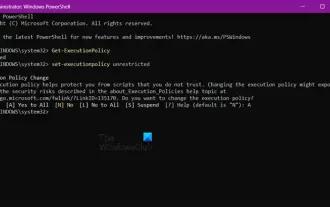
If you are an IT administrator or technology expert, you must be aware of the importance of automation. Especially for Windows users, Microsoft PowerShell is one of the best automation tools. Microsoft offers a variety of tools for your automation needs, without the need to install third-party applications. This guide will detail how to leverage PowerShell to automate tasks. What is a PowerShell script? If you have experience using PowerShell, you may have used commands to configure your operating system. A script is a collection of these commands in a .ps1 file. .ps1 files contain scripts executed by PowerShell, such as basic Get-Help
 Complete list of ps shortcut keys
Mar 11, 2024 pm 04:31 PM
Complete list of ps shortcut keys
Mar 11, 2024 pm 04:31 PM
1. Ctrl + N: Create a new document. 2. Ctrl + O: Open a file. 3. Ctrl + S: Save the current file. 4. Ctrl + Shift + S: Save as. 5. Ctrl + W: Close the current document. 6. Ctrl + Q: Exit Photoshop. 7. Ctrl + Z: Undo. 8. Ctrl + Y: Redo. 9. Ctrl + X: Cut the selected content. 10. Ctrl + C: Copy the selected content.
 What is the ps curve shortcut key?
Aug 22, 2023 am 10:44 AM
What is the ps curve shortcut key?
Aug 22, 2023 am 10:44 AM
The ps curve shortcut key is Ctrl+M. Other curve shortcut keys: 1. Convert to point control curve, Alt+Shift+Ctrl+T; 2. Automatically align the curve, Alt+Shift+Ctrl+O; 3. Restore the default curve, Ctrl+Alt+Shift+R; 4. Copy the curve, Ctrl+Alt+Shift+C; 5. Paste the curve, Ctrl+Alt+Shift+V; 6. Adjust the curve slope, Shift+up and down arrows; 7. Adjust the curve brightness, Shift+left and right arrows
