Webpack Getting Started Tutorial
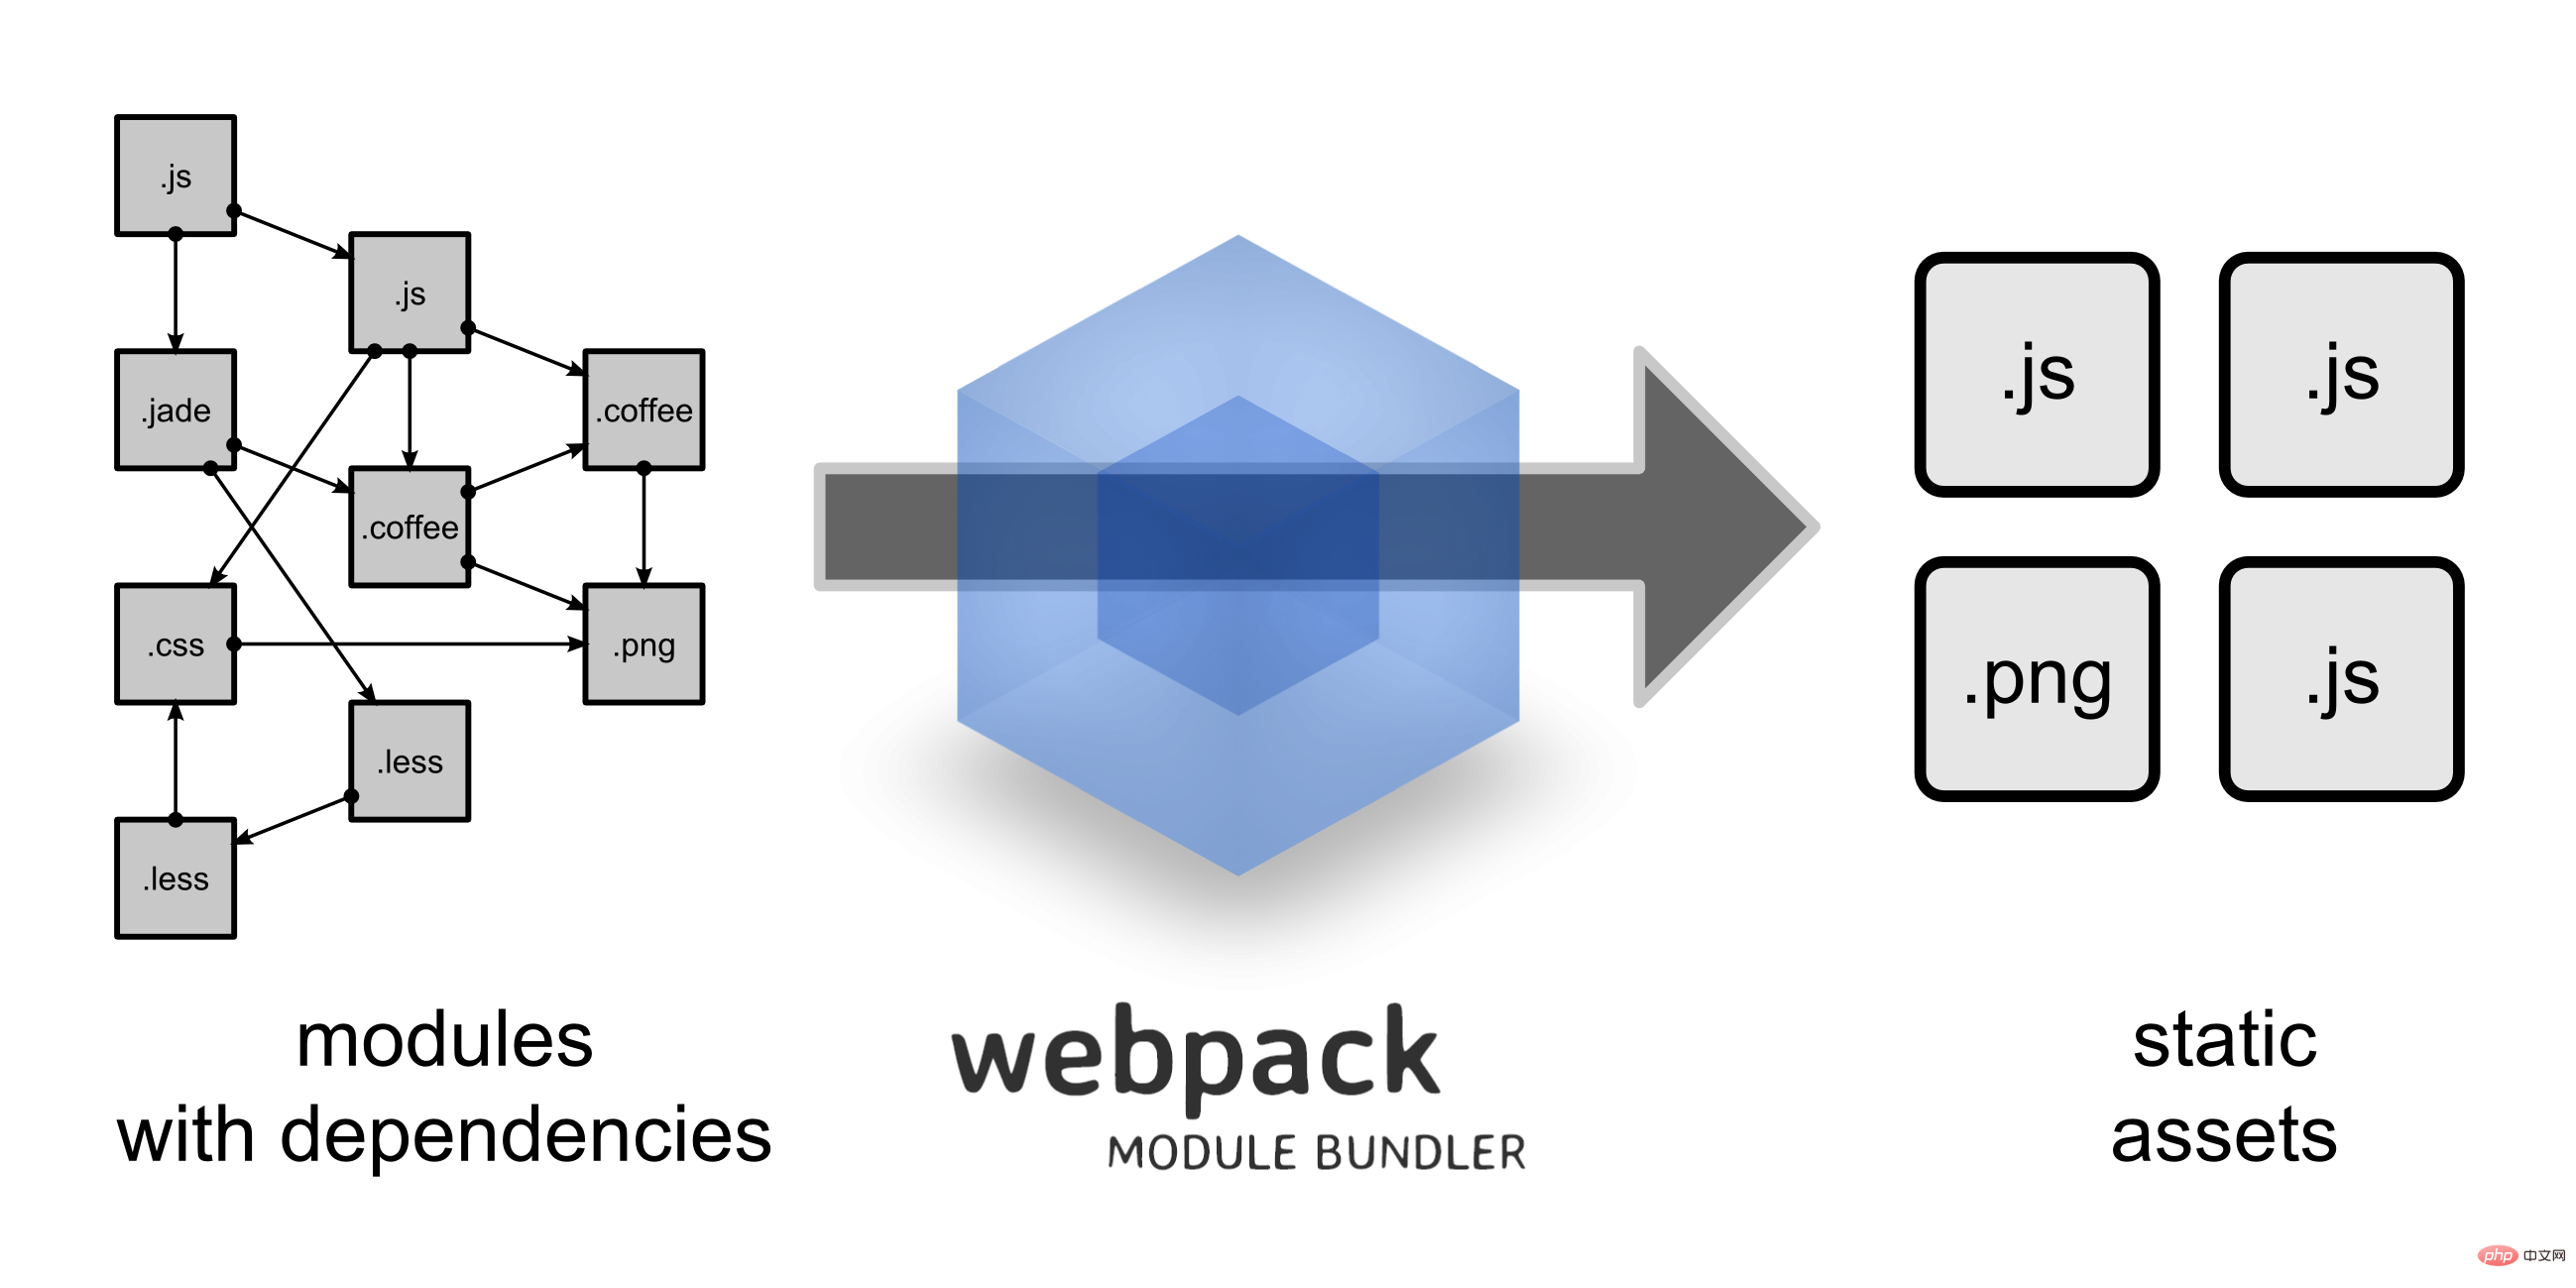
Webpack is a front-end resource loading/packaging tool. It will perform static analysis based on module dependencies, and then generate corresponding static resources for these modules according to specified rules.
This chapter is based on Webpack3.0 and passed the test.

We can see from the picture that Webpack can convert a variety of static resources js, css, and less into a static file, reducing page requests.
Next we will briefly introduce the installation and use of Webpack.
Install Webpack
Before installing Webpack, your local environment needs to support node.js.
Due to the slow installation speed of npm, this tutorial uses Taobao's image and its command cnpm. For installation and usage instructions, please refer to: Using Taobao NPM image.
Use cnpm to install webpack:
cnpm install webpack -g
Create project
Next we create a directory app:
mkdir app
Add the runoob1.js file in the app directory, the code is as follows:
document.write("It works.");Add the index.html file in the app directory, the code is as follows:
<html>
    <head>
        <meta charset="utf-8">
    </head>
    <body>
        <script type="text/javascript" src="bundle.js" charset="utf-8"></script>
    </body>
</html>Next we use the webpack command to Packaging:
webpack runoob1.js bundle.js
Executing the above command will compile the runoob1.js file and generate the bundle.js file. After success, the output information is as follows:
Hash: a41c6217554e666594cb
Version: webpack 1.12.13
Time: 50ms
    Asset     Size  Chunks             Chunk Names
bundle.js  1.42 kB       0  [emitted]  main
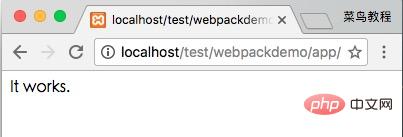
[0] ./runoob1.js 29 bytes {0} [built]Open index.html in the browser and output The results are as follows:

Create a second JS file
Next we create another js file runoob2.js, the code is as follows:
module.exports = "It works from runoob2.js.";
Update the runoob1.js file, the code is as follows:
document.write(require("./runoob2.js"));Next we use the webpack command to package:
webpack runoob1.js bundle.js

Hash: dcf55acff639ebfe1677
Version: webpack 1.12.13
Time: 52ms
    Asset     Size  Chunks             Chunk Names
bundle.js  1.55 kB       0  [emitted]  main
   [0] ./runoob1.js 41 bytes {0} [built]
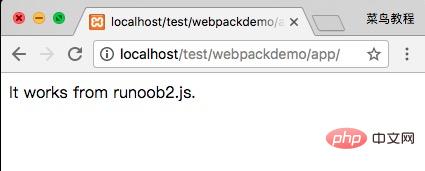
[1] ./runoob2.js 46 bytes {0} [built]In browsing The output result is as follows:

webpack performs static analysis based on the dependencies of the module, and these files (modules) will be included in the bundle.js file. Webpack assigns each module a unique id and indexes and accesses the module through this id. When the page starts, the code in runoob1.js will be executed first, and other modules will be executed when require is run.
LOADER
Webpack itself can only process JavaScript modules. If you want to process other types of files, you need to use loader for conversion. .
So if we need to add a css file to the application, we need to use css-loader and style-loader. They do two different things. The css-loader will traverse the CSS file and then find the url() Expressions are then processed and the style-loader inserts the original CSS code into a style tag on the page.
Next we use the following commands to install css-loader and style-loader (global installation requires parameter -g).
cnpm install css-loader style-loader
After executing the above command, the node_modules directory will be generated in the current directory, which is the installation directory of css-loader and style-loader.
Next create a style.css file, the code is as follows:
body {
    background: yellow;
}Modify the runoob1.js file, the code is as follows:
require("!style-loader!css-loader!./style.css");
document.write(require("./runoob2.js"));Next we use the webpack command to package:
webpack runoob1.js bundle.js

Hash: a9ef45165f81c89a4363
Version: webpack 1.12.13
Time: 619ms
    Asset     Size  Chunks             Chunk Names
bundle.js  11.8 kB       0  [emitted]  main
   [0] ./runoob1.js 76 bytes {0} [built]
   [5] ./runoob2.js 46 bytes {0} [built]
+ 4 hidden modulesWhen accessed in the browser, the output result is as follows:
require CSS files must be written with the loader prefix!style-loader!css- loader!, of course we can automatically bind the required loader according to the module type (extension). Change require("!style-loader!css-loader!./style.css") in runoob1.js to require("./style.css"):
runoob1.js File
require("./style.css");
document.write(require("./runoob2.js"));Then execute:
webpack runoob1.js bundle.js --module-bind 'css=style-loader!css-loader'
Access in the browser, the output result is as follows:
Obviously, this The two ways of using loader have the same effect.
Configuration file
We can put some compilation options in the configuration file for unified management:
Create the webpack.config.js file, the code is as follows:
module.exports = {
    entry: "./runoob1.js",
    output: {
        path: __dirname,
        filename: "bundle.js"
    },
    module: {
        loaders: [
            { test: /\.css$/, loader: "style-loader!css-loader" }
        ]
    }
};Next we only need to execute the webpack command to generate the bundle.js file:
webpack

Hash: 4fdefac099a5f36ff74b
Version: webpack 1.12.13
Time: 576ms
    Asset     Size  Chunks             Chunk Names
bundle.js  11.8 kB       0  [emitted]  main
   [0] ./runoob1.js 65 bytes {0} [built]
   [5] ./runoob2.js 46 bytes {0} [built]
+ 4 hidden moduleswebpack command After execution, the webpack.config.js file in the current directory will be loaded by default.
Plug-ins
Plug-ins are specified in the plugins option of webpack's configuration information and are used to complete some tasks that cannot be completed by the loader.
Webpack comes with some plug-ins, and you can install some plug-ins through cnpm.
使用内置插件需要通过以下命令来安装:
cnpm install webpack --save-dev
比如我们可以安装内置的 BannerPlugin 插件,用于在文件头部输出一些注释信息。
修改 webpack.config.js,代码如下:
var webpack=require('webpack');

module.exports = {
    entry: "./runoob1.js",
    output: {
        path: __dirname,
        filename: "bundle.js"
    },
    module: {
        loaders: [
            { test: /\.css$/, loader: "style-loader!css-loader" }
        ]
    },
    plugins:[
    new webpack.BannerPlugin('菜鸟教程 webpack 实例')
    ]
};然后运行:
webpack
打开 bundle.js,可以看到文件头部出现了我们指定的注释信息。
开发环境
当项目逐渐变大,webpack 的编译时间会变长,可以通过参数让编译的输出内容带有进度和颜色。
webpack --progress --colors
如果不想每次修改模块后都重新编译,那么可以启动监听模式。开启监听模式后,没有变化的模块会在编译后缓存到内存中,而不会每次都被重新编译,所以监听模式的整体速度是很快的。
webpack --progress --colors --watch
当然,我们可以使用 webpack-dev-server 开发服务,这样我们就能通过 localhost:8080 启动一个 express 静态资源 web 服务器,并且会以监听模式自动运行 webpack,在浏览器打开 http://localhost:8080/ 或 http://localhost:8080/webpack-dev-server/ 可以浏览项目中的页面和编译后的资源输出,并且通过一个 socket.io 服务实时监听它们的变化并自动刷新页面。
# 安装
cnpm install webpack-dev-server -g

# 运行
webpack-dev-server --progress --colors
在浏览器打开 http://localhost:8080/ 输出结果如下:
相关教程推荐:webpack 中文文档
The above is the detailed content of Webpack Getting Started Tutorial. For more information, please follow other related articles on the PHP Chinese website!

Hot AI Tools

Undresser.AI Undress
AI-powered app for creating realistic nude photos

AI Clothes Remover
Online AI tool for removing clothes from photos.

Undress AI Tool
Undress images for free

Clothoff.io
AI clothes remover

AI Hentai Generator
Generate AI Hentai for free.

Hot Article

Hot Tools

Notepad++7.3.1
Easy-to-use and free code editor

SublimeText3 Chinese version
Chinese version, very easy to use

Zend Studio 13.0.1
Powerful PHP integrated development environment

Dreamweaver CS6
Visual web development tools

SublimeText3 Mac version
God-level code editing software (SublimeText3)

Hot Topics
 1386
1386
 52
52
 VUE3 Getting Started Tutorial: Packaging and Building with Webpack
Jun 15, 2023 pm 06:17 PM
Vue is an excellent JavaScript framework that can help us quickly build interactive and efficient web applications. Vue3 is the latest version of Vue, which introduces many new features and functionality. Webpack is currently one of the most popular JavaScript module packagers and build tools, which can help us manage various resources in our projects. This article will introduce how to use Webpack to package and build Vue3 applications. 1. Install Webpack
 What is the difference between vite and webpack
Jan 11, 2023 pm 02:55 PM
Differences: 1. The startup speed of the webpack server is slower than that of Vite; because Vite does not require packaging when starting, there is no need to analyze module dependencies and compile, so the startup speed is very fast. 2. Vite hot update is faster than webpack; in terms of HRM of Vite, when the content of a certain module changes, just let the browser re-request the module. 3. Vite uses esbuild to pre-build dependencies, while webpack is based on node. 4. The ecology of Vite is not as good as webpack, and the loaders and plug-ins are not rich enough.
 How to use PHP and webpack for modular development
May 11, 2023 pm 03:52 PM
With the continuous development of web development technology, front-end and back-end separation and modular development have become a widespread trend. PHP is a commonly used back-end language. When doing modular development, we need to use some tools to manage and package modules. Webpack is a very easy-to-use modular packaging tool. This article will introduce how to use PHP and webpack for modular development. 1. What is modular development? Modular development refers to decomposing a program into different independent modules. Each module has its own function.
 How does webpack convert es6 to es5 module?
Oct 18, 2022 pm 03:48 PM
Configuration method: 1. Use the import method to put the ES6 code into the packaged js code file; 2. Use the npm tool to install the babel-loader tool, the syntax is "npm install -D babel-loader @babel/core @babel/preset- env"; 3. Create the configuration file ".babelrc" of the babel tool and set the transcoding rules; 4. Configure the packaging rules in the webpack.config.js file.
 Use Spring Boot and Webpack to build front-end projects and plug-in systems
Jun 22, 2023 am 09:13 AM
As the complexity of modern web applications continues to increase, building excellent front-end engineering and plug-in systems has become increasingly important. With the popularity of Spring Boot and Webpack, they have become a perfect combination for building front-end projects and plug-in systems. SpringBoot is a Java framework that creates Java applications with minimal configuration requirements. It provides many useful features, such as automatic configuration, so that developers can build and deploy web applications faster and easier. W
 What files can vue webpack package?
Dec 20, 2022 pm 07:44 PM
In vue, webpack can package js, css, pictures, json and other files into appropriate formats for browser use; in webpack, js, css, pictures, json and other file types can be used as modules. Various module resources in webpack can be packaged and merged into one or more packages, and during the packaging process, the resources can be processed, such as compressing images, converting scss to css, converting ES6 syntax to ES5, etc., which can be recognized by HTML. file type.
 What is Webpack? Detailed explanation of how it works?
Oct 13, 2022 pm 07:36 PM
Webpack is a module packaging tool. It creates modules for different dependencies and packages them all into manageable output files. This is especially useful for single-page applications (the de facto standard for web applications today).
 How to install webpack in vue
Jul 25, 2022 pm 03:27 PM
Webpack in vue is installed using the node package manager "npm" or the npm image "cnpm". Webpack is a static module packaging tool for modern JavaScript applications. It is developed based on node.js. It requires node.js component support when using it. It needs to be installed using npm or cnpm. The syntax is "npm install webpack -g" or "cnpm install webpack -g".


