

How to fuse cutouts in PS?
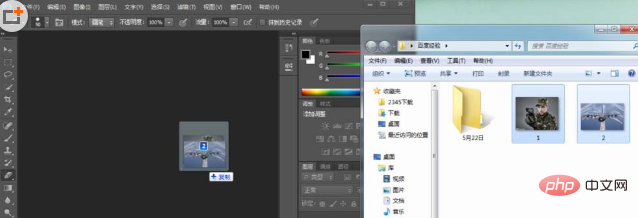
1. First open the software Photoshop, select and drag the two pictures that need to be combined into Photoshop, and open and edit them.
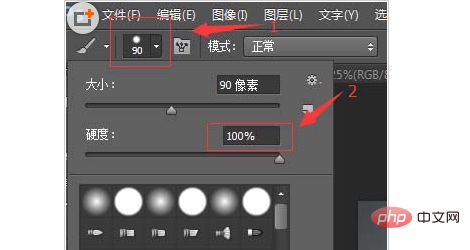
2. Open the file that needs to be edited, click to open [Mask] (the symbol similar to the camera in the lower left corner of the taskbar), and then click to use the [Brush] tool , adjust the [Brush] properties and hardness to the maximum, and apply it on the image.

3. If the edge is painted out of bounds, it doesn’t matter. Use [Eraser] to erase the excess smeared area; you can also click [Foreground Color] and [Background Color] on the status bar to switch when using [Brush].

#4. After adjusting the edges, click [Mask] to close.

#5. A selection will appear on the computer. The current selection is incorrect and you need to [Reverse] (Ctrl shift I---- shortcut key), click [ Select]-[Reverse] to get the corresponding area of the selection.
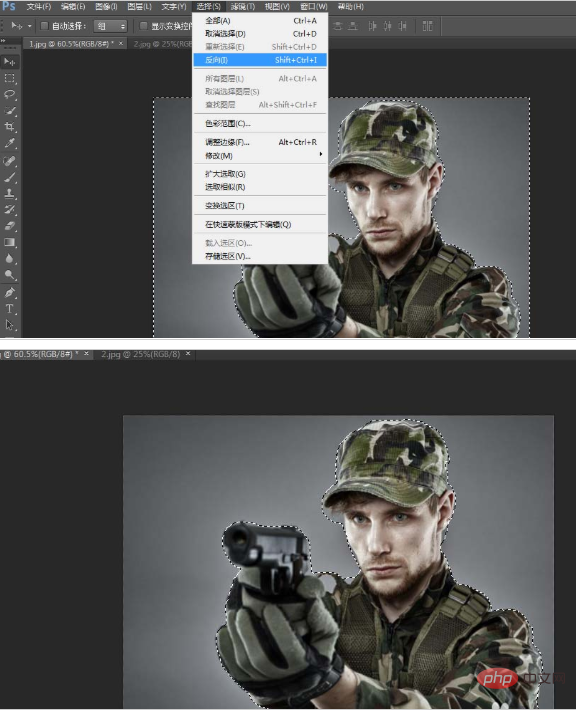
6. Next, [Copy] [Paste] the area in the selection to a new layer ([Ctrl J]/[Ctrl C, Ctrl V]-- -shortcut key).
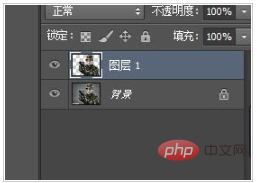
7. Click the [Move] tool and select the newly created layer. Just drag the image to Picture No. 2. You can use the Free Transform tool to resize the character edited in Picture No. 1. ([Ctrl T] ----- shortcut key)
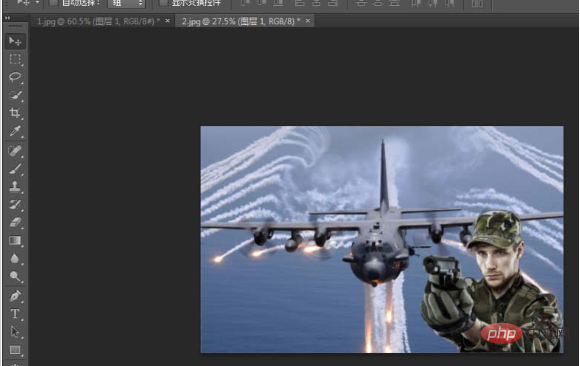
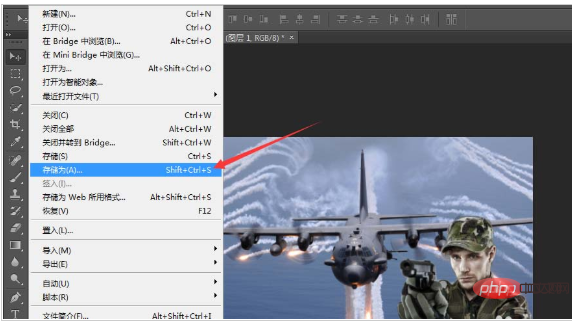
8. After the adjustment is completed, save it.
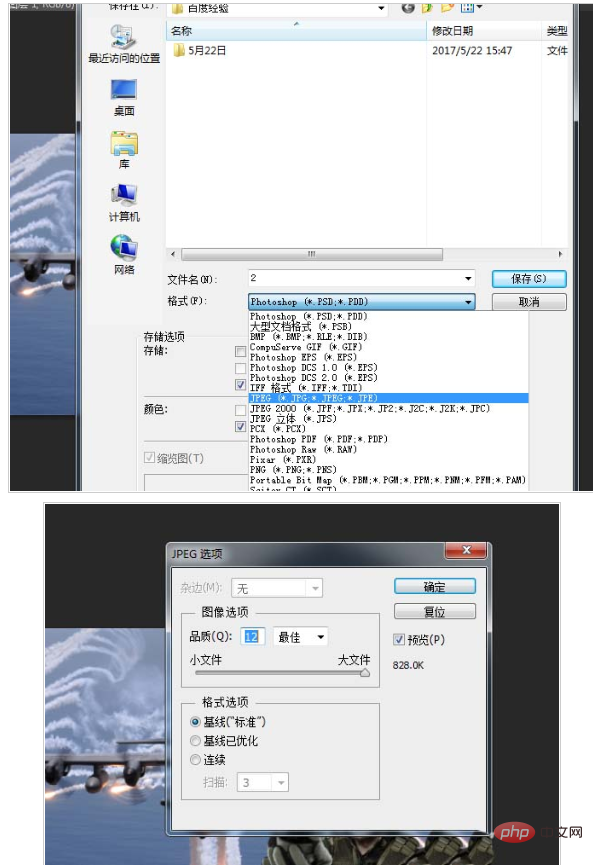
9. After saving, you will get the composite picture you saw at the beginning. You can also add special effects and different effects according to your own needs.

The above is the detailed content of How to merge cutouts in ps. For more information, please follow other related articles on the PHP Chinese website!