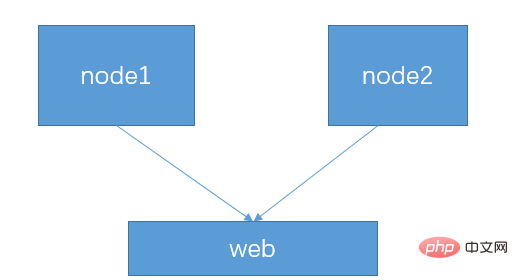

As shown in the figure below, the following architecture is our demo structure today. There are two servers in the backend, node1 and node2, and a web server in the frontend. Then Perform load balancing on the web server and direct the front-end access traffic to the two back-end node servers.
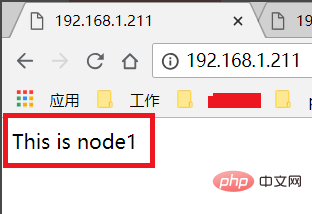
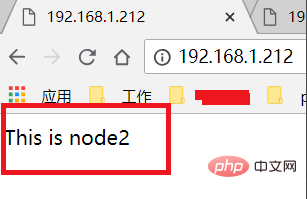
The IP addresses of the three servers are: According to this architecture, the websites that need to be accessed are allocated and configured on the back-end node1 and node2 nodes. Then, in order to facilitate testing, we changed the homepages of the two websites to the following content. As shown in the figure below, it is easy to distinguish the visited nodes.

configure the load balancing configuration in the web server. First use the default To configure, first open the /etc/nginx/nginx.conf configuration file and add the upstream block content in the http block  As shown in the figure below, and

and then open the /etc/nginx/conf.d/default.conf configuration file. In the server block, change the content in location to the content shown in the second picture below. That is, all traffic accessing 192.168.1.210 is proxied to the backend cluster of the backend. 
After the configuration file is configured, use the nginx -t command to test the configuration file to ensure that the configuration file is in ok status, and then execute the nginx command to start the nginx server. 
The above is the detailed content of How to configure nginx files when doing load balancing. For more information, please follow other related articles on the PHP Chinese website!
 nginx restart
 Detailed explanation of nginx configuration
 Detailed explanation of nginx configuration
 What are the differences between tomcat and nginx
 Reasons why mobile phone touch screen fails
 How to use the print function in python
 edge browser compatibility settings
 How do PR subtitles appear word for word?
 How do mysql and redis ensure double-write consistency?