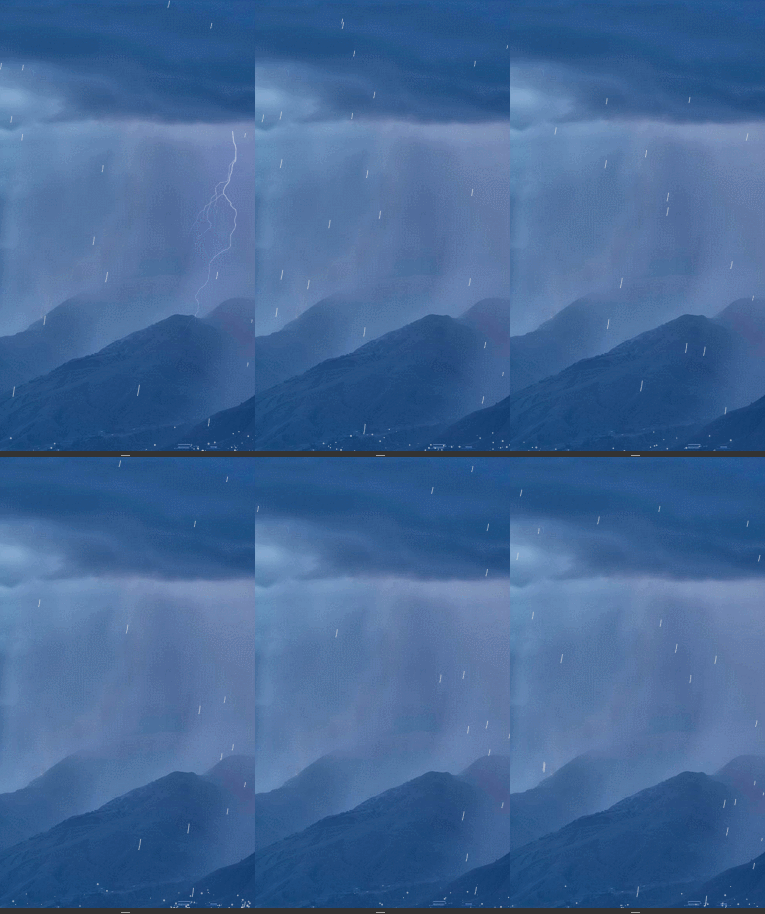
最近做了一个项目,其中有需求要实现下雨小雪的动画特效,所以在此做了个drop组件,来展现这种canvas常见的下落物体效果。在没给大家介绍正文之前,先给大家展示下效果图:
展示效果图:
下雨 下雪


看起来效果还是不错的,相对于使用创建dom元素来制作多物体位移动画, 使用canvas会更加容易快捷,以及性能会更好
调用代码
<!DOCTYPE html>
<html lang="en">
<head>
<meta charset="UTF-8">
<title>Document</title>
<style>
#canvas{
width:100%;
height: 100%;
}
</style>
</head>
<body>
<canvas id="canvas"></canvas>
<script src="canvasDrop.js"></script>
<script>
canvasDrop.init({
type: "rain", // drop类型,有rain or snow
speed : [0.4,2.5], //速度范围
size_range: [0.5,1.5],//大小半径范围
hasBounce: true, //是否有反弹效果or false,
wind_direction: -105 //角度
hasGravity: true //是否有重力考虑
});
</script>
</body>
</html>好了,接下来讲解一下简单的实现原理 首先,先定义一些我们会用到的全局变量,如风向角度,几率,对象数据等
定义全局变量
//定义两个对象数据
//分别是drops下落物体对象
//和反弹物体bounces对象
var drops = [], bounces = [];
//这里设定重力加速度为0.2/一帧
var gravity = 0.2;
var speed_x_x, //横向加速度
speed_x_y, //纵向加速度
wind_anger; //风向
//画布的像素宽高
var canvasWidth,
canvasHeight;
//创建drop的几率
var drop_chance;
//配置对象
var OPTS;
//判断是否有requestAnimationFrame方法,如果有则使用,没有则大约一秒30帧
window.requestAnimFrame =
window.requestAnimationFrame ||
window.webkitRequestAnimationFrame ||
window.mozRequestAnimationFrame ||
window.oRequestAnimationFrame ||
window.msRequestAnimationFrame ||
function(callback) {
window.setTimeout(callback, 1000 / 30);
};定义核心对象
接下来我们需要定义几个重要的对象 该组织所需定义的对象也比较少,总共才三个 在整个drop组件中共定义了`三个核心对象,分别是如下:
Vector 速度对象,带有横向x,和纵向y的速度大小 单位为:V = 位移像素/帧
对于Vector对象的理解也十分简单粗暴,就是记录下落对象drop的速度/V
var Vector = function(x, y) {
//私有属性 横向速度x ,纵向速度y
this.x = x || 0;
this.y = y || 0;
};
//公有方法- add : 速度改变函数,根据参数对速度进行增加
//由于业务需求,考虑的都是下落加速的情况,故没有减速的,后期可拓展
/*
* @param v object || string
*/
Vector.prototype.add = function(v) {
if (v.x != null && v.y != null) {
this.x += v.x;
this.y += v.y;
} else {
this.x += v;
this.y += v;
}
return this;
};
//公有方法- copy : 复制一个vector,来用作保存之前速度节点的记录
Vector.prototype.copy = function() {
//返回一个同等速度属性的Vector实例
return new Vector(this.x, this.y);
};
Drop 下落物体对象, 即上面效果中的雨滴和雪, 在后面你也可自己拓展为陨石或者炮弹
对于Drop对象其基本定义如下
//构造函数
var Drop = function() {
/* .... */
};
//公有方法-update
Drop.prototype.update = function() {
/* .... */
};
//公有方法-draw
Drop.prototype.draw = function() {
/* .... */
};看了上面的三个方法,是否都猜到他们的作用呢,接下来让我们了解这三个方法做了些什么
构造函数
构造函数主要负责定义drop对象的初始信息,如速度,初始坐标,大小,加速度等
//构造函数 Drop
var Drop = function() {
//随机设置drop的初始坐标
//首先随机选择下落对象是从从哪一边
var randomEdge = Math.random()*2;
if(randomEdge > 1){
this.pos = new Vector(50 + Math.random() * canvas.width, -80);
}else{
this.pos = new Vector(canvas.width, Math.random() * canvas.height);
}
//设置下落元素的大小
//通过调用的OPTS函数的半径范围进行随机取值
this.radius = (OPTS.size_range[0] + Math.random() * OPTS.size_range[1]) *DPR;
//获得drop初始速度
//通过调用的OPTS函数的速度范围进行随机取值
this.speed = (OPTS.speed[0] + Math.random() * OPTS.speed[1]) *DPR;
this.prev = this.pos;
//将角度乘以 0.017453293 (2PI/360)即可转换为弧度。
var eachAnger = 0.017453293;
//获得风向的角度
wind_anger = OPTS.wind_direction * eachAnger;
//获得横向加速度
speed_x = this.speed * Math.cos(wind_anger);
//获得纵向加速度
speed_y = - this.speed * Math.sin(wind_anger);
//绑定一个速度实例
this.vel = new Vector(wind_x, wind_y);
};Drop对象的update方法
update方法负责,每一帧drop实例的属性的改变 如位移的改变
Drop.prototype.update = function() {
this.prev = this.pos.copy();
//如果是有重力的情况,则纵向速度进行增加
if (OPTS.hasGravity) {
this.vel.y += gravity;
}
//
this.pos.add(this.vel);
};Drop对象的draw方法
draw方法负责,每一帧drop实例的绘画
Drop.prototype.draw = function() {
ctx.beginPath();
ctx.moveTo(this.pos.x, this.pos.y);
//目前只分为两种情况,一种是rain 即贝塞尔曲线
if(OPTS.type =="rain"){
ctx.moveTo(this.prev.x, this.prev.y);
var ax = Math.abs(this.radius * Math.cos(wind_anger));
var ay = Math.abs(this.radius * Math.sin(wind_anger));
ctx.bezierCurveTo(this.pos.x + ax, this.pos.y + ay, this.prev.x + ax , this.prev.y + ay, this.pos.x, this.pos.y);
ctx.stroke();
//另一种是snow--即圆形
}else{
ctx.moveTo(this.pos.x, this.pos.y);
ctx.arc(this.pos.x, this.pos.y, this.radius, 0, Math.PI*2);
ctx.fill();
}
};bounce 下落落地反弹对象, 即上面雨水反弹的水滴, 你也可后期拓展为反弹的碎石片或者烟尘
定义的十分简单,这里就不做详细说明
var Bounce = function(x, y) {
var dist = Math.random() * 7;
var angle = Math.PI + Math.random() * Math.PI;
this.pos = new Vector(x, y);
this.radius = 0.2+ Math.random()*0.8;
this.vel = new Vector(
Math.cos(angle) * dist,
Math.sin(angle) * dist
);
};
Bounce.prototype.update = function() {
this.vel.y += gravity;
this.vel.x *= 0.95;
this.vel.y *= 0.95;
this.pos.add(this.vel);
};
Bounce.prototype.draw = function() {
ctx.beginPath();
ctx.arc(this.pos.x, this.pos.y, this.radius*DPR, 0, Math.PI * 2);
ctx.fill();
};对外接口
update
即相当于整个canvas动画的开始函数
function update() {
var d = new Date;
//清理画图
ctx.clearRect(0, 0, canvas.width, canvas.height);
var i = drops.length;
while (i--) {
var drop = drops[i];
drop.update();
//如果drop实例下降到底部,则需要在drops数组中清楚该实例对象
if (drop.pos.y >= canvas.height) {
//如果需要回弹,则在bouncess数组中加入bounce实例
if(OPTS.hasBounce){
var n = Math.round(4 + Math.random() * 4);
while (n--)
bounces.push(new Bounce(drop.pos.x, canvas.height));
}
//如果drop实例下降到底部,则需要在drops数组中清楚该实例对象
drops.splice(i, 1);
}
drop.draw();
}
//如果需要回弹
if(OPTS.hasBounce){
var i = bounces.length;
while (i--) {
var bounce = bounces[i];
bounce.update();
bounce.draw();
if (bounce.pos.y > canvas.height) bounces.splice(i, 1);
}
}
//每次产生的数量
if(drops.length < OPTS.maxNum){
if (Math.random() < drop_chance) {
var i = 0,
len = OPTS.numLevel;
for(; i<len; i++){
drops.push(new Drop());
}
}
}
//不断循环update
requestAnimFrame(update);
}init
init接口,初始化整个canvas画布的一切基础属性 如获得屏幕的像素比,和设置画布的像素大小,和样式的设置
function init(opts) {
OPTS = opts;
canvas = document.getElementById(opts.id);
ctx = canvas.getContext("2d");
////兼容高清屏幕,canvas画布像素也要相应改变
DPR = window.devicePixelRatio;
//canvas画板像素大小, 需兼容高清屏幕,故画板canvas长宽应该乘于DPR
canvasWidth = canvas.clientWidth * DPR;
canvasHeight =canvas.clientHeight * DPR;
//设置画板宽高
canvas.width = canvasWidth;
canvas.height = canvasHeight;
drop_chance = 0.4;
//设置样式
setStyle();
}
function setStyle(){
if(OPTS.type =="rain"){
ctx.lineWidth = 1 * DPR;
ctx.strokeStyle = 'rgba(223,223,223,0.6)';
ctx.fillStyle = 'rgba(223,223,223,0.6)';
}else{
ctx.lineWidth = 2 * DPR;
ctx.strokeStyle = 'rgba(254,254,254,0.8)';
ctx.fillStyle = 'rgba(254,254,254,0.8)';
}
}结束语
好了,一个简单的drop组件已经完成了,当然其存在着许多地方不够完善,经过本次drop组件的编写,对于canvas的动画实现,我相信在H5的场景中拥有着许多可发掘的地方。
最后说下不足的地方和后期的工作哈:
0、该组件目前对外接口不够多,可调节的范围并不是很多,抽象不是很彻底
1、 setStyle 设置 基本样式
2、 Drop 和Bounce 对象的 update 和 draw 方法的自定义,让用户可以设立更多下落的 速度和大小改变的形式和样式效果
3、 应增加对动画的pause,加速和减速等操作的接口
以上所述是小编给大家介绍的JS和Canvas 实现下雨下雪效果的相关知识,希望对大家有所帮助,如果大家有任何疑问请给我留言,小编会及时回复大家的。在此也非常感谢大家对脚本之家网站的支持!
本文转载:http://blog.csdn.net/xllily_11/article/details/51444311
 What are the applications of the Internet of Things?
 What should I do if English letters appear when I turn on the computer and the computer cannot be turned on?
 Ranking of the top ten formal trading platforms
 What to do if there is no cursor when clicking on the input box
 What are the common testing techniques?
 btc coin latest news
 What should I do if I forget my broadband password?
 How to open img file


