

Today we will introduce the split screen function of Vim.
Why do you need the split screen function? In fact, there are many demand occasions. For example, my current screen is very large, but our code is generally left-aligned and the right side is empty, so that we can make full use of the right screen by splitting the screen. For another example, I now want to view multiple documents at the same time. In addition to opening multiple terminals, we can also achieve our goal through split screen.
Of course there are many similar situations. As long as we fully explore, we will definitely be able to find more needs.
Let’s introduce Vim’s split-screen operation in detail.
Recommendation: [Linux Video Tutorial]
Basic operation of split-screen function
First we open a code file at random. For ease of demonstration, the longer the code length, the better.
vim test.c
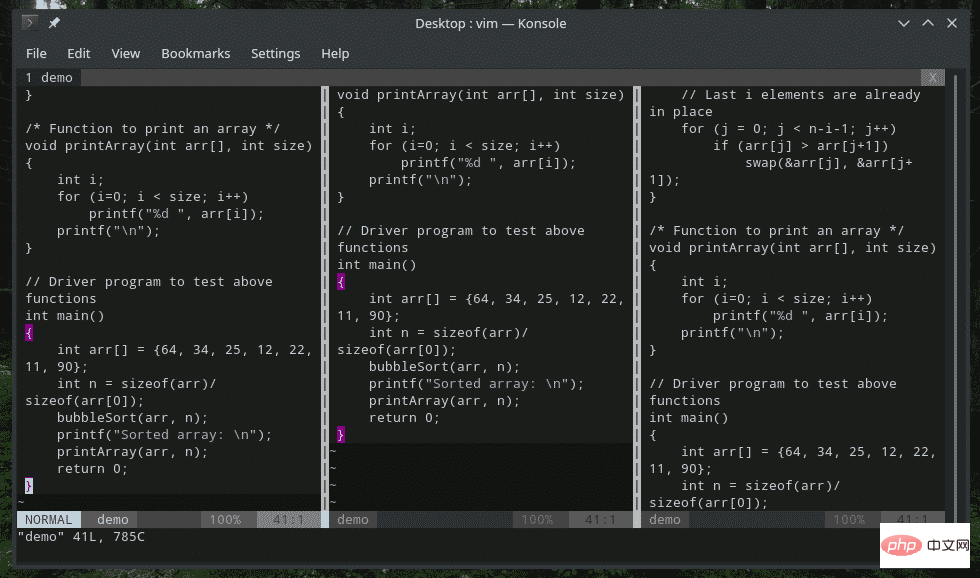
Now let us divide the interface into left and right parts. First we press ctrl w, followed by v. After doing this, the screen will be divided into two, as shown below:

What if we want to divide it into three equal parts? It's very simple. Based on the above, if we perform the above operation again, the screen will be divided into three equal parts.
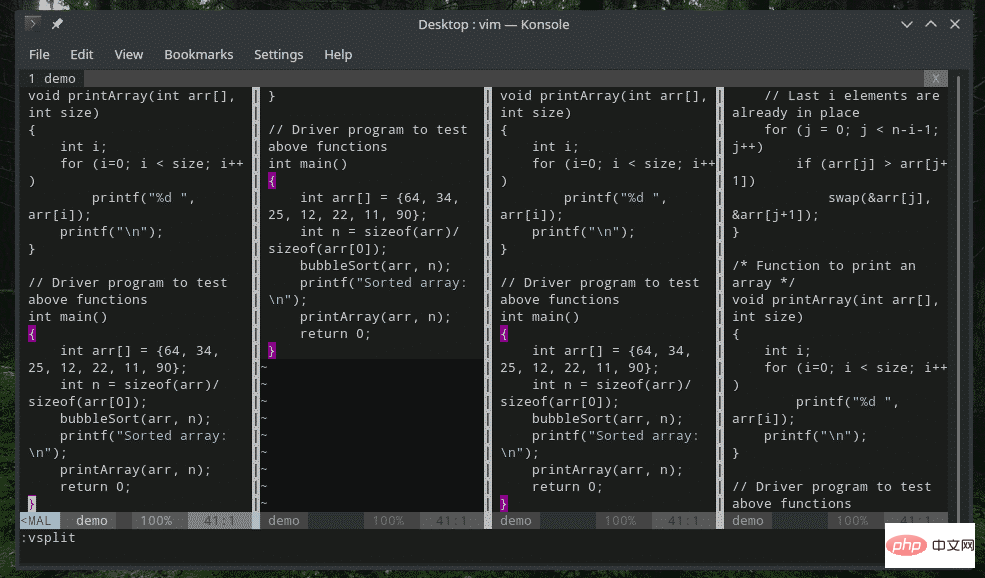
If you think this operation is too troublesome, we can also achieve the same effect by executing the following command in the last line mode:
:vsplit

Since it is a command, it must have an abbreviation:
:vsp
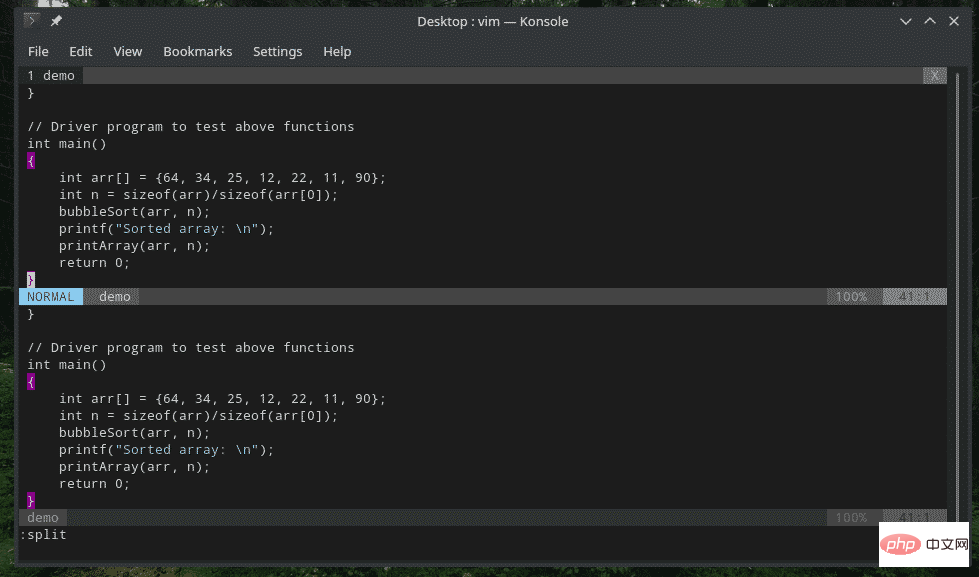
It’s so simple that it’s ridiculous... Let’s start from the beginning. Let’s start from the beginning. This time we split the screen horizontally. First we run the following command in last line mode:
:split

:sp
ctrl w first, then s. Again, all of these letters are in lowercase and in English.
Switching between split screens
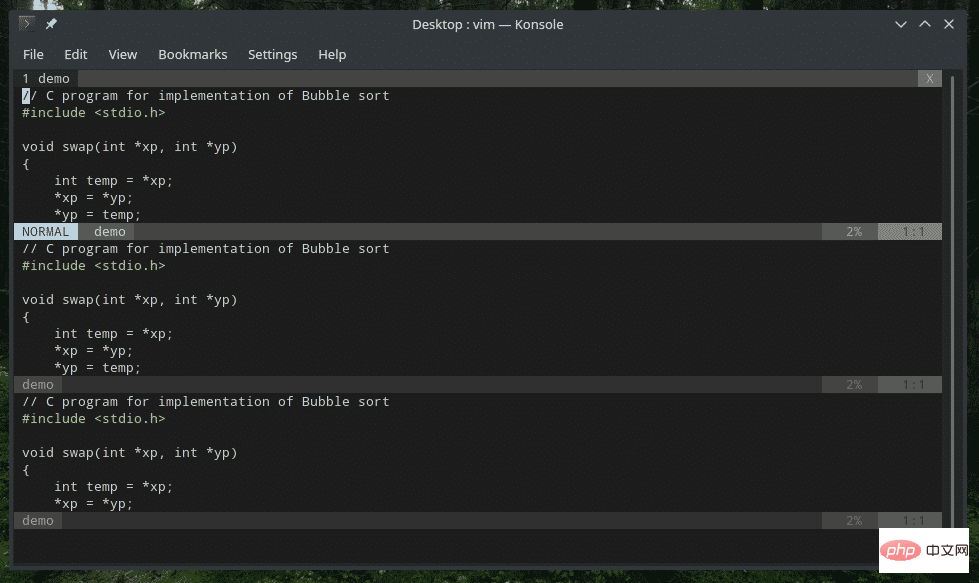
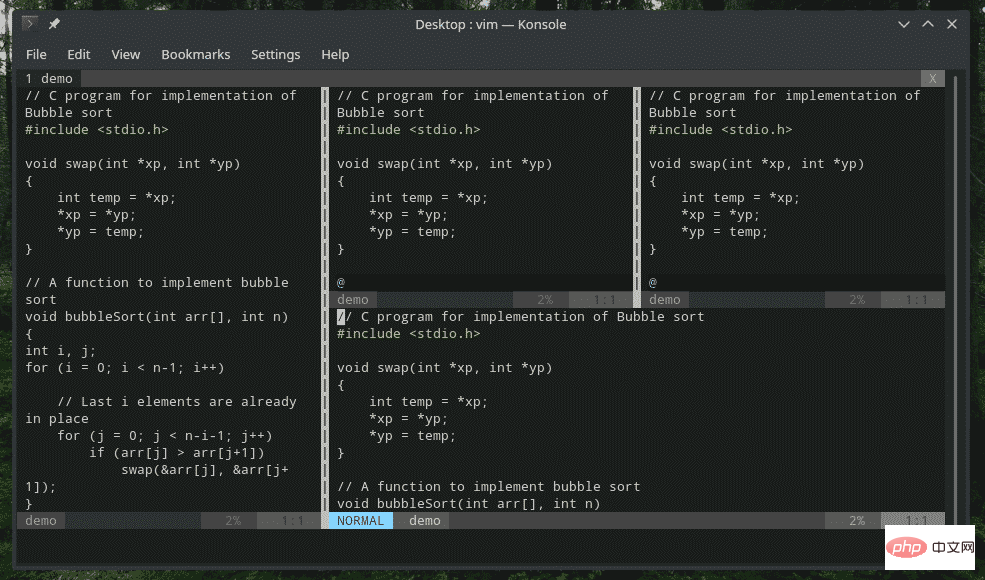
As mentioned before, split screen is very useful in many scenarios, but if you Without the ability to switch from one split screen to another, this split view is completely pointless. Let me show you how to switch from one split screen to another. Here, I set up 4 split views of the same file.
ctrl w first, and then l.
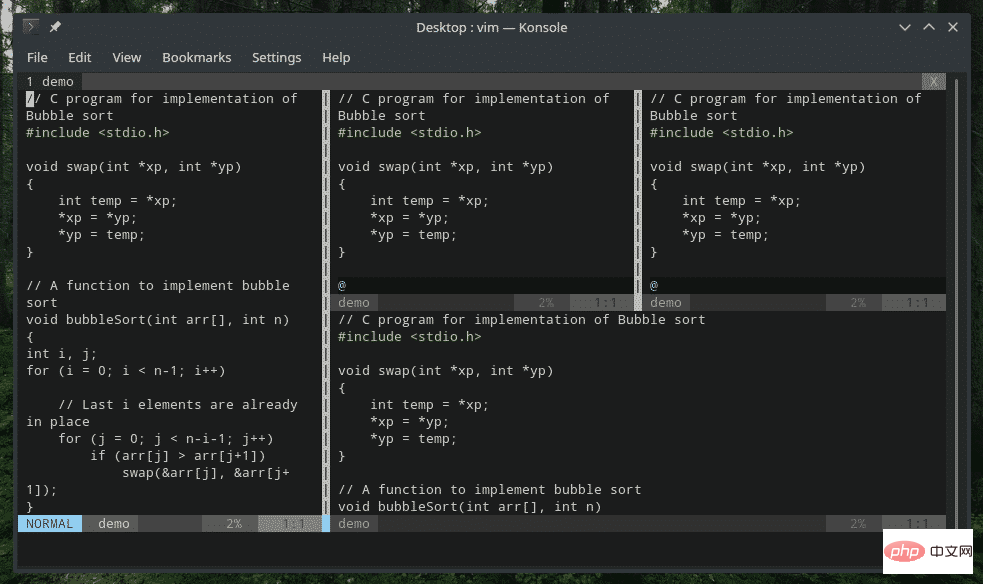
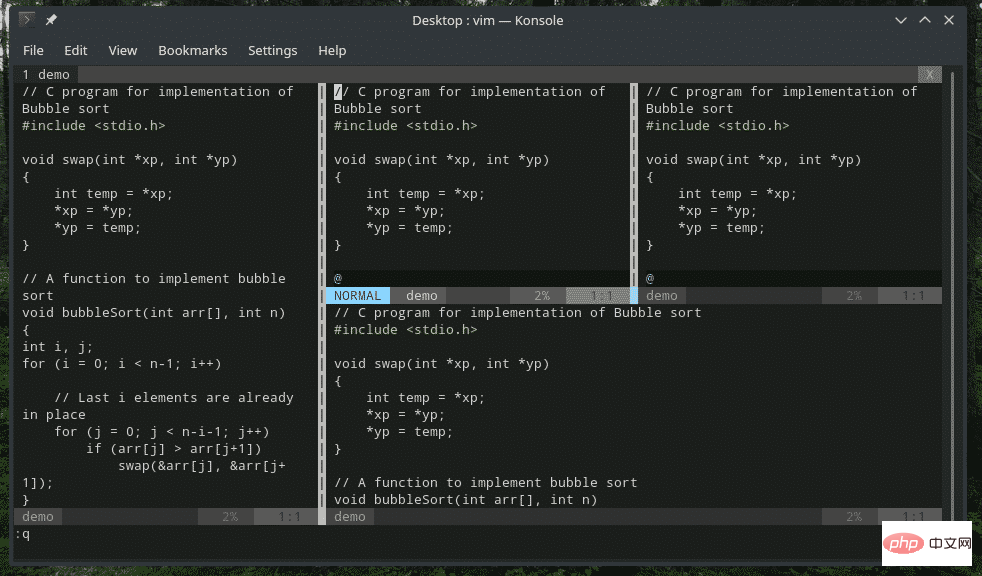
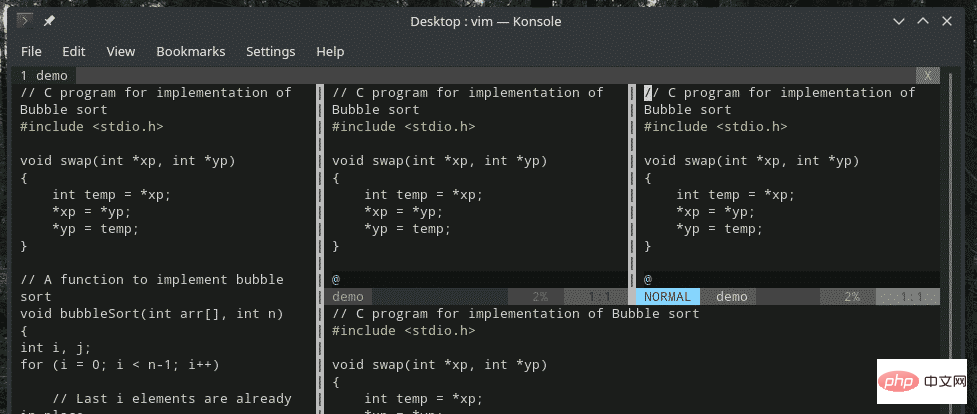 ##Similarly, if we want to switch to the left window, we need to press ## first #ctrl w
h.

#If you split the screen horizontally, you can only move the cursor up and down. To switch to the split screen above, you need to first press 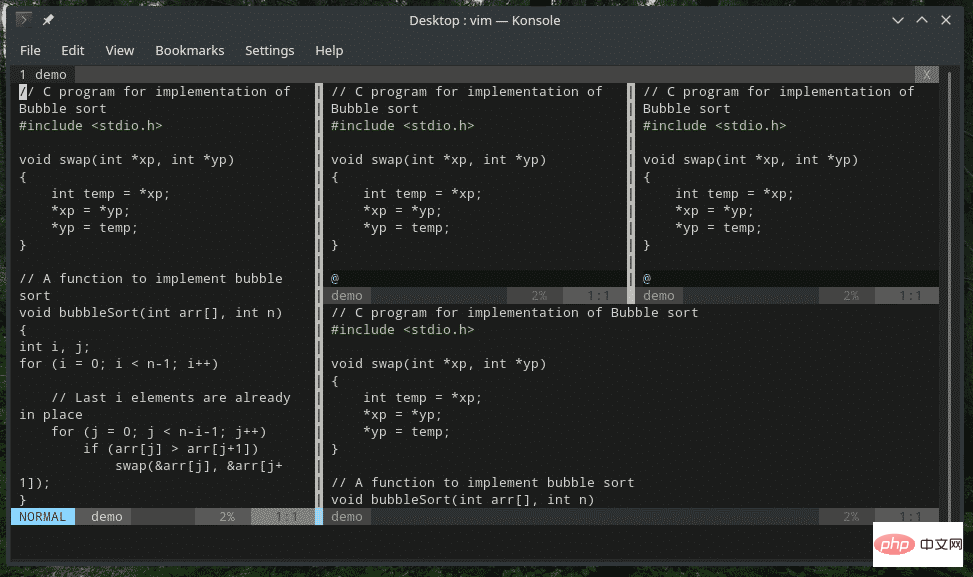 ctrl w
k.
ctrl w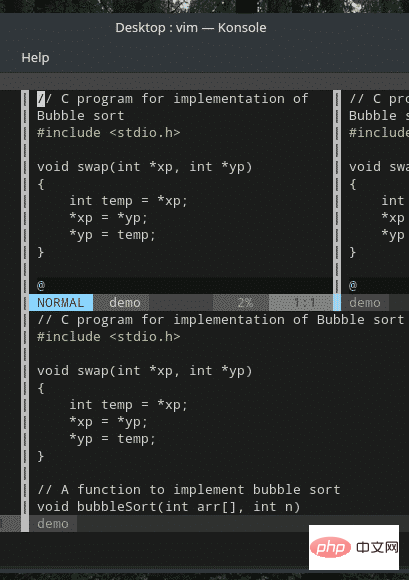 first , then press
.
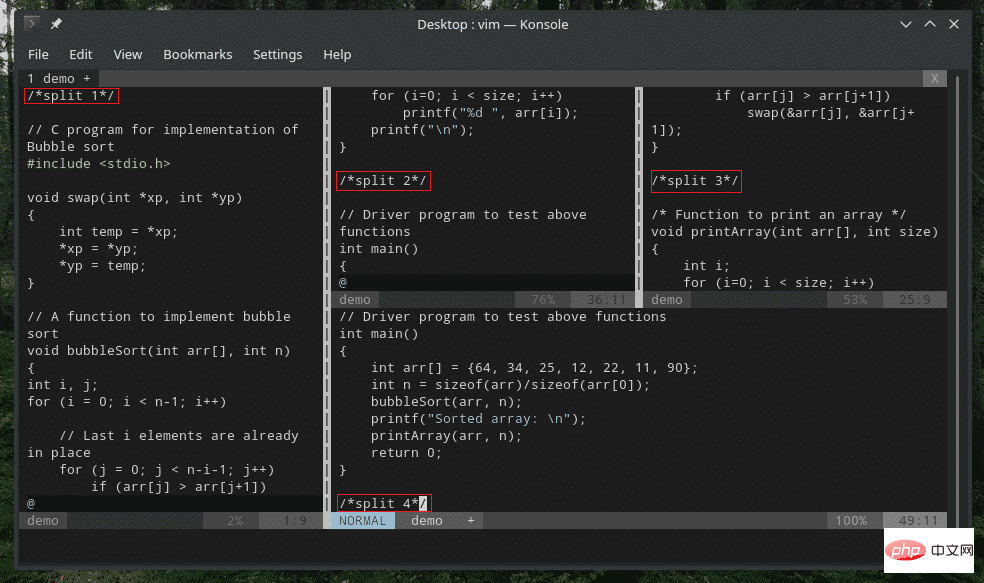
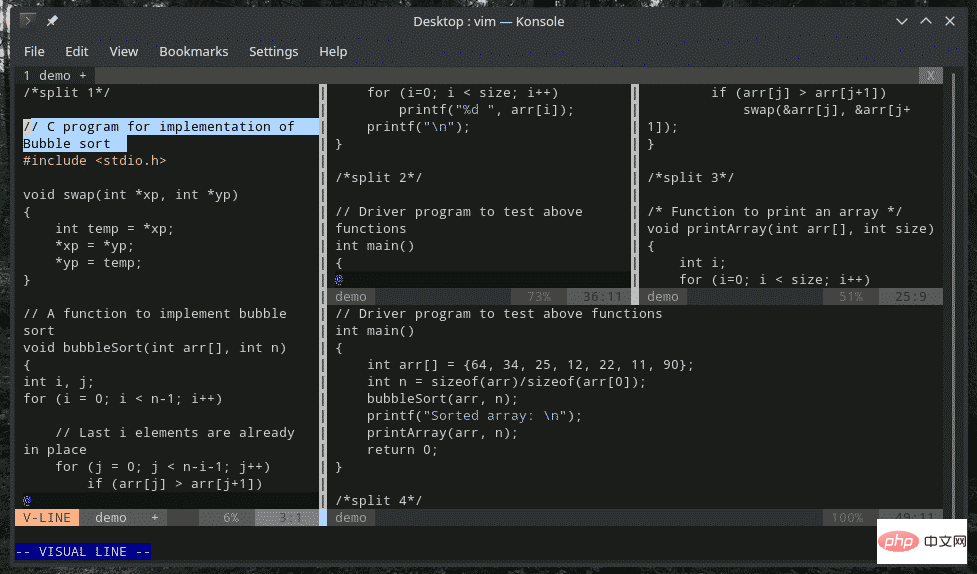
到此为止,我相信大家已经学会了怎么进行分屏操作了。那分完屏,我们怎么在这些分屏下进行文本编辑呢?其实,每个分屏都可以视为一个完整的 Vim 窗口,我们平常怎么编辑的,就怎样去编辑文档。
复制及粘贴操作
与未分屏是基本无差的,大家可以在从一个分屏里复制一段文本,再切换到另一个分屏进行粘贴。操作都是一样的,只是需要在不同分屏里切换而已。
改变分屏尺寸
默认情况下,Vim 是按等分进行分屏操作的。如果我们想最大化/最小化某个分屏,要如何操作?
如果要将当前窗口加宽到最大尺寸,需要先按 ctrl + w ,然后按 |(注意:不是小写 L ,是与或非的那个与 | )。
如果你想把当前窗口高度加高到最大尺寸,那么需要使用 ctrl + w ,然后使用 **_** 。
那如果想要重置所有分割窗口的大小,那么使用 ctrl+w ,然后按 = 。
默认情况下,Vim 在进行分屏操作时,每个分屏是等宽或等高的。如果要自定义分屏的宽度,大家可以使用以下结构:
:<width> vsp
同样地,对于水平分割而言,可以使用类似结构自定义高度:
:<height> sp
在同一个 Vim 窗口下打开多个不同文件
目前为止,所有的 Vim 分屏都是同一个文件的副本,但在很多情况下,我们需要打开多个不同的文件。我们可以将 Vim 窗口进行分屏,再在不同的分屏里打开不同的文件。
如何在 Vim 中打开一个新文件?我们可以使用以下命令:
:e<path_to_file>/filename.extension
例如,我们想要在一个全新的 Vim 实例中打开 vimrc,我们可以使用以下命令:
:e~/.vimrc
打开 vimrc 之后,我们想要将屏幕水平切分并打开一个新文件,可以使用以下命令:
:sp<file_path>
而对于垂直分割屏幕,使用的也是类似的结构:
:vsp<file_path>
小结
Vim 分屏讲到这里就要跟大家告一段落了。这种操作还是比较有趣,并且十分实用。
本文介绍了 Vim 分屏的一些基本操作及编辑方法,合理利用这个功能可以使我们更加高效使用电脑屏幕,提高我们的效率。
本文来自php中文网,linux系统教程栏目,欢迎学习!
The above is the detailed content of Vim editor split-screen operation (graphics and text). For more information, please follow other related articles on the PHP Chinese website!